Edit Template

Recipe Tag: Gluten-Free

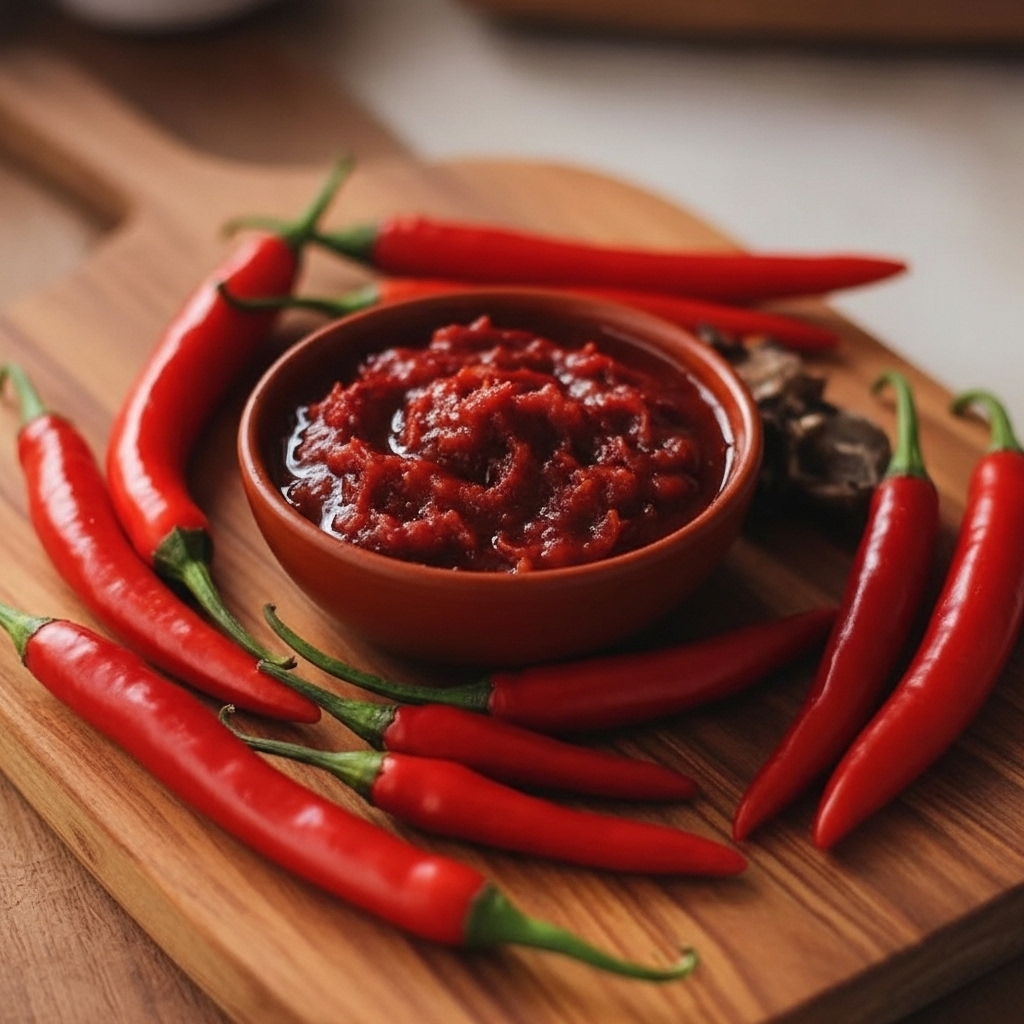
Red Chilli Pickle

intro The Red Chilli Pickle Recipe brings a vibrant kick to your dinner table. Consequently, this spicy condiment pairs beautifully with parathas and dal rice. Although it seems complex, you can easily master this art at home. Furthermore, the aroma of roasted spices will fill your kitchen instantly. Additionally, making it yourself ensures you use the best quality oil. Therefore, you avoid the hidden chemicals found in store-bought jars. You will love how it transforms your meals.story/description Historically, this pickle represents the heart of Indian culinary traditions. Therefore, families prepare large batches every winter to last all year. Specifically, the thick-skinned red chillies work best for stuffing because they hold the masala well. Moreover, the natural tanginess from amchur or lemon juice balances the intense heat. Consequently, every bite offers a complex flavor profile that dances on your tongue. Because this recipe relies on slow fermentation, the flavors deepen over time. Similarly, the mustard oil acts as a natural preservative while absorbing the spice essence.cast/ingredients Specifically, you will need 500 grams of fresh large red chillies. Additionally, gather four tablespoons of mustard seeds and two tablespoons of fennel seeds. Furthermore, prepare one tablespoon of fenugreek seeds and one cup of pure mustard oil. You also need salt, turmeric, and amchur powder for that sour punch. Moreover, ensure all your utensils are completely dry before you begin. Because water causes spoilage, you must be very careful with moisture.songs/steps First, wash the chillies and dry them thoroughly in the sun. Consequently, this removes all moisture and prevents the pickle from rotting. Second, dry roast the whole spices until they become fragrant. However, do not burn them as they will turn bitter. Third, grind the spices into a coarse powder once they cool down. Furthermore, mix this powder with salt, turmeric, and a little warm mustard oil. Fourth, slit the chillies lengthwise and stuff them generously with the spice mix. Finally, place the chillies in a clean glass jar and pour the remaining mustard oil over them until they are submerged.about ### Mastering the Red Chilli Pickle Recipe Mastering the Red Chilli Pickle Recipe requires patience and quality ingredients. However, the effort pays off when the spices mature into a delicious blend. Additionally, you must ensure the chillies are completely moisture-free before stuffing. Because water causes mold, sun-drying them is a crucial step. Therefore, follow each step diligently to achieve that authentic, street-style taste. Moreover, you should use cold-pressed mustard oil for the most pungent results. Consequently, the oil will provide a sharp kick that defines traditional Indian pickles.themes/tips ### Pro Tips for the Best Red Chilli Pickle Recipe Furthermore, you must select firm chillies for the best texture. However, avoid those with soft spots or blemishes. Consequently, your pickle will last for an entire year. Additionally, roasting the spices brings out the natural oils and fragrance. Therefore, do not skip the roasting step. Similarly, always use a dry spoon when taking the pickle out of the jar. Because moisture is the enemy, keeping the jar in a dry place is essential for longevity. Moreover, you can add a bit of white vinegar to increase the shelf life and add extra tanginess.whyWatch/whyTry You should try this recipe because it creates a versatile side dish that lasts. Furthermore, it adds a spicy punch to any boring meal instantly. Consequently, your family will enjoy the authentic taste of home-cooked goodness. Additionally, a homemade jar makes for a wonderful gift for friends and neighbors. Therefore, start your pickling journey today and enjoy the spicy results for months to come!
Read More »

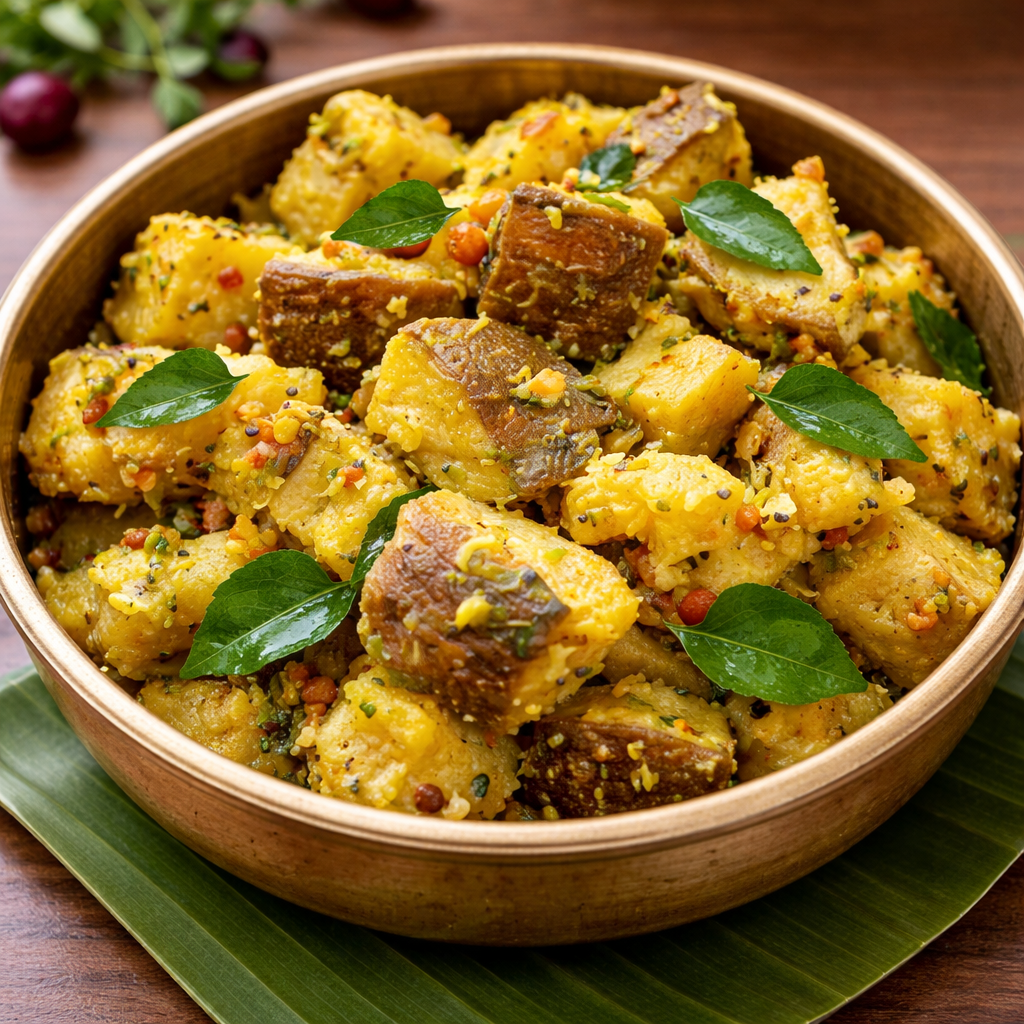
Raw Banana Ginger Chili Curry

intro Are you looking for a unique and healthy meal for your family? This Raw Banana Ginger Chili Curry Recipe offers a vibrant explosion of flavors for your dinner table. Furthermore, it combines the earthy taste of green bananas with the sharp heat of fresh ginger. You will love how quickly this dish comes together. Additionally, it provides a nutritious alternative to traditional potato curries. Therefore, let’s dive into this zesty culinary adventure and learn how to cook it.story This dish originates from traditional tropical kitchens where raw bananas serve as a staple ingredient. However, the addition of ginger and chili transforms it into something modern and exciting. The raw banana holds its texture beautifully during cooking. Consequently, every bite offers a satisfying firmness. Moreover, the ginger aids digestion and adds a refreshing zing to the spicy base. Since this recipe uses minimal oil, it remains a light choice for any health-conscious foodie. Therefore, you can enjoy a hearty meal without feeling heavy afterward. This curry truly celebrates natural ingredients in their simplest form.cast Gather these items for your kitchen: 3 medium raw bananas (peeled and cubed), 2-inch piece of fresh ginger (grated), 4 green chilies (slit), 1 teaspoon turmeric powder, 1 teaspoon mustard seeds, a handful of curry leaves, and salt to taste. Additionally, you will need 2 tablespoons of coconut oil and a splash of water. Because these ingredients are simple, you can find them at any local market. However, ensure the bananas are firm and bright green for the best results.songs Follow these steps to make your Raw Banana Ginger Chili Curry Recipe. First, heat the coconut oil in a large pan over medium heat. Next, add the mustard seeds and wait for them to pop. Then, toss in the fresh curry leaves and the grated ginger. Furthermore, add the slit green chilies to release their heat. Add the cubed raw bananas and stir them well into the spices. Additionally, sprinkle the turmeric powder and salt over the mixture. Pour in a half cup of water and cover the pan. Therefore, let it simmer for ten minutes until the bananas are tender. Finally, remove the lid and stir until the excess water evaporates.about This curry is a nutritional powerhouse that fits perfectly into a plant-based diet. Raw bananas are rich in resistant starch and fiber. Consequently, they help maintain steady energy levels. The combination of ginger and green chili provides a metabolic boost. Furthermore, this dish represents the essence of South Indian coastal cooking. It focuses on fresh produce and aromatic spices rather than heavy sauces. Therefore, it remains a favorite for those who appreciate clean eating.themes To make this Raw Banana Ginger Chili Curry Recipe even better, use fresh curry leaves instead of dried ones. Moreover, you can adjust the chili count to suit your heat preference. If you want a creamier texture, add a splash of coconut milk at the end. However, the classic version remains popular for its sharp and clean taste profile. Additionally, always peel the bananas just before cooking to prevent browning. Therefore, your curry will maintain a bright and appetizing color.whyWatch This recipe works perfectly with steamed rice or hot flatbreads. Consequently, it fits into any meal plan easily. Furthermore, the combination of ginger and raw banana creates a gut-friendly environment. Because it is naturally vegan and gluten-free, everyone at the table can enjoy it. Therefore, try this recipe today to experience a true taste of the tropics. You will surely impress your guests with these bold and refreshing flavors.

Read More »

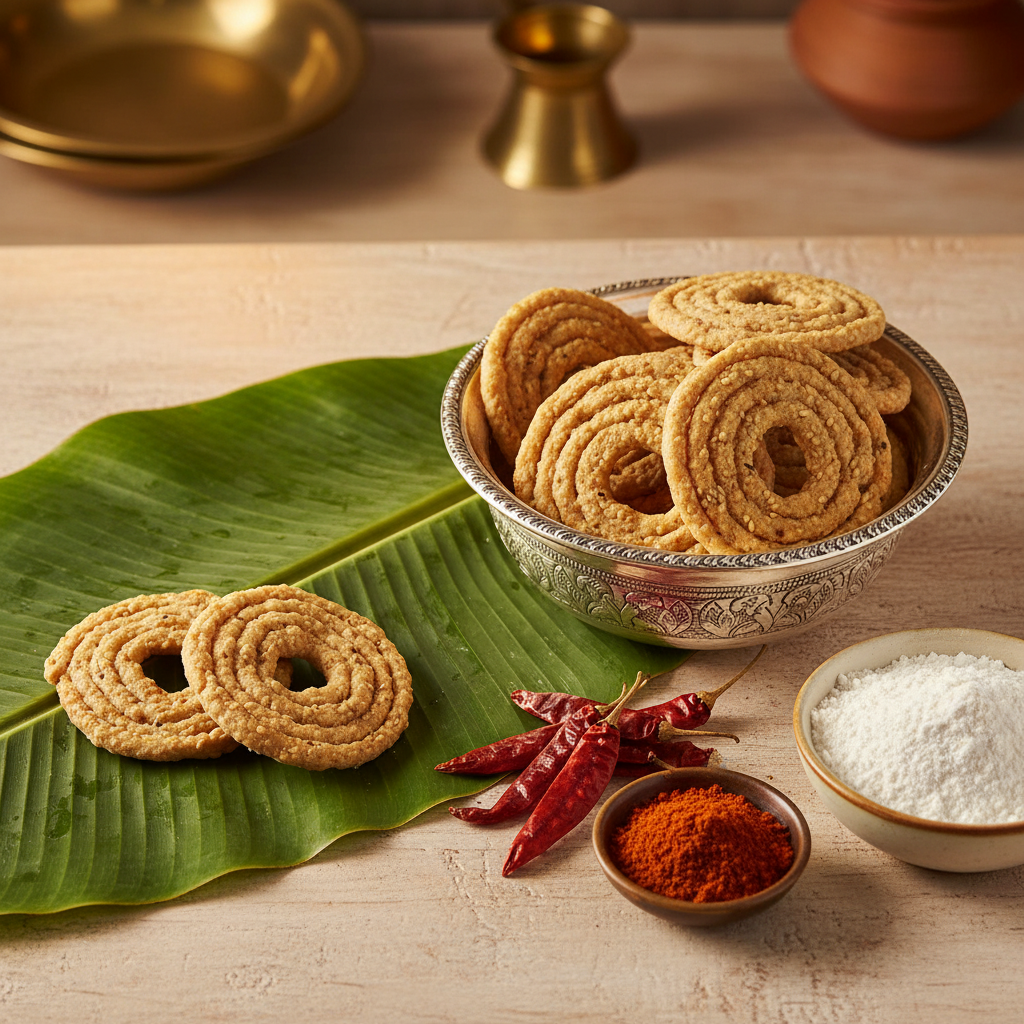
Sakkinalu

intro Are you looking for a crunchy and traditional snack to brighten your tea time? This Sakkinalu Recipe is exactly what you need to satisfy your cravings. Furthermore, it is a deep-fried delight that hails from the vibrant Telangana region. People usually prepare this treat during the Makar Sankranti festival. However, you can enjoy it at any time of the year. Additionally, it requires very few ingredients from your pantry. Therefore, anyone can try making this at home without much trouble. story This snack holds a very special place in South Indian culture. Specifically, families gather together to shape these beautiful rings by hand. Consequently, the preparation process brings people together and builds community. Moreover, the wonderful aroma of fried sesame seeds fills the air during the holidays. Traditionally, mothers teach their daughters this intricate art. Therefore, the tradition continues through many generations. Each ring tells a story of patience and love. cast The Sakkinalu Recipe requires very basic ingredients to achieve its signature taste. Specifically, you will need raw rice as the main base. Additionally, gather plenty of sesame seeds and carom seeds for flavor. Furthermore, keep salt and water ready for the dough. Finally, ensure you have enough high-quality oil for deep frying the rings. songs 1. Soak the raw rice in water for at least five hours. Furthermore, drain the water completely after soaking. 2. Grind the damp rice into a very fine powder. Consequently, sieve the flour to remove any large lumps. 3. Add the sesame seeds, carom seeds, and salt to the rice flour. Similarly, mix them thoroughly so the seeds distribute evenly. 4. Sprinkle water slowly over the mixture to create a soft, pliable dough. However, do not make it too watery or sticky. 5. Spread a clean, dry cotton cloth on a flat surface. Additionally, take small portions of the dough in your hand. 6. Shape the dough into concentric circles directly on the cloth. Therefore, use your fingers with a gentle touch to form thin strands. 7. Let these circles dry for about fifteen minutes. Moreover, heat the oil in a deep frying pan on medium heat. 8. Fry the rings carefully until they turn a perfect golden brown. Consequently, drain the excess oil on a paper towel. about ## Mastering the Sakkinalu Recipe at Home This dish is unique because it uses no gram flour or heavy spices. Instead, it relies on the purity of high-quality rice. Furthermore, the incredible crunch comes from the natural drying process on the cloth. Therefore, you should never skip the drying step. Additionally, always use fresh oil to ensure the best flavor profile. Consequently, your snacks will stay fresh and delicious for several weeks in a container.themes Use old rice for a much better and crispier texture. Similarly, ensure the dough stays moist while you are shaping the rings. If the dough dries out too quickly, simply add a few drops of water. However, avoid over-handling the rings once they are shaped. Moreover, store them in an airtight container only after they cool down completely. Consequently, they will remain crispy for a very long time.whyWatch You should try this Sakkinalu Recipe because it is both healthy and gluten-free. Furthermore, it offers a unique handmade texture that store-bought snacks simply cannot match. Additionally, making it at home ensures total hygiene for your family. Therefore, treat your loved ones to this traditional masterpiece. Specifically, it pairs perfectly with a hot cup of chai or coffee during a rainy evening.

Read More »

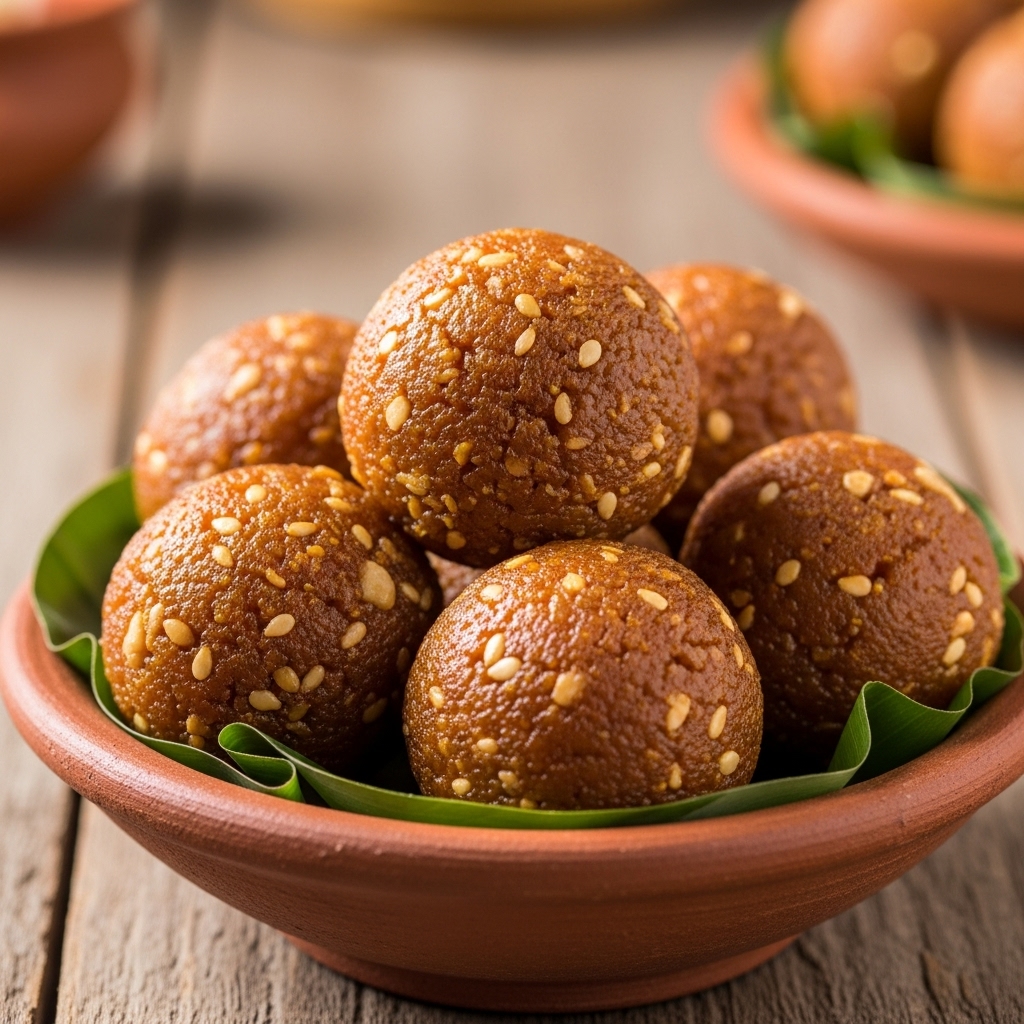
Chimmiri

intro Are you looking for a quick and nutritious snack? This Chimmiri Recipe offers a perfect blend of health and traditional flavor. Many families in South India prepare this sweet during special festivals like Nagula Chavithi. Consequently, it remains a beloved treat for both kids and adults. You only need two primary ingredients to start your journey with this dish. Furthermore, the preparation requires very little effort or time.story Chimmiri, also known as Chimili or Nuvvula Undalu, carries deep roots in Andhra heritage. Traditionally, mothers would pound sesame seeds and jaggery in a stone mortar. This process releases natural oils, making the mixture moist and flavorful. Therefore, the sweet gains a unique, earthy aroma that modern blenders cannot always replicate. However, the modern Chimmiri Recipe adapts easily to today’s fast-paced kitchens. It serves as a reminder of how simple ingredients can create powerful nourishment. Many people believe that this snack provides essential energy during the changing seasons. Additionally, the recipe symbolizes the importance of using local, unrefined ingredients for better health.cast 1 cup Sesame seeds (White or Black),3/4 cup Grated Jaggery,1/2 teaspoon Cardamom powder (optional for aroma),1 tablespoon Chopped dry fruits (optional for crunch)songs First, clean the sesame seeds thoroughly to remove any small stones or grit.,Next, you can choose to roast the seeds lightly on low heat for a nutty flavor, or leave them raw for maximum nutrition.,Place the sesame seeds in a blender or a mortar and pulse them coarsely.,Add the grated jaggery to the seeds and blend again until the mixture sticks together.,Consequently, the oils from the sesame will help form a soft dough.,Transfer the mixture to a bowl and add cardamom powder if you desire more fragrance.,Finally, take small portions and roll them into firm, round balls or laddus.,Serve immediately or store them in an airtight container for later use.about This Chimmiri Recipe is a nutritional powerhouse disguised as a dessert. Sesame seeds provide a massive amount of calcium and healthy fats. Meanwhile, jaggery acts as a natural sweetener that supplies iron to the body. Therefore, this snack is particularly beneficial for women and growing children. It improves bone density and boosts hemoglobin levels naturally. Additionally, because it contains no refined sugar or preservatives, it fits perfectly into a clean-eating lifestyle. You can enjoy it as a post-workout snack or a mid-day energy booster.themes To achieve the best results with your Chimmiri Recipe, always use high-quality jaggery. If the jaggery is too dry, the balls might crumble; however, adding a teaspoon of ghee can fix this issue. Furthermore, you should avoid over-blending the sesame seeds. If you grind them too much, they will turn into a paste rather than a coarse mixture. Similarly, keep the heat low if you decide to roast the seeds. Burnt seeds will make the sweet taste bitter. Finally, store your Chimmiri in a dry place to maintain its freshness for up to two weeks.whyWatch You should try this Chimmiri Recipe because it is incredibly efficient and healthy. It requires no cooking or elaborate equipment. Consequently, even beginners can master this recipe in minutes. It offers a gluten-free and vegan alternative to processed snacks. Moreover, the rich taste of sesame paired with the sweetness of jaggery creates a satisfying flavor profile. If you want to honor tradition while staying fit, this recipe is the ultimate choice for your kitchen.

Read More »

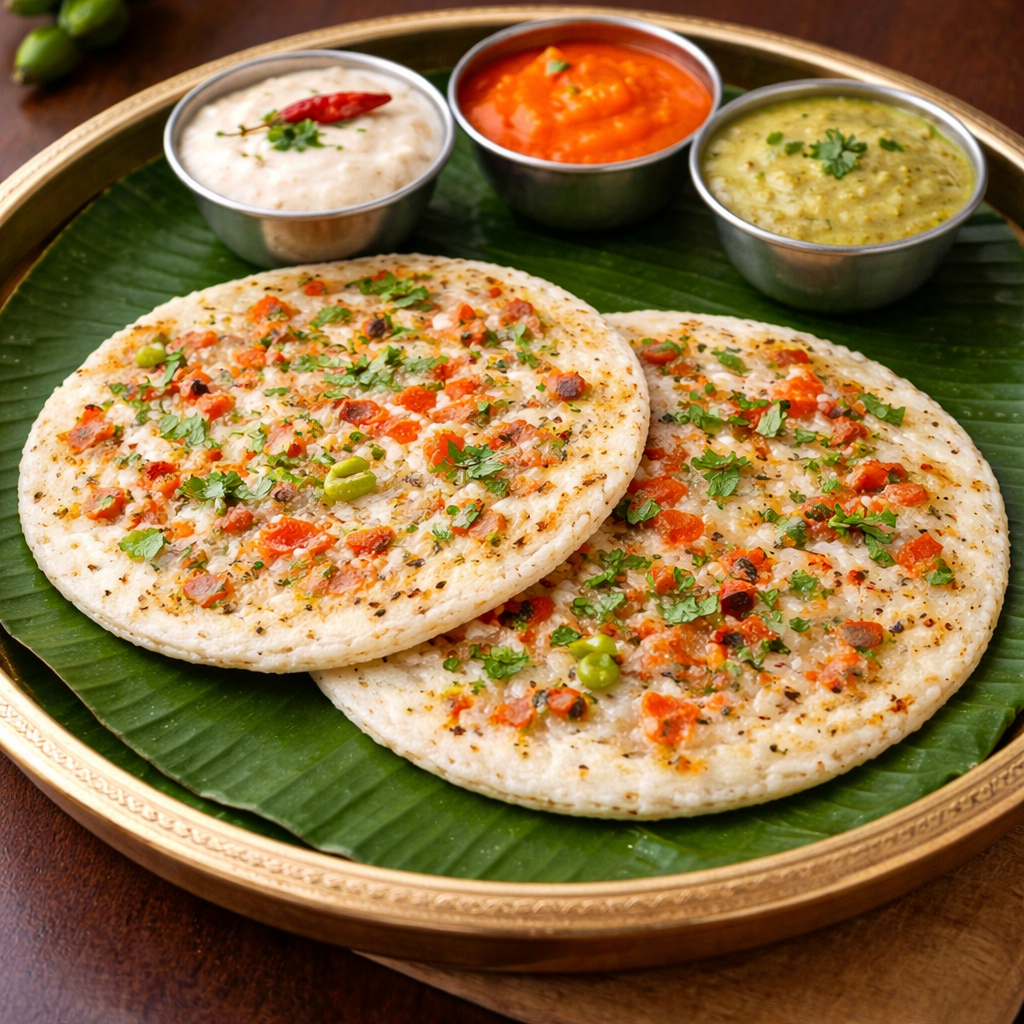
Uthappam

intro Are you looking for a healthy and filling breakfast? This Uthappam Recipe offers a delicious start to your morning. Furthermore, it combines fermented batter with colorful, fresh vegetables. Consequently, you get a meal that is both nutritious and incredibly tasty for your whole family. Therefore, let us dive into this classic culinary delight.story/description Uthappam originates from the southern regions of India. Many people often describe it as the Indian version of a savory pizza. However, instead of dough, it uses a fermented lentil and rice base. Additionally, the thick pancake supports a variety of toppings like crunchy onions, juicy tomatoes, and spicy green chilies. Therefore, every single bite provides a burst of authentic flavor. Moreover, the fermentation process makes the batter very light on the stomach. Because you pan-fry it with minimal oil, it remains a top choice for health-conscious food lovers. Furthermore, the combination of a soft center and crispy edges creates a wonderful texture.cast/ingredients To prepare this dish, you will need 2 cups of fermented Idli or Dosa batter. Additionally, gather 1 large finely chopped onion and 1 medium chopped tomato. Furthermore, prepare 2 minced green chilies and 1/2 cup of fresh coriander leaves. You will also need salt to taste and oil or ghee for cooking on the griddle.songs/steps ### Mastering the Perfect Uthappam Recipe First, you must prepare your batter by whisking it gently in a bowl. Next, heat a non-stick pan or a cast-iron griddle over medium heat. Therefore, pour a large ladle of batter onto the center of the pan. However, you should not spread it too thin like a traditional dosa. Furthermore, immediately sprinkle the chopped onions, tomatoes, and chilies on top. Press the vegetable toppings lightly with a spatula so they stick to the batter. Then, drizzle a small amount of oil around the edges of the pancake. Consequently, flip the pancake over when the bottom turns a beautiful golden brown. Finally, cook the other side for one minute until the vegetables soften and caramelize slightly.about ### Benefits of this Traditional Meal Uthappam is a staple in millions of Indian households. Furthermore, it is an incredibly versatile dish for any time of the day. You can serve it for breakfast, a light lunch, or even a quick dinner. Because the batter undergoes fermentation, it contains natural probiotics. Therefore, it supports better digestion and gut health. Additionally, it provides a fantastic gluten-free option for those with specific dietary restrictions. Consequently, many people prefer it over heavy, wheat-based breads or sugary cereals. Your Uthappam Recipe will always stay exciting if you experiment with different vegetable combinations.themes/tips Always use a slightly sour batter to achieve the best flavor profile. Furthermore, ensure your griddle is hot before you pour the batter. However, you must lower the heat once the batter hits the pan to avoid burning. Additionally, you can add grated carrots or even a sprinkle of cheese for a modern twist. Therefore, you can customize this meal to satisfy everyone at the table. Consequently, consistent practice will help you get those perfectly crispy edges every single time.whyWatch/whyTry You should try this recipe because it is very quick to assemble once the batter is ready. Furthermore, it utilizes simple ingredients that you likely already have in your pantry. Therefore, you can create a restaurant-quality meal in your own kitchen. Additionally, children love the colorful appearance and the soft texture of the pancakes. Consequently, it serves as a great way to include more vegetables in a kid-friendly meal without any fuss.

Read More »

Dosa

introPeople across the globe love the classic Indian crepe. This dosa recipe brings the authentic taste of South India right into your kitchen. Anyone can master this dish with just a few simple ingredients and techniques. Prepare yourself for a delicious, crispy meal that everyone in your family will enjoy. It also provides a healthy start to your busy day. story/description Origins The history of the dosa stretches back centuries to the southern states of India. People originally created this thin pancake using fermented batter made of rice and lentils. Evolution Today, many variations include different fillings and grains. The natural fermentation process makes it very light on the stomach. Global Popularity You can find dosa in street stalls and high-end restaurants alike. It has become a global favorite for food lovers everywhere. The combination of a crunchy exterior and soft interior makes it absolutely irresistible. cast/ingredientsTo begin, gather these items: 3 cups parboiled rice, 1 cup urad dal (black gram), 1/2 teaspoon fenugreek seeds, salt to taste, water for soaking and grinding, and oil or ghee for frying. songs/steps Preparation First, wash the rice and lentils separately until the water runs clear. Then soak them in water with fenugreek seeds for at least six hours. After soaking, grind the mixture into a very smooth, thick batter. Fermentation Let the batter ferment in a warm place for about eight to ten hours until it rises. Once the batter doubles in size, add salt and mix gently. Cooking Heat a non-stick pan or a flat tawa over medium heat. Pour a ladle of batter in the center and spread it outward in a circular motion to make a thin disc. Apply a little oil around the edges and cook until it turns golden brown and crispy. Finally, fold the crepe and serve it hot with fresh coconut chutney or spicy sambar. about Cultural Significance Dosa is much more than just a meal; it is a cultural staple of India. Most people eat it for breakfast, but it also works as a great dinner option. Health Benefits It is naturally gluten-free and vegan, which suits many different diets. Health enthusiasts often choose it because it provides a good balance of carbohydrates and proteins. Variations You can also find various versions like Masala Dosa or Mysore Dosa in many cities. themes/tips Heat Control To get a very crispy texture, keep your pan at the right temperature. If the pan gets too hot, the batter will not spread easily. If it stays too cold, the dosa will stick to the surface. Equipment and Texture Use a well-seasoned cast-iron skillet for the most authentic results. Add a pinch of sugar to the batter to achieve a beautiful golden color. Keep your heat consistent throughout the cooking process for the best outcome. whyWatch/whyTry Taste and Flexibility Try this recipe because it offers a unique combination of crunch and tanginess. It also lets you experiment with various fillings like spiced potatoes, cheese, or vegetables. Practical Benefits Making this dish at home saves money and ensures the use of high-quality ingredients. The satisfaction of flipping a perfect, thin crepe feels truly rewarding. It also gives you a fun way to introduce your family to international flavors.

Read More »

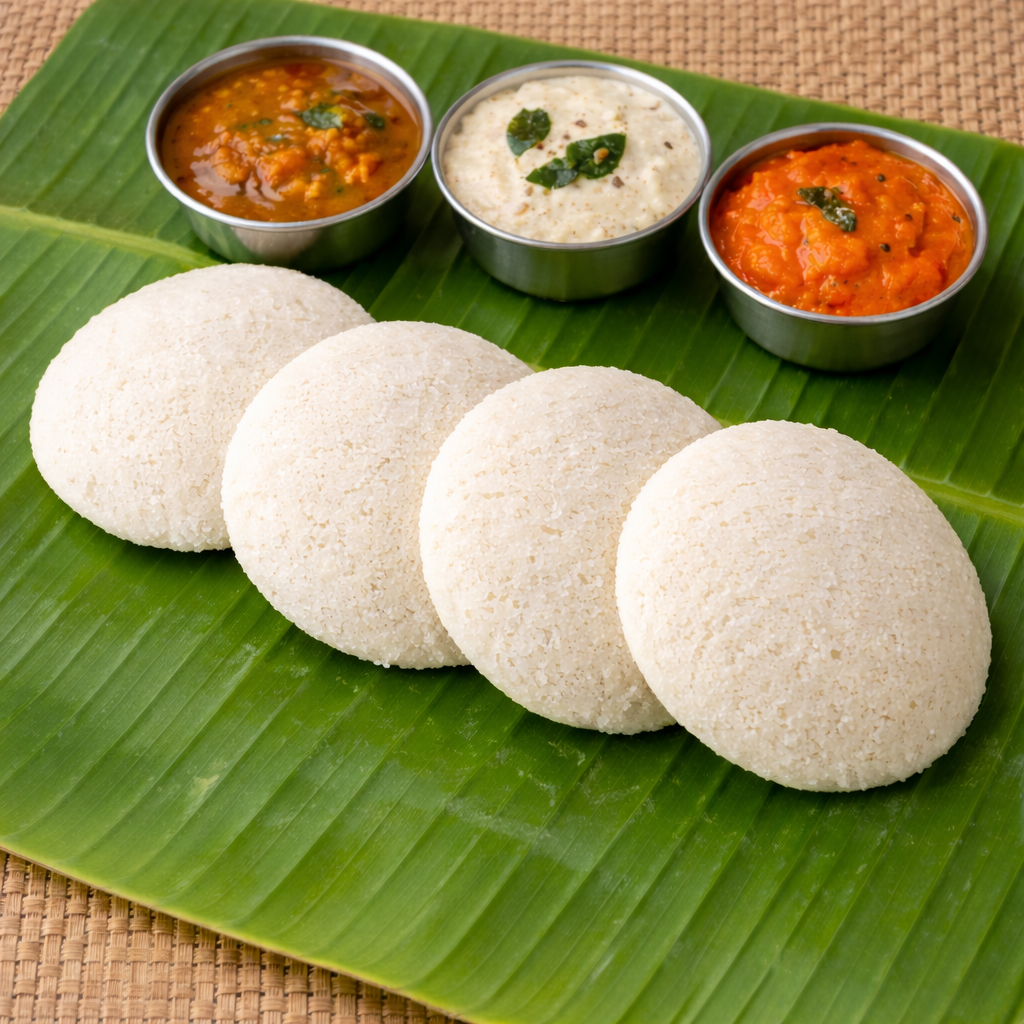
Idly

intro Start your day with a healthy and delicious Idly Recipe. This dish offers a light yet satisfying experience for your morning meal. Many households across the globe prepare it daily. Consequently, it has become a favorite for health-conscious foodies. If you want to achieve that perfect cloud-like texture, you must follow specific steps. Therefore, let us explore the secrets behind this classic dish together.story/description The idly represents centuries of culinary tradition. It traveled across continents from its origins in South India. People value it because it uses steam instead of oil. Furthermore, the natural fermentation process improves digestion significantly. Moreover, mothers often serve it to children as a first solid food. This choice proves how nutritious and gentle the meal remains for all ages. However, the true beauty lies in its simple nature. You only need a few basic ingredients to create this masterpiece. Additionally, the mild flavor pairs perfectly with spicy chutneys or savory sambar. Many people consider it the ultimate comfort food for any time of day.cast/ingredients To start your journey, gather 3 cups of high-quality idly rice. You also need 1 cup of whole white urad dal. Additionally, include 1 teaspoon of fenugreek seeds to help with the fermentation. Naturally, you will need clean water for soaking and grinding. Finally, add salt to the batter once it reaches the right consistency.songs/steps ### Step-by-Step Idly Recipe Guide First, wash the rice and dal separately in cold water. Soak them for at least six hours to ensure they soften. Furthermore, grind the urad dal into a very smooth and fluffy paste. Then, grind the rice into a slightly coarse texture. Consequently, mix both batters together in a large bowl and add salt. Place the mixture in a warm spot for eight to twelve hours to ferment. Once the batter rises, grease your idly plates with a little oil. Specifically, pour the batter into the molds carefully. Steam the idlies in a steamer for about twelve minutes. Eventually, you will see them puff up beautifully. Finally, remove them gently after a few minutes of cooling.about ### Mastering the Soft Idly Recipe This Idly Recipe creates a gluten-free and vegan-friendly meal for your family. It provides essential proteins and carbohydrates for lasting energy. Because the batter ferments naturally, it supports healthy gut bacteria. Therefore, it is a great choice for weight loss or general wellness. Moreover, it remains soft even if you pack it for lunch later.themes/tips Success depends mostly on the local climate. For instance, cold weather slows down the fermentation process. Therefore, keep the batter in an oven with the light on during winter. Additionally, do not over-grind the rice into a fine powder. A tiny bit of grit helps create the perfect texture. Furthermore, avoid over-steaming, or the idlies might become hard and dry. However, if you follow these specific proportions, you will succeed every time.whyWatch/whyTry You should try this recipe because it is incredibly versatile and cheap. It works for breakfast, lunch, or a light dinner. Additionally, it contains no preservatives or artificial chemicals. Furthermore, homemade versions beat store-bought options in both taste and health. Consequently, your family will enjoy a fresh and authentic experience. Start your healthy cooking journey with this timeless recipe today!

Read More »

Red Chilli Pickle

కావలసిన పదార్ధాలు
  • పండు మిరపకాయలు Red Chillies (Fresh and ripe) 500 grams
  • చింతపండు Tamarind (Deseed and cleaned) 100 grams
  • ఉప్పు Salt (Preferably sea salt) 100 grams
  • పసుపు Turmeric Powder 1 tablespoon
  • మెంతులు Fenugreek Seeds 1 tablespoon
  • నువ్వుల నూనె Sesame Oil (Gingelly oil) 1/2 cup
  • ఆవాలు Mustard Seeds 1 tablespoon
  • ఇంగువ Asafoetida 1/4 teaspoon
  • వెల్లుల్లి రెబ్బలు Garlic Cloves (Crushed) 10 cloves
  • ఆవ పిండి Mustard Powder 2 teaspoons
తయారి విధానం
  1. ముందుగా పండు మిరపకాయలను శుభ్రంగా కడిగి తడి లేకుండా పొడి గుడ్డతో తుడిచి పూర్తిగా ఆరనివ్వాలి. పచ్చడి ఎక్కువ కాలం నిల్వ ఉండాలంటే తడి అస్సలు ఉండకూడదు.
    Wash the fresh red chillies thoroughly and wipe them with a dry cloth. Spread them out to air-dry completely as any moisture will cause the pickle to spoil.
  2. చింతపండు నుండి గింజలు పీచు తీసి శుభ్రం చేసి పెట్టుకోవాలి.
    Ensure the tamarind is free from seeds and fibers before using it.
  3. ఒక మిక్సీ జార్‌లో ఆరిన పండు మిరపకాయలు ఉప్పు మరియు చింతపండు వేసి కొంచెం కచ్చాపచ్చాగా గ్రైండ్ చేసుకోవాలి.
    In a blender or a stone mortar, add the dried red chillies, salt, and tamarind. Grind them into a coarse paste.
  4. మెంతులను ఒక పాన్‌లో దోరగా వేయించి చల్లారిన తర్వాత మెత్తటి పొడిలా చేసుకోవాలి.
    Dry roast the fenugreek seeds in a pan until they turn golden brown. Once cooled, grind them into a fine powder.
  5. గ్రైండ్ చేసిన మిశ్రమాన్ని ఒక గిన్నెలోకి తీసుకుని అందులో పసుపు మెంతి పొడి మరియు ఆవ పిండి వేసి బాగా కలపాలి.
    Transfer the chilli-tamarind paste to a mixing bowl and stir in the turmeric powder, roasted fenugreek powder, and mustard powder.
  6. ఒక పాన్‌లో నువ్వుల నూనె వేడి చేసి అందులో ఆవాలు వేయాలి. ఆవాలు చిటపటలాడిన తర్వాత ఇంగువ మరియు దంచిన వెల్లుల్లి రెబ్బలు వేసి వేయించాలి.
    Heat sesame oil in a pan for tempering. Add mustard seeds and let them splutter. Then add the crushed garlic cloves and asafoetida, frying until the garlic turns slightly golden.
  7. పోపు పూర్తిగా చల్లారిన తర్వాత మాత్రమే పచ్చడి మిశ్రమంలో వేసి బాగా కలపాలి.
    Allow the tempering to cool down completely to room temperature before adding it to the pickle mixture.
  8. ఈ పచ్చడిని ఒక రోజంతా పక్కన పెడితే రుచులు బాగా పడతాయి. ఆ తర్వాత గాలి చొరబడని గాజు సీసాలో భద్రపరుచుకోవాలి.
    Mix everything thoroughly and let it sit for a day for the flavors to meld. Store it in a sterilized airtight glass jar.
[real3dflipbook id='1']