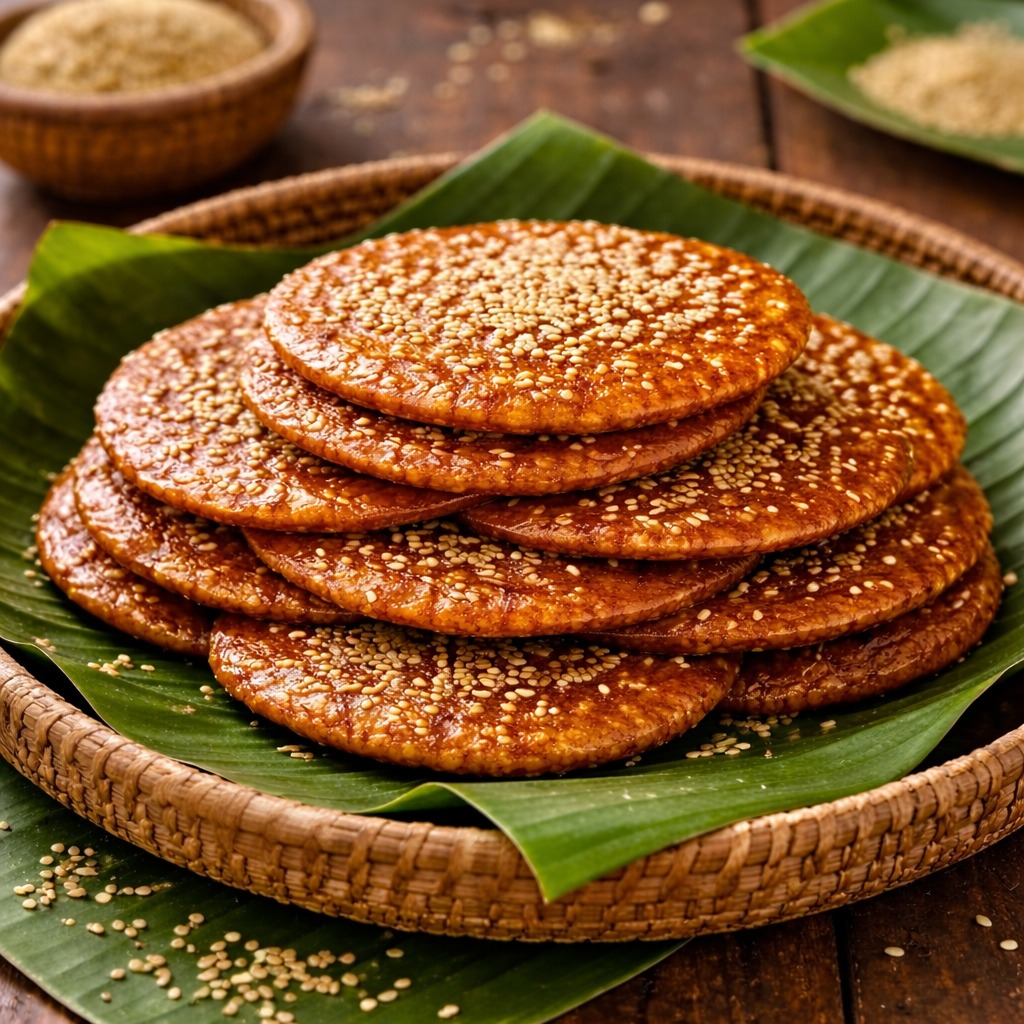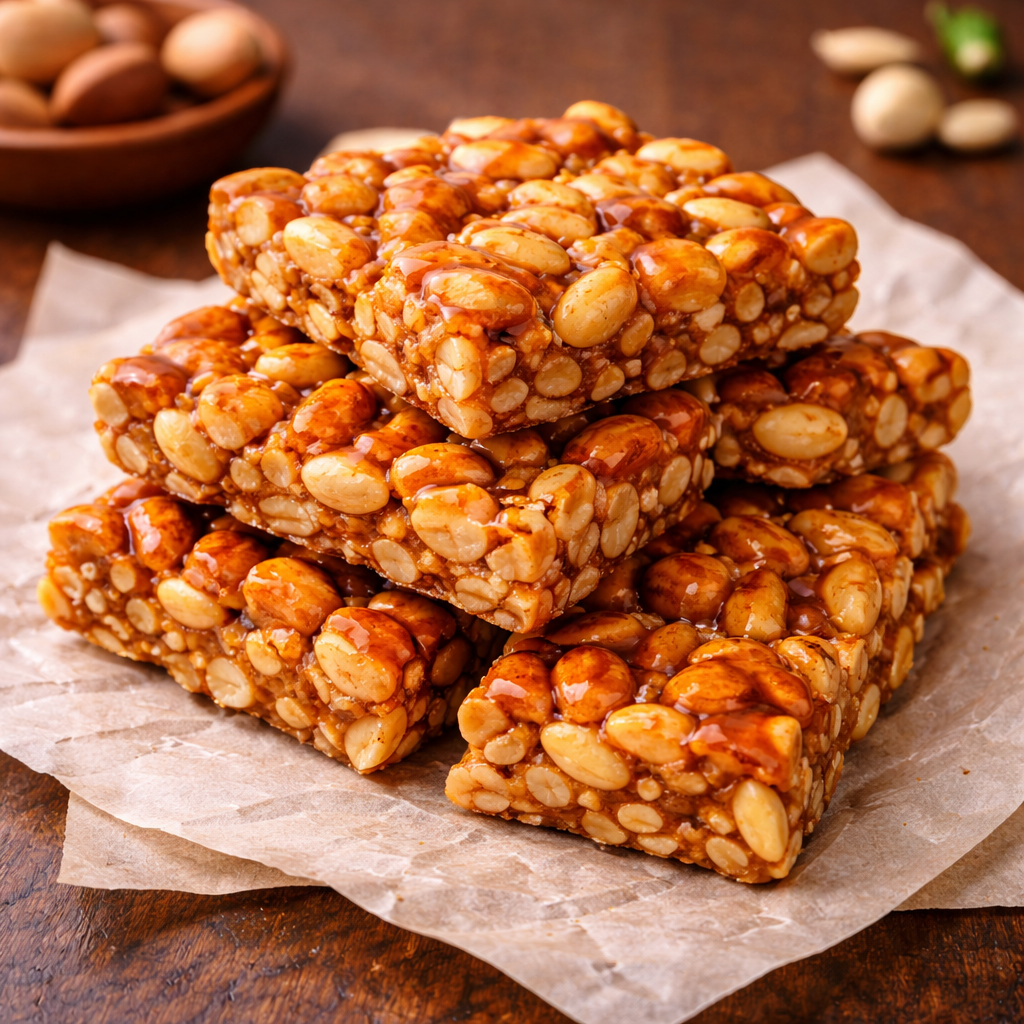
Jaggery Peanut Brittle
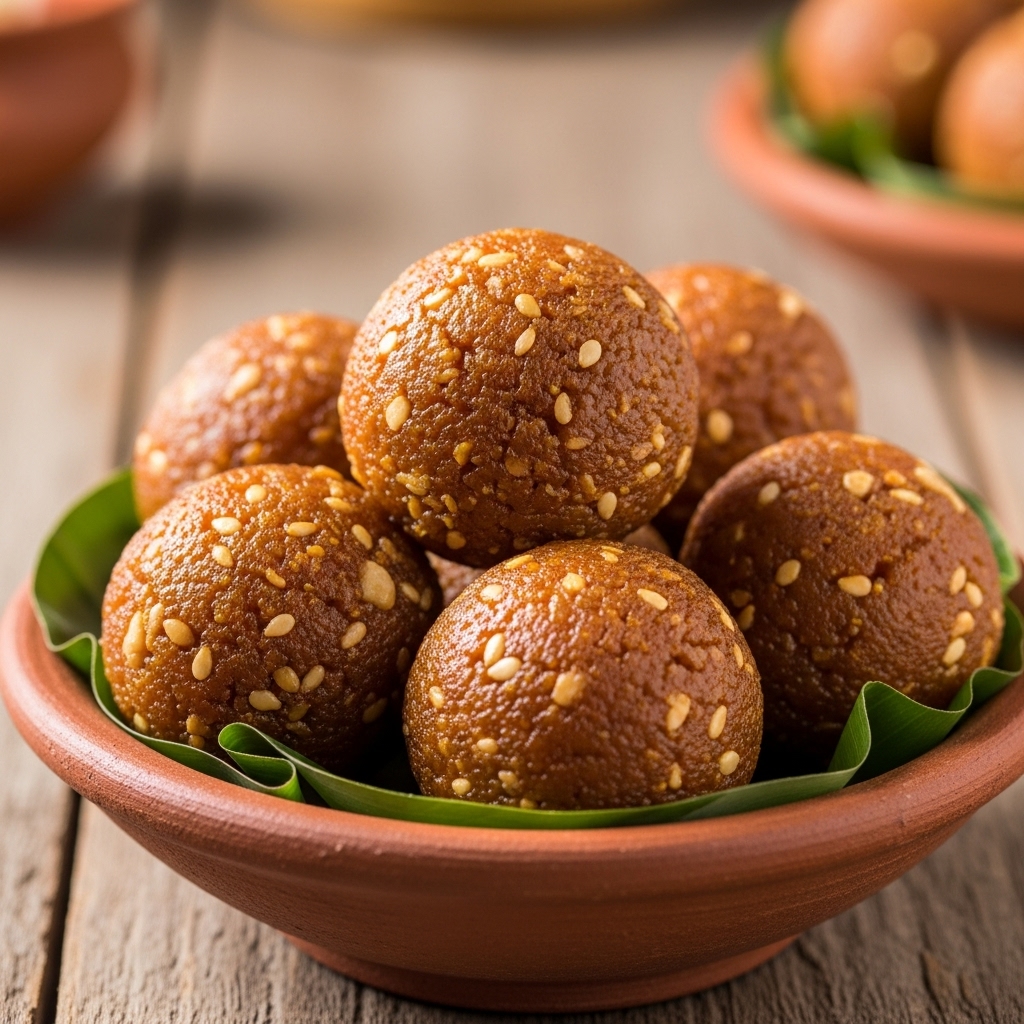
intro If you love sweet and crunchy snacks, you must try this Jaggery Peanut Brittle. This traditional treat combines roasted peanuts with rich, golden jaggery syrup. Furthermore, it is much healthier than candies made with refined sugar. Consequently, families often prepare this during winter months for a quick energy boost. Moreover, you can make it at home with just a few simple ingredients.story This snack, also known as Chikki in India, has a long and delicious history. People originally made it to provide warmth and nutrition during cold weather. Therefore, it remains a staple in many households today. The combination of earthy peanuts and caramel-like jaggery creates a unique flavor profile. Additionally, the texture provides a satisfying snap when you bite into it. However, the secret lies in achieving the perfect syrup consistency. Once you master the syrup, you will enjoy the best homemade candy ever.cast 2 cups of roasted peanuts, 1.5 cups of grated jaggery, 1 tablespoon of ghee (clarified butter), 1/2 teaspoon of cardamom powder, 1 tablespoon of water.songs 1. Grease a flat tray or parchment paper with ghee and set it aside carefully. 2. Roast the peanuts in a pan until they are crunchy and then remove the skins. 3. Heat the grated jaggery in a heavy-bottomed pan with one tablespoon of water. 4. Stir the mixture continuously until the jaggery melts and begins to bubble. 5. Check the consistency by dropping a bit of syrup into cold water; it should turn brittle and snap immediately. 6. Add the roasted peanuts and cardamom powder to the syrup very quickly. 7. Mix well to coat every peanut thoroughly and then pour the mixture onto the greased tray. 8. Flatten it with a greased rolling pin while the mixture is still hot. 9. Cut the sheet into squares while warm and let it cool completely before snapping the pieces apart.about ### Why Choose This Jaggery Peanut Brittle Recipe? Choosing this Jaggery Peanut Brittle Recipe means you are opting for a nutrient-dense snack. Jaggery contains essential minerals like iron and magnesium that sugar lacks. Moreover, peanuts provide a high amount of protein and healthy fats for your body. Therefore, this snack is perfect for children and adults who need a natural energy source during the day. Additionally, it contains no artificial preservatives or colors. Consequently, it is a clean-label treat that you can trust for your family. Furthermore, the preparation time is very short, so you can make it anytime a craving hits.themes ### Tips for the Perfect Jaggery Peanut Brittle Recipe To ensure success, always use high-quality jaggery for the best flavor and deep color. Furthermore, roasting the peanuts properly is vital for the final crunch. If you do not roast them enough, the brittle will feel soft or chewy instead of crisp. Additionally, work very fast once the syrup reaches the hard-ball stage because it sets quickly. However, be careful as the molten sugar mixture is extremely hot. Consequently, keep all your tools ready before you start the cooking process. Finally, store the cooled pieces in an airtight container to keep them crisp for several weeks.whyWatch You should try this recipe because it is simple, healthy, and very cost-effective. Furthermore, it allows you to control the quality of ingredients in your food. Consequently, you can enjoy a guilt-free dessert whenever you have a sweet craving. Additionally, it makes for a wonderful homemade gift for friends and family during festive seasons. Therefore, start cooking today and enjoy the classic, nostalgic taste of homemade brittle.