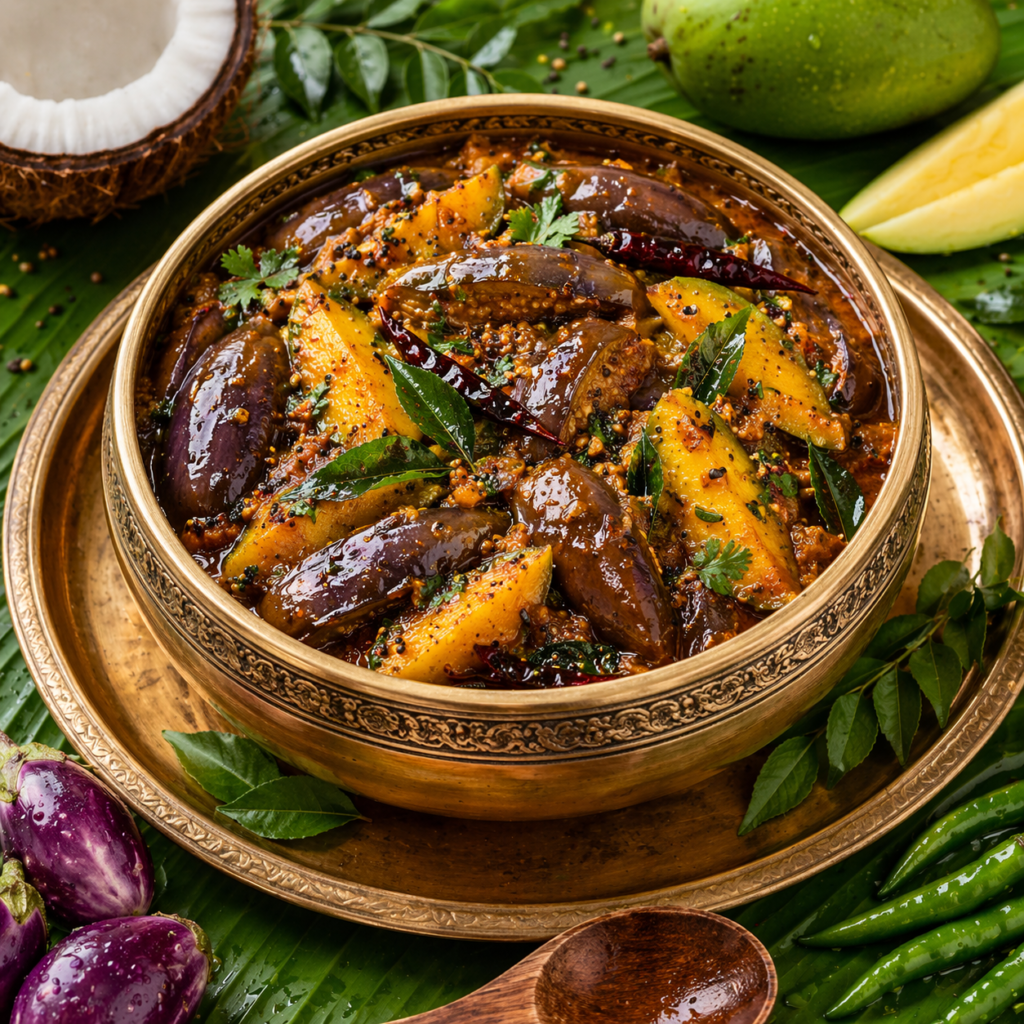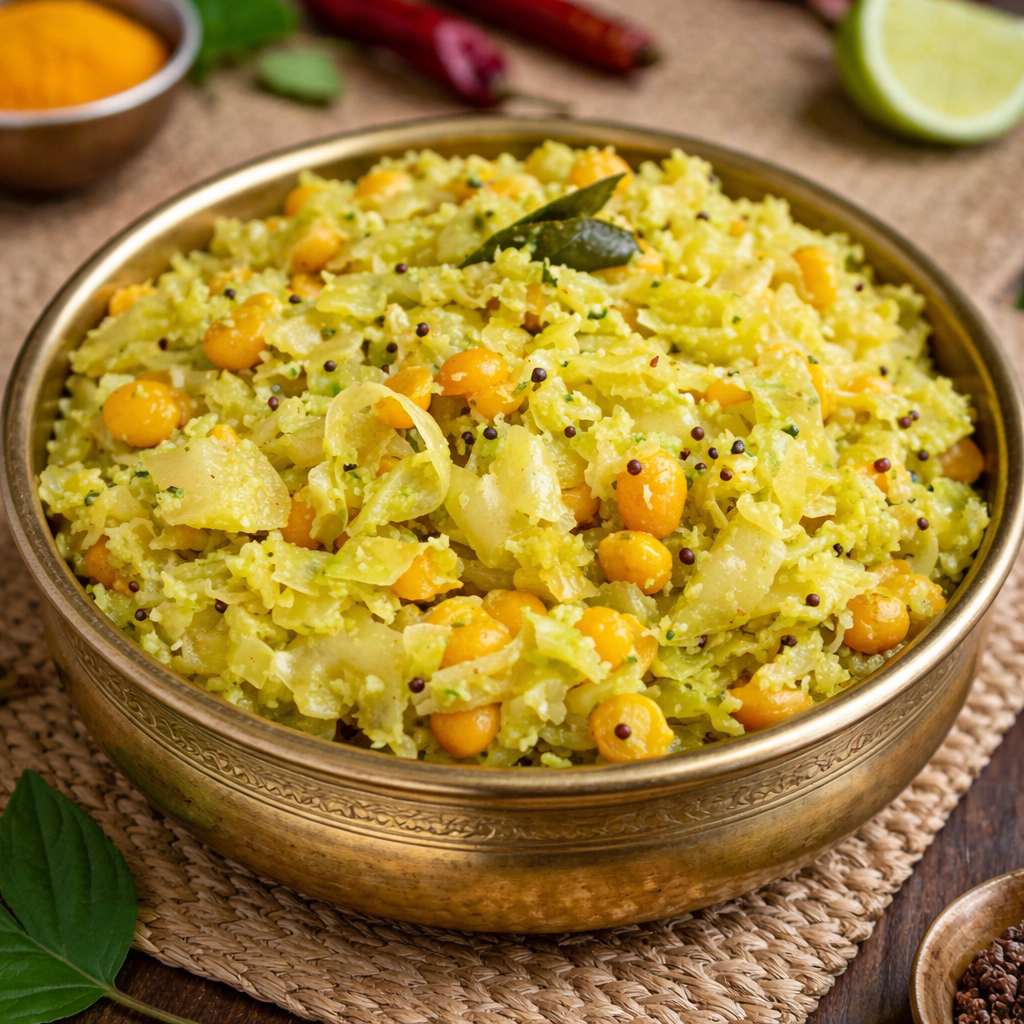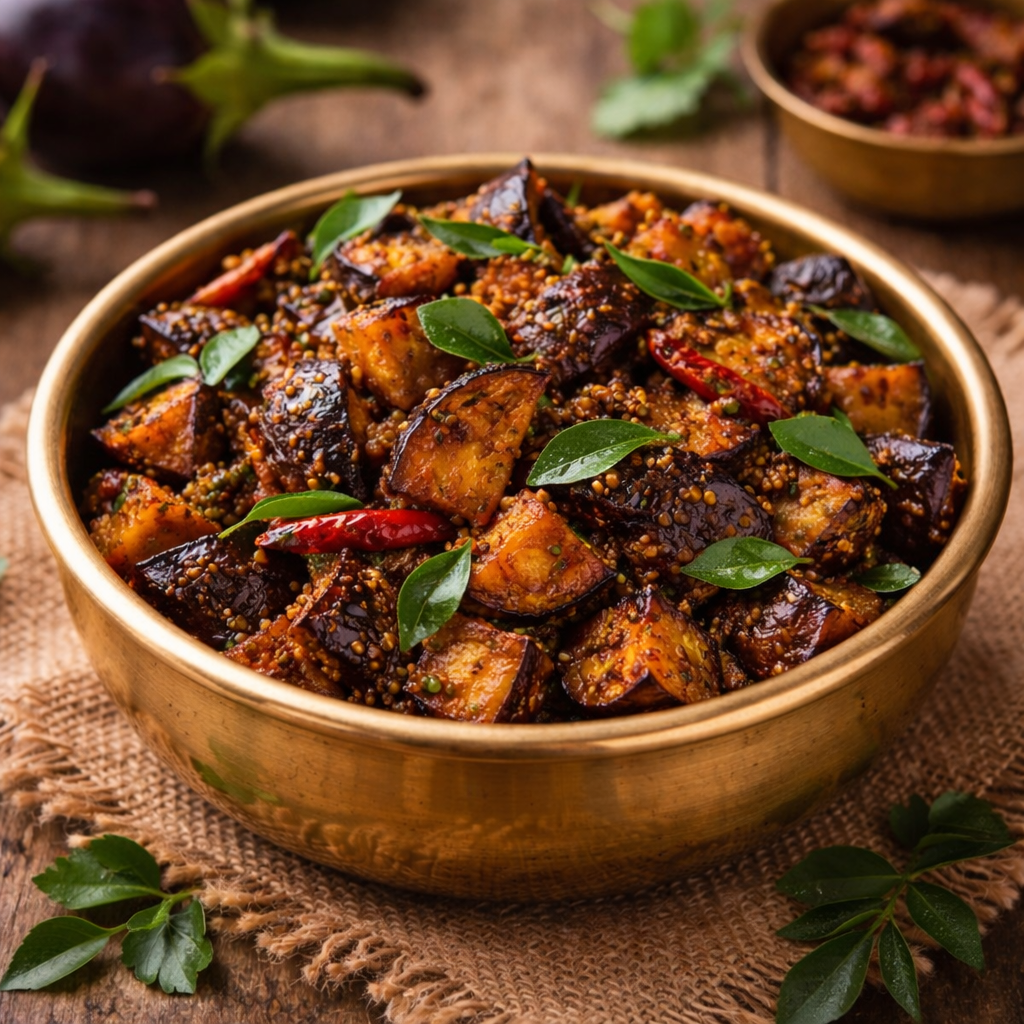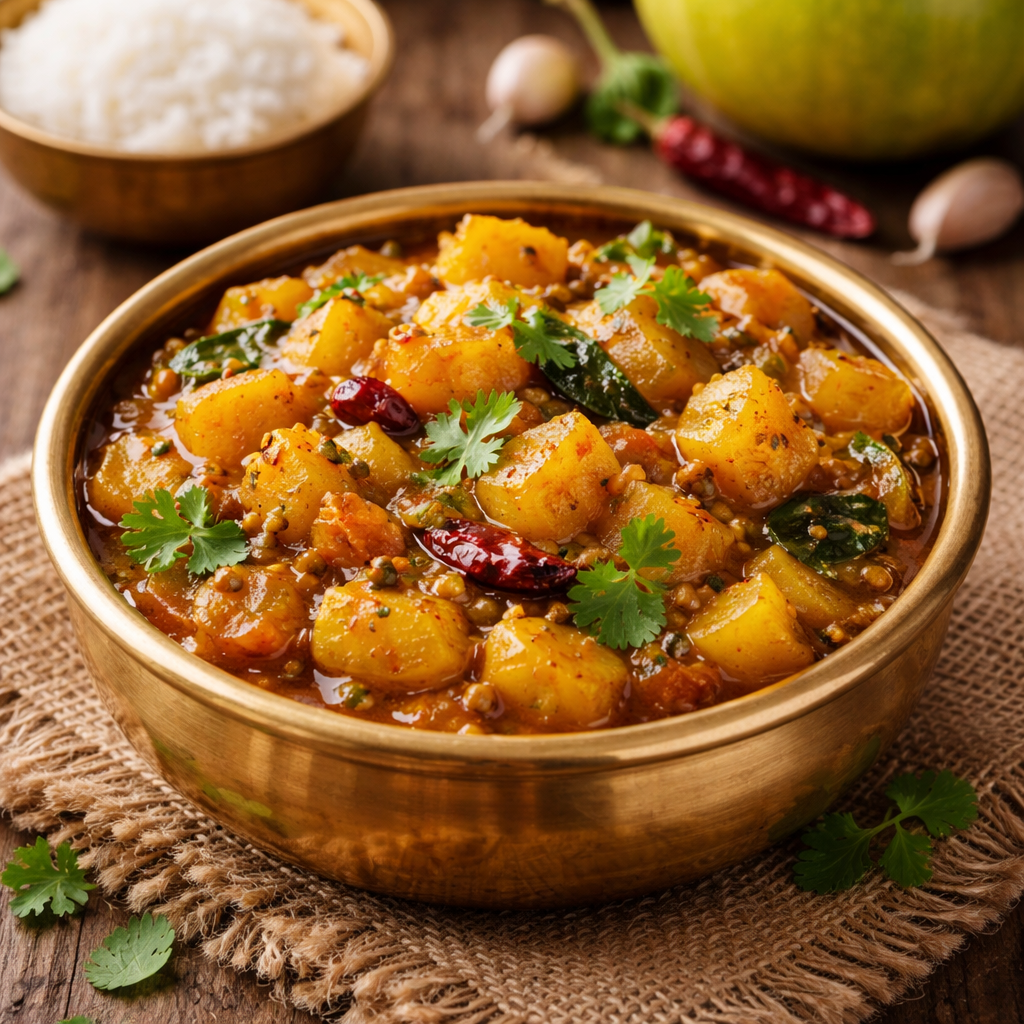
Mamidikaya Goruchikkudu Kura
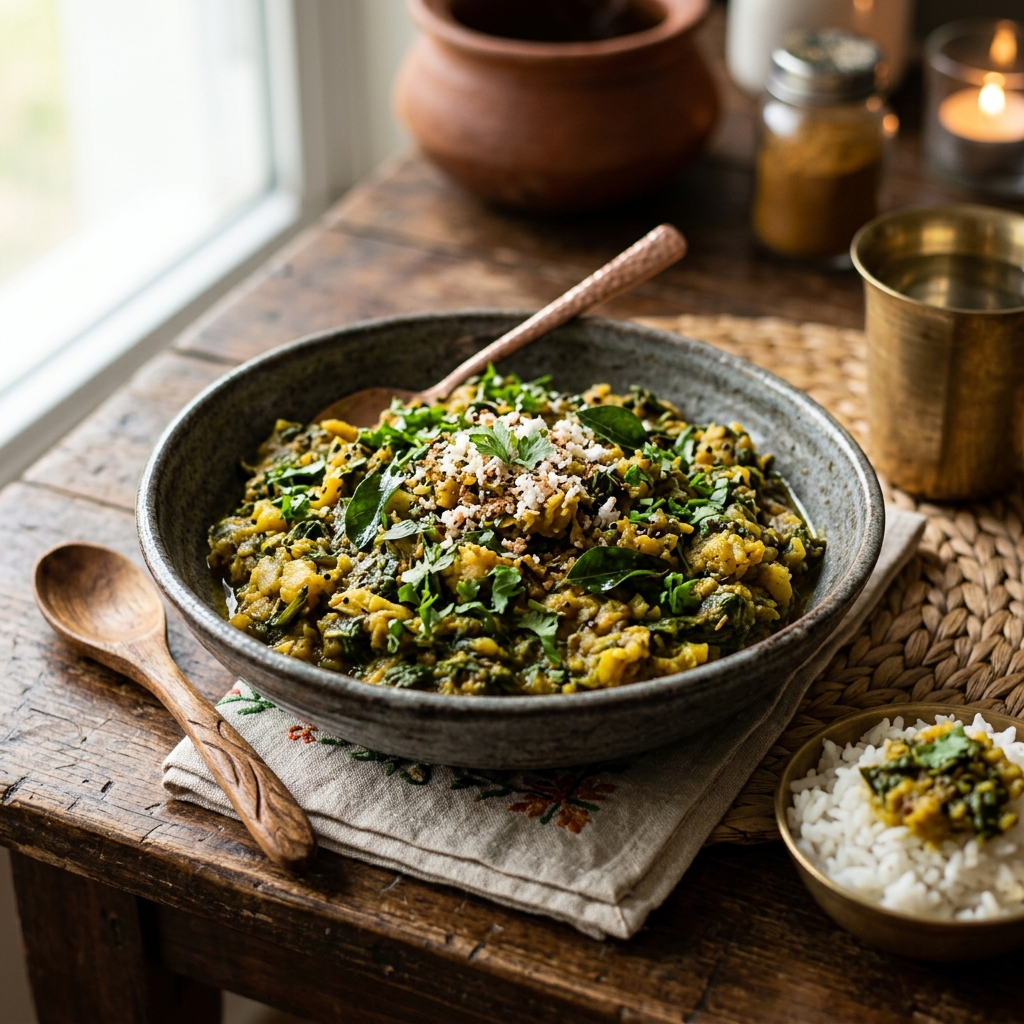
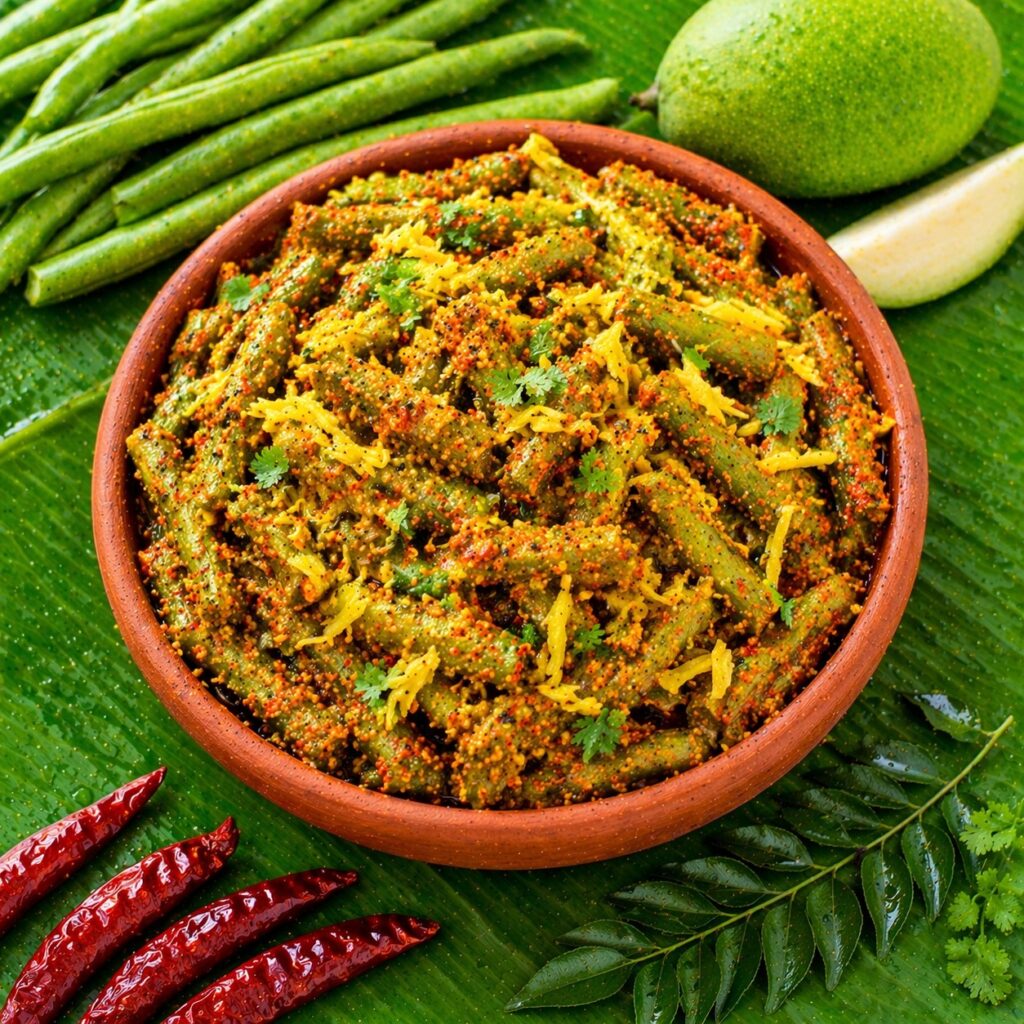
intro Are you searching for a traditional South Indian flavor? This Mamidikaya Goruchikkudu Kura Recipe brings the best of tangy raw mango and healthy cluster beans together. Moreover, it is incredibly easy to prepare for a quick lunch. Consequently, you can enjoy a nutritious meal without spending hours in the kitchen. Therefore, this dish serves as a perfect addition to your weekly rotation.story This traditional Andhra dish showcases the beauty of seasonal cooking. Specifically, it uses raw mango to provide a natural sourness instead of using tamarind. Additionally, cluster beans, also known as gavar, offer amazing health benefits like improved digestion. However, many people find cluster beans plain on their own. Therefore, adding grated mango transforms them into a gourmet experience. Furthermore, the tempering of mustard seeds and curry leaves adds a wonderful aromatic layer. Similarly, the use of fresh turmeric enhances the vibrant color of the dish. Consequently, every bite feels like a celebration of summer flavors. Besides being tasty, this recipe remains light on the stomach. Thus, it is perfect for a warm afternoon meal with your family.cast 1. 250g Cluster Beans (Goruchikkudu), 2. 1 Medium Raw Mango (Mamidikaya), 3. 2 tbsp Vegetable Oil, 4. 1 tsp Mustard Seeds, 5. 1 tsp Cumin Seeds, 6. 2 Green Chilies, 7. 1/2 tsp Turmeric Powder, 8. 1 tsp Red Chili Powder, 9. Salt to taste, 10. Fresh Curry Leaves.songs First, you must wash and string the cluster beans. Second, chop them into small pieces and set them aside. Third, peel and grate the raw mango into a bowl. Next, heat the oil in a pan over medium heat. Additionally, add the mustard seeds and cumin until they splutter. Furthermore, sauté the green chilies and curry leaves for a few seconds. After that, add the chopped cluster beans and sprinkle some salt. Cover the pan and cook until the beans become tender. However, do not overcook them. Once the beans are soft, mix in the grated mango and turmeric. Consequently, the moisture from the mango will help the spices coat the beans. Finally, cook for another five minutes and serve it hot.about This Mamidikaya Goruchikkudu Kura Recipe is a powerhouse of nutrition. Cluster beans provide essential fiber, while raw mango offers a high dose of Vitamin C. Therefore, this dish boosts your immunity while keeping you full. Moreover, it uses very little oil, making it a heart-healthy choice for everyone.themes To make this Mamidikaya Goruchikkudu Kura Recipe even better, ensure the beans are very fresh. For example, you can pressure cook the beans for one whistle to save time. Additionally, use a firm raw mango for the best texture. If the mango is too soft, it might turn the curry mushy. Moreover, adjust the chili powder according to your spice preference. Similarly, you can add a tiny pinch of jaggery to balance the sourness. Consequently, the flavors will pop even more. Furthermore, always serve this curry with hot steamed rice and a dollop of ghee. Therefore, you will get the most authentic South Indian experience.whyWatch You should try this recipe because it combines health and taste perfectly. Instead of cooking the same old vegetables, this mango-infused dish offers a refreshing change. Moreover, it requires simple ingredients already in your pantry. Therefore, you can create a masterpiece today!
Mamidikaya Goruchikkudu Kura Read More »