Edit Template

Recipe Tag: South Indian

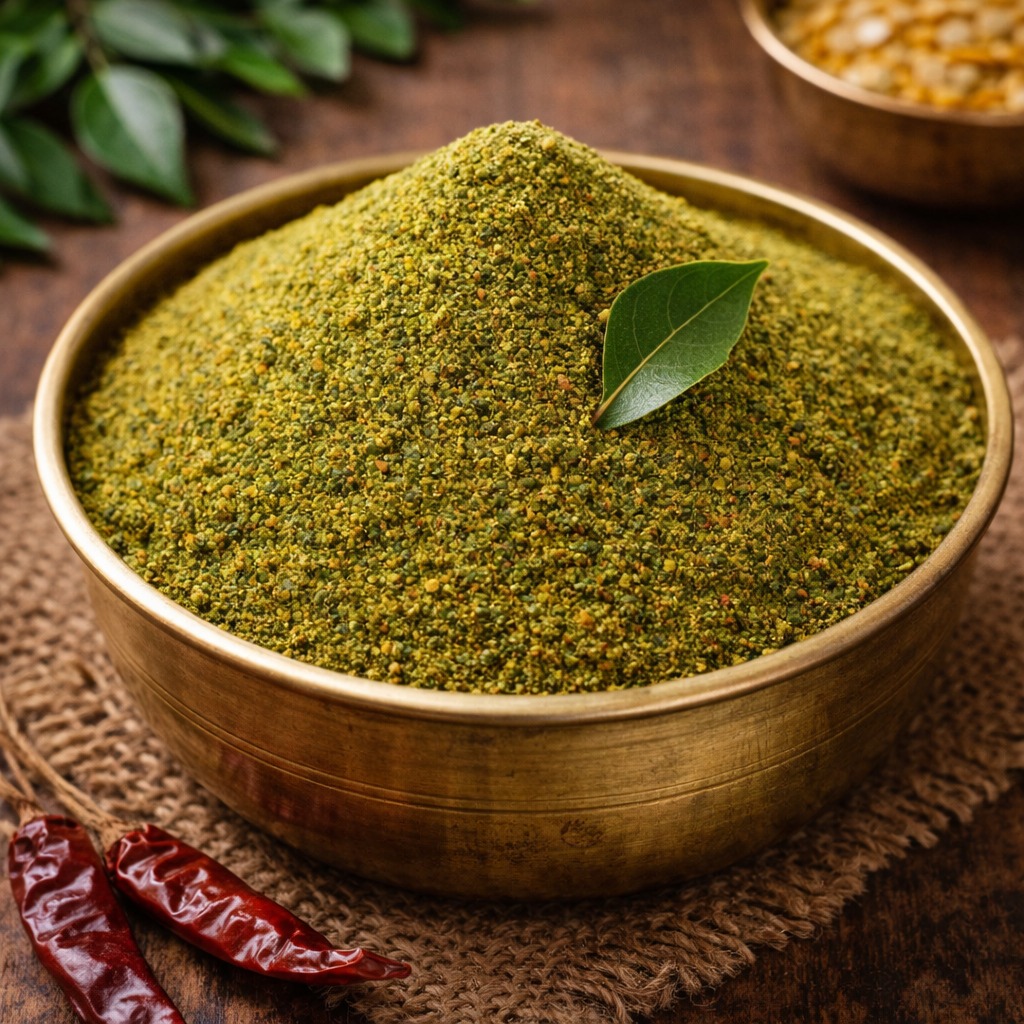
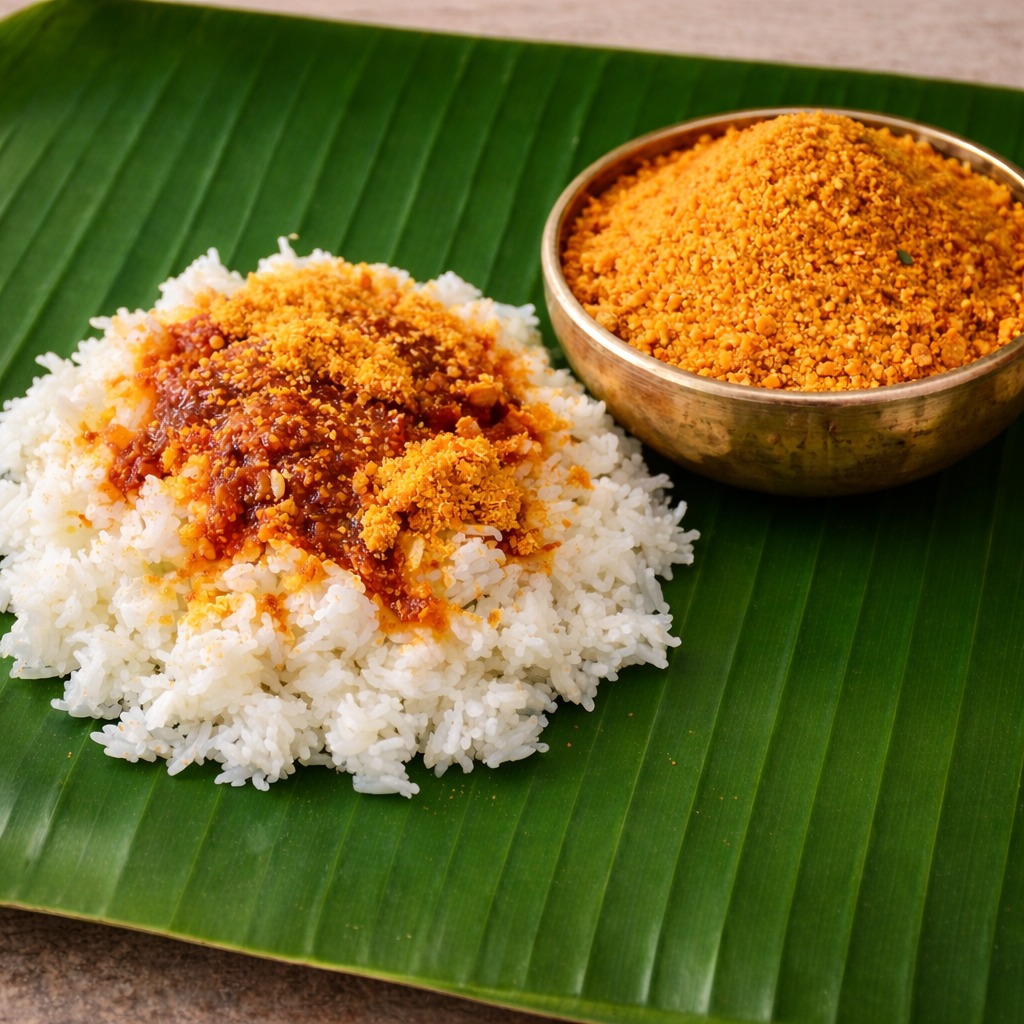
Kandi Podi

intro Are you looking for a comforting meal? The Kandi Podi Recipe offers a burst of flavor to your plate. Many people call it ‘Andhra Gunpowder’ because of its spicy nature. However, this version uses roasted lentils for a deep, nutty taste. Therefore, it is a must-have for every spice lover who wants an authentic Indian taste.story/description This spice blend comes from the heart of Andhra Pradesh. People love it because it tastes like a warm hug from home. Additionally, families often pass down these secrets through generations to keep the tradition alive. Consequently, every household has a slightly different version, but the soul of the recipe remains the same.cast/ingredients To start, you will need 1 cup of Toor Dal (Pigeon Peas) and 1/4 cup of Chana Dal (Bengal Gram). Additionally, gather 10-12 Dried Red Chilies to provide the heat. You also need 1 teaspoon of Cumin Seeds and 1/4 teaspoon of Hing (Asafoetida). Finally, include Salt to taste to balance all the earthy flavors.songs/steps Firstly, heat a heavy-bottomed pan over a low flame. Roast the toor dal until it turns golden brown and smells nutty. Similarly, roast the chana dal separately until it changes color. After that, add the red chilies and cumin seeds to the pan. Roast them for a minute until they become crisp. Consequently, let all the ingredients cool down completely on a plate. Finally, grind the mixture into a coarse powder along with salt and hing.about This powder represents the true simplicity of Indian cooking. However, the taste is quite complex and very rewarding. You can enjoy it with hot steamed rice and a dollop of ghee. In addition, it provides a good amount of plant-based protein from the lentils. Therefore, it is a healthy addition to your daily diet.themes/tips ### Success Tips for Kandi Podi Recipe Always roast the lentils on low heat to ensure even cooking. Otherwise, the dal might burn on the outside while staying raw inside. Moreover, keep the finished powder in an airtight glass jar for maximum freshness. If you use a wet spoon, the shelf life will decrease significantly. Therefore, stay very careful with moisture during the storage process.whyWatch/whyTry You should try this Kandi Podi Recipe for a quick and easy lunch solution. It saves a lot of time on busy weekdays when you cannot cook a full meal. Furthermore, it adds a spicy kick to otherwise bland dishes like idli or dosa. Similarly, it makes for a great travel companion as it does not spoil easily and provides instant flavor.

Read More »

Raw Banana Ginger Chili Curry

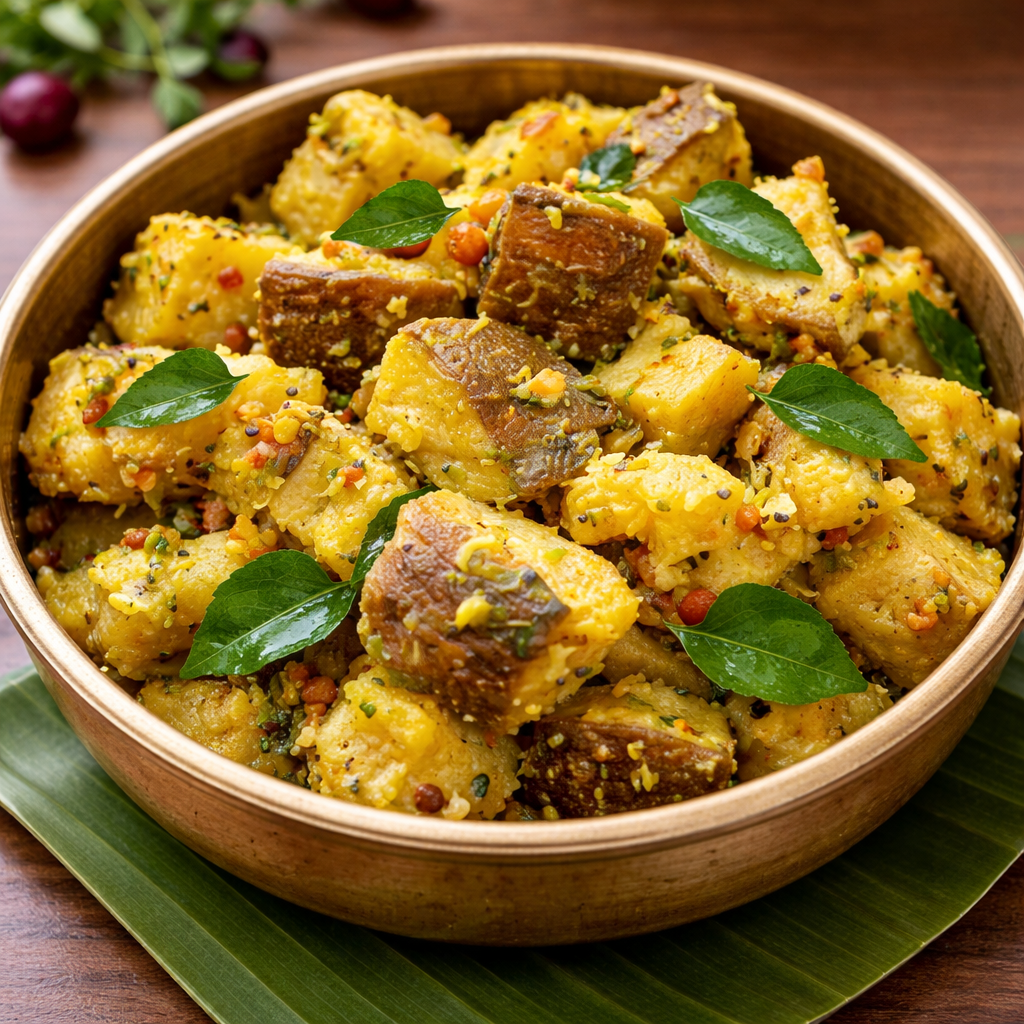
intro Are you looking for a unique and healthy meal for your family? This Raw Banana Ginger Chili Curry Recipe offers a vibrant explosion of flavors for your dinner table. Furthermore, it combines the earthy taste of green bananas with the sharp heat of fresh ginger. You will love how quickly this dish comes together. Additionally, it provides a nutritious alternative to traditional potato curries. Therefore, let’s dive into this zesty culinary adventure and learn how to cook it.story This dish originates from traditional tropical kitchens where raw bananas serve as a staple ingredient. However, the addition of ginger and chili transforms it into something modern and exciting. The raw banana holds its texture beautifully during cooking. Consequently, every bite offers a satisfying firmness. Moreover, the ginger aids digestion and adds a refreshing zing to the spicy base. Since this recipe uses minimal oil, it remains a light choice for any health-conscious foodie. Therefore, you can enjoy a hearty meal without feeling heavy afterward. This curry truly celebrates natural ingredients in their simplest form.cast Gather these items for your kitchen: 3 medium raw bananas (peeled and cubed), 2-inch piece of fresh ginger (grated), 4 green chilies (slit), 1 teaspoon turmeric powder, 1 teaspoon mustard seeds, a handful of curry leaves, and salt to taste. Additionally, you will need 2 tablespoons of coconut oil and a splash of water. Because these ingredients are simple, you can find them at any local market. However, ensure the bananas are firm and bright green for the best results.songs Follow these steps to make your Raw Banana Ginger Chili Curry Recipe. First, heat the coconut oil in a large pan over medium heat. Next, add the mustard seeds and wait for them to pop. Then, toss in the fresh curry leaves and the grated ginger. Furthermore, add the slit green chilies to release their heat. Add the cubed raw bananas and stir them well into the spices. Additionally, sprinkle the turmeric powder and salt over the mixture. Pour in a half cup of water and cover the pan. Therefore, let it simmer for ten minutes until the bananas are tender. Finally, remove the lid and stir until the excess water evaporates.about This curry is a nutritional powerhouse that fits perfectly into a plant-based diet. Raw bananas are rich in resistant starch and fiber. Consequently, they help maintain steady energy levels. The combination of ginger and green chili provides a metabolic boost. Furthermore, this dish represents the essence of South Indian coastal cooking. It focuses on fresh produce and aromatic spices rather than heavy sauces. Therefore, it remains a favorite for those who appreciate clean eating.themes To make this Raw Banana Ginger Chili Curry Recipe even better, use fresh curry leaves instead of dried ones. Moreover, you can adjust the chili count to suit your heat preference. If you want a creamier texture, add a splash of coconut milk at the end. However, the classic version remains popular for its sharp and clean taste profile. Additionally, always peel the bananas just before cooking to prevent browning. Therefore, your curry will maintain a bright and appetizing color.whyWatch This recipe works perfectly with steamed rice or hot flatbreads. Consequently, it fits into any meal plan easily. Furthermore, the combination of ginger and raw banana creates a gut-friendly environment. Because it is naturally vegan and gluten-free, everyone at the table can enjoy it. Therefore, try this recipe today to experience a true taste of the tropics. You will surely impress your guests with these bold and refreshing flavors.

Read More »

Tomato Pappu

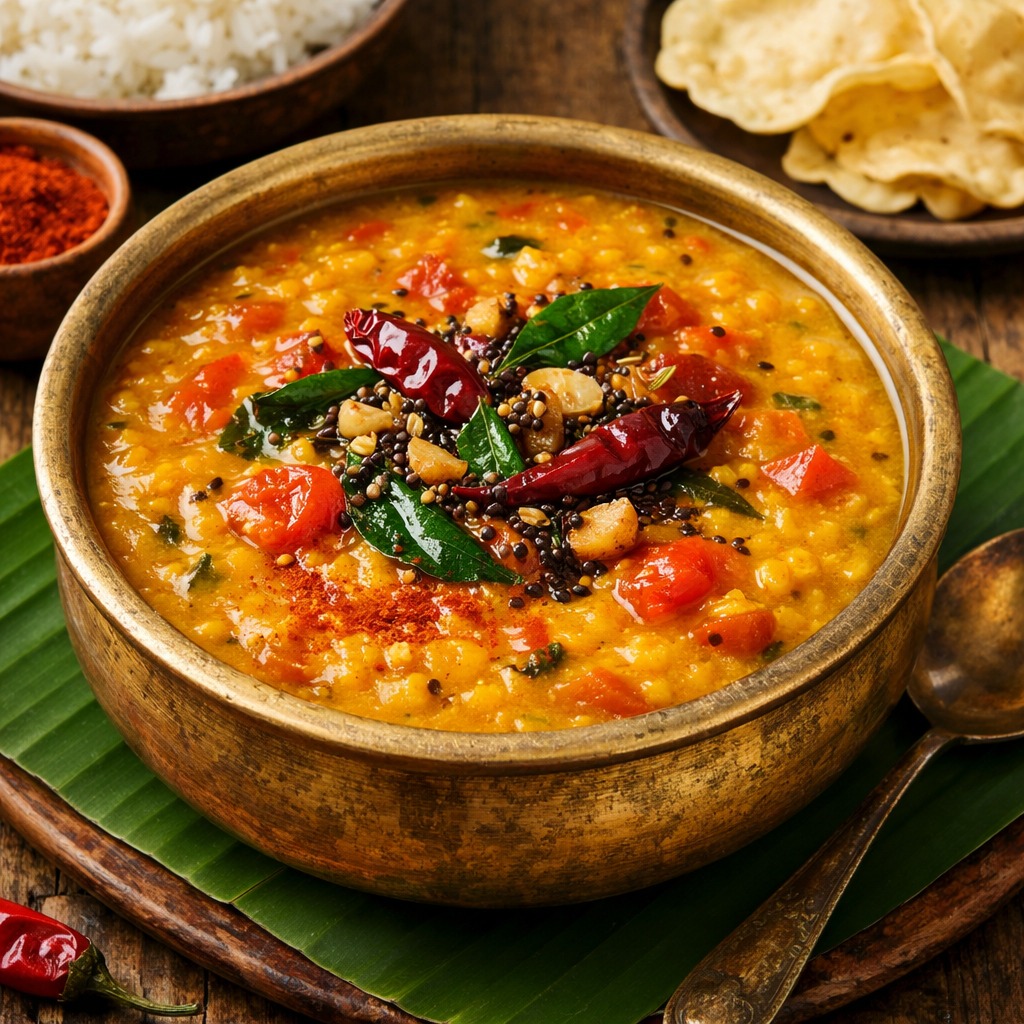
intro Tomato Pappu Recipe is a beloved staple in many South Indian households. This comforting dish combines protein-packed lentils with juicy tomatoes to create a hearty meal. Therefore, it creates a perfect balance of earthy and tangy flavors for your dinner table. Additionally, it serves as a nutritious and filling meal for busy weeknights.story/description Every Indian home has its own unique version of lentil soup, yet this Andhra-style dal truly stands out. Many people call it the ultimate comfort food because of its simplicity and warmth. Moreover, the aroma of ghee and roasted garlic filling the kitchen is simply unforgettable. You will love how the tomatoes soften into the lentils during the cooking process. Furthermore, this recipe brings a piece of traditional Telugu culture directly to your dining table. However, you do not need any special skills to master this dish. Consequently, it has become a favorite choice for both beginners and experienced cooks alike. It reminds us that sometimes the simplest ingredients create the most profound memories.cast/ingredients 1 cup Toor Dal (Pigeon Peas), 3 large Ripe Tomatoes (chopped), 2 Green Chilies (slit), 1 teaspoon Turmeric Powder, 1 teaspoon Red Chili Powder, 1 teaspoon Salt, 2 tablespoons Ghee or Oil, 1 teaspoon Mustard Seeds, 1 teaspoon Cumin Seeds, 5 Garlic Cloves (crushed), 2 Dry Red Chilies, A handful of Curry Leaves, 1/4 teaspoon Asafoetida (Hing).songs/steps First, rinse the toor dal thoroughly under cold water to remove impurities. Place the dal, chopped tomatoes, green chilies, and turmeric in a pressure cooker. Add three cups of water and cook for four whistles until the dal becomes soft. Once the pressure releases naturally, mash the dal and tomatoes gently with a spoon. Add red chili powder and salt to the mixture while it is still warm. Heat the ghee in a small pan for the tempering process. Add mustard seeds and cumin seeds until they begin to pop. Throw in the crushed garlic, dry red chilies, curry leaves, and asafoetida once they sizzle. Pour this aromatic tempering immediately over the mashed dal. Finally, simmer the mixture for two minutes and serve it hot.about ## Why You Should Make This Tomato Pappu Recipe Today This dish uses basic pantry staples that you likely already have in your kitchen. Firstly, you must choose high-quality pigeon peas to ensure a creamy texture. Because these lentils provide a smooth base, they act as the perfect foundation for the tanginess. Secondly, the addition of fresh, ripe tomatoes introduces a refreshing acidity to the stew. Therefore, the flavor profile remains vibrant rather than flat or boring. Additionally, many people prefer adding a small touch of tamarind for extra zing. However, the tomatoes usually provide enough sourness on their own. Consequently, this Tomato Pappu Recipe remains one of the most popular ways to enjoy lentils in India.themes/tips ## Perfecting Your Homemade Tomato Pappu Always use ripe, red tomatoes to ensure the best flavor for your stew. Consequently, avoid using canned tomatoes as they lack the fresh tang required for this dish. Sautéing the garlic until it turns golden brown adds a wonderful smoky depth. Additionally, you can adjust the spice level by changing the number of green chilies you use. Therefore, this recipe is highly customizable for different palates and heat tolerances. Furthermore, adding a pinch of sugar or jaggery can balance the acidity if the tomatoes are too sour.whyWatch/whyTry You should try this recipe because it is both healthy and incredibly delicious. It offers a great source of plant-based protein for vegetarians. Furthermore, the cooking time is minimal, which makes it perfect for a fast dinner after work. However, the rich and complex taste will make it seem like you spent hours in the kitchen. Finally, it provides a warm, home-cooked feeling that store-bought meals simply cannot replicate. Serve it with hot rice and a dollop of ghee for the best experience.

Read More »

Dosa

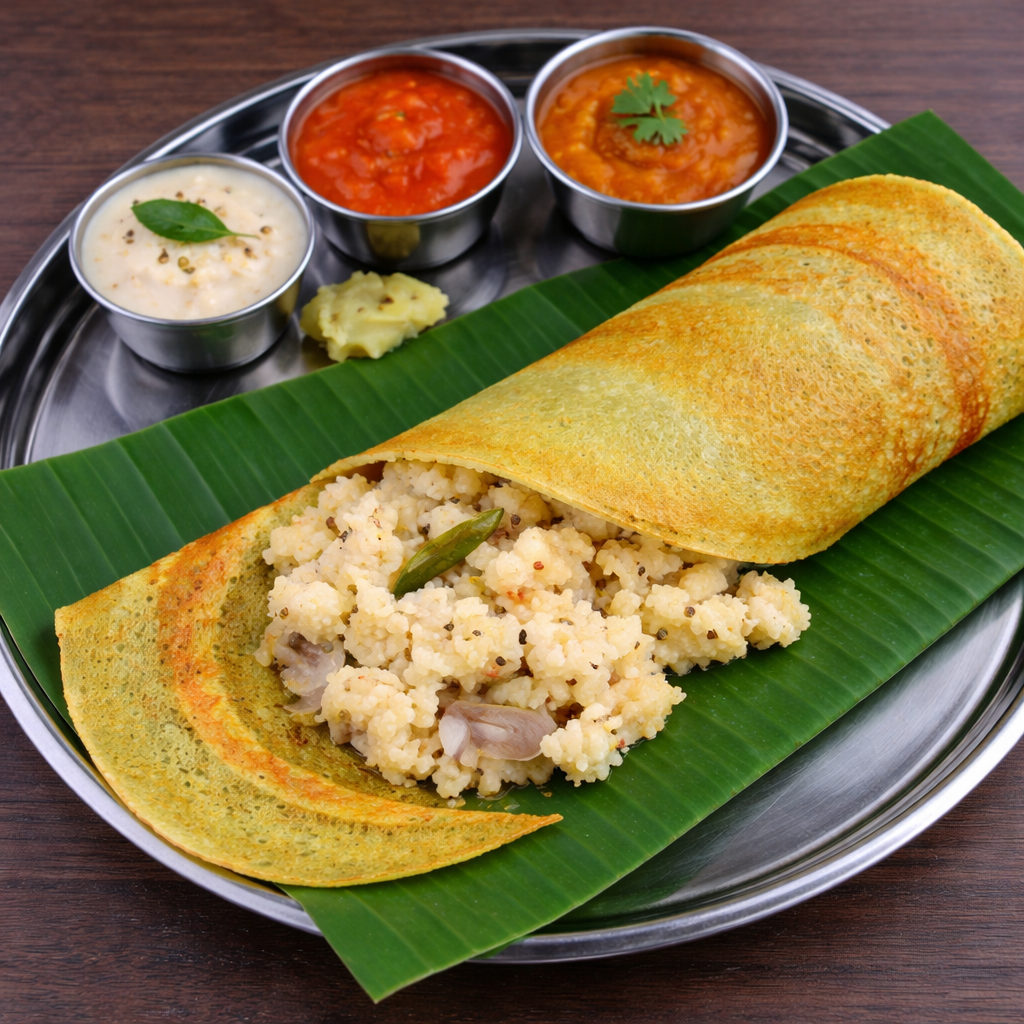
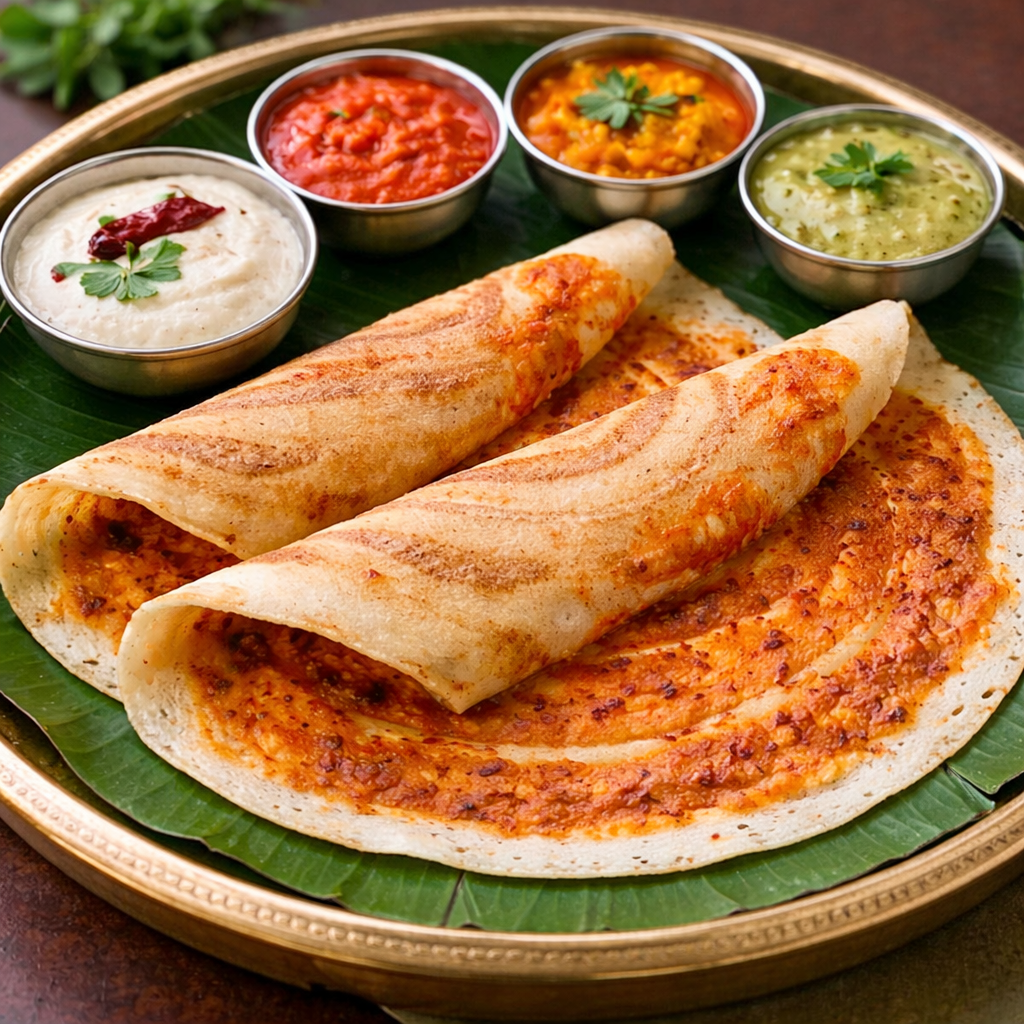
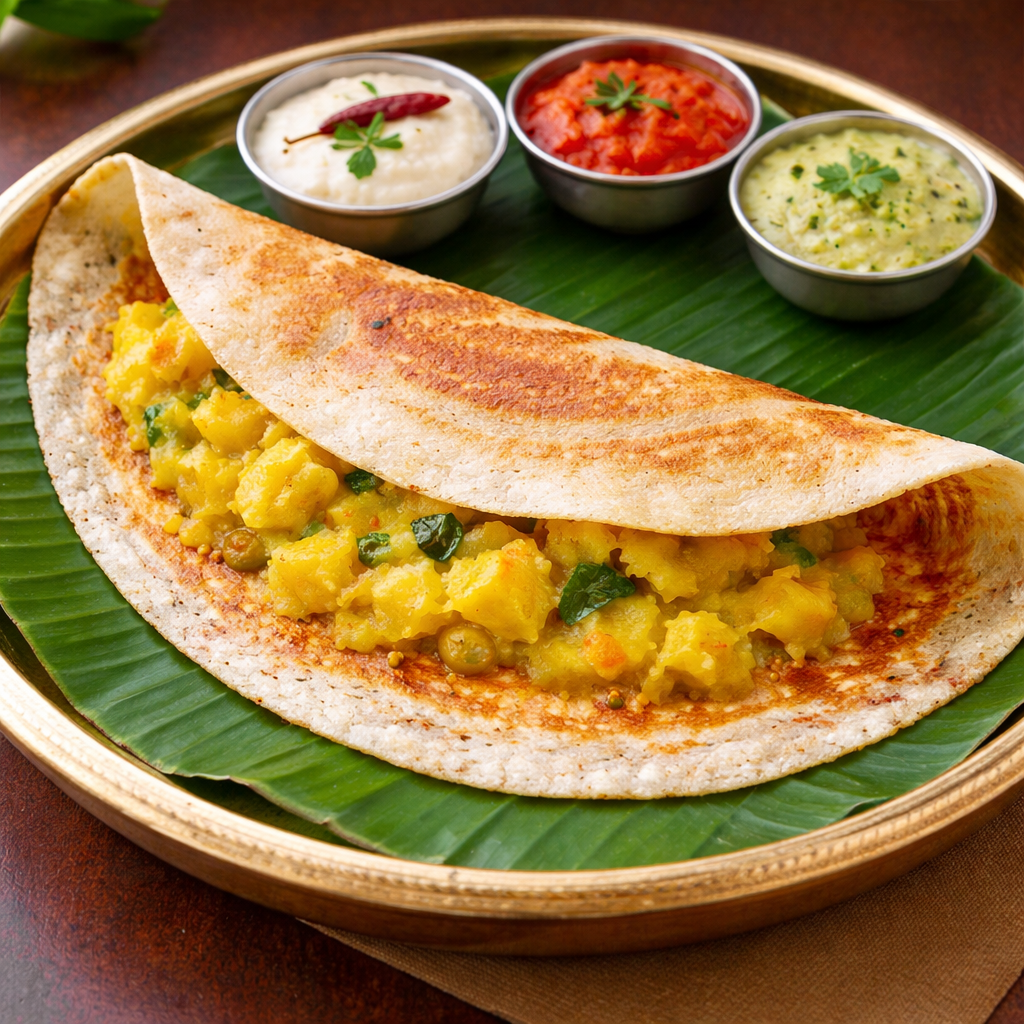
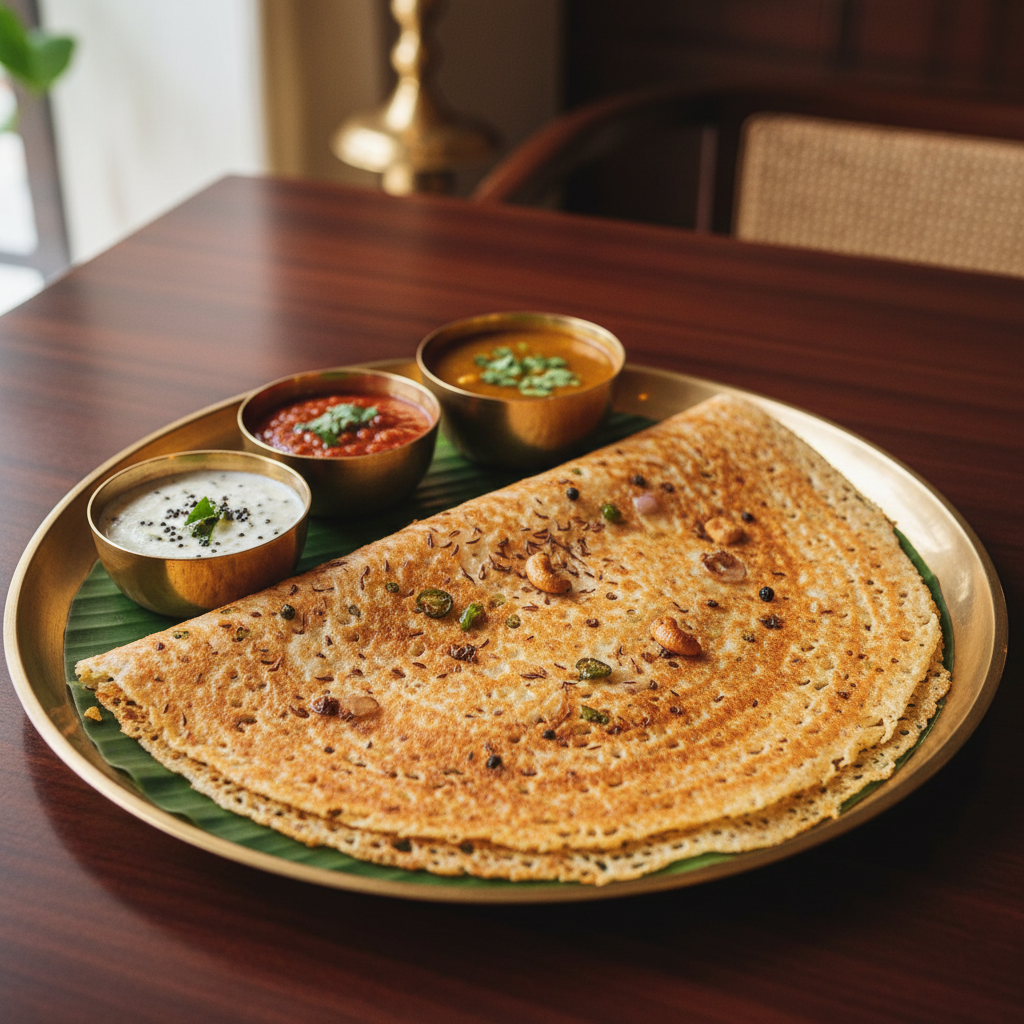
introPeople across the globe love the classic Indian crepe. This dosa recipe brings the authentic taste of South India right into your kitchen. Anyone can master this dish with just a few simple ingredients and techniques. Prepare yourself for a delicious, crispy meal that everyone in your family will enjoy. It also provides a healthy start to your busy day. story/description Origins The history of the dosa stretches back centuries to the southern states of India. People originally created this thin pancake using fermented batter made of rice and lentils. Evolution Today, many variations include different fillings and grains. The natural fermentation process makes it very light on the stomach. Global Popularity You can find dosa in street stalls and high-end restaurants alike. It has become a global favorite for food lovers everywhere. The combination of a crunchy exterior and soft interior makes it absolutely irresistible. cast/ingredientsTo begin, gather these items: 3 cups parboiled rice, 1 cup urad dal (black gram), 1/2 teaspoon fenugreek seeds, salt to taste, water for soaking and grinding, and oil or ghee for frying. songs/steps Preparation First, wash the rice and lentils separately until the water runs clear. Then soak them in water with fenugreek seeds for at least six hours. After soaking, grind the mixture into a very smooth, thick batter. Fermentation Let the batter ferment in a warm place for about eight to ten hours until it rises. Once the batter doubles in size, add salt and mix gently. Cooking Heat a non-stick pan or a flat tawa over medium heat. Pour a ladle of batter in the center and spread it outward in a circular motion to make a thin disc. Apply a little oil around the edges and cook until it turns golden brown and crispy. Finally, fold the crepe and serve it hot with fresh coconut chutney or spicy sambar. about Cultural Significance Dosa is much more than just a meal; it is a cultural staple of India. Most people eat it for breakfast, but it also works as a great dinner option. Health Benefits It is naturally gluten-free and vegan, which suits many different diets. Health enthusiasts often choose it because it provides a good balance of carbohydrates and proteins. Variations You can also find various versions like Masala Dosa or Mysore Dosa in many cities. themes/tips Heat Control To get a very crispy texture, keep your pan at the right temperature. If the pan gets too hot, the batter will not spread easily. If it stays too cold, the dosa will stick to the surface. Equipment and Texture Use a well-seasoned cast-iron skillet for the most authentic results. Add a pinch of sugar to the batter to achieve a beautiful golden color. Keep your heat consistent throughout the cooking process for the best outcome. whyWatch/whyTry Taste and Flexibility Try this recipe because it offers a unique combination of crunch and tanginess. It also lets you experiment with various fillings like spiced potatoes, cheese, or vegetables. Practical Benefits Making this dish at home saves money and ensures the use of high-quality ingredients. The satisfaction of flipping a perfect, thin crepe feels truly rewarding. It also gives you a fun way to introduce your family to international flavors.

Read More »
కావలసిన పదార్ధాలు
  • కంది పప్పు Toor Dal 1 cup
  • శనగ పప్పు Chana Dal (Bengal Gram) 1/4 cup
  • పెసర పప్పు Moong Dal (Split Green Gram) 2 tablespoons
  • ఎండు మిరపకాయలు Dry Red Chillies (Adjust for spice preference) 10-12
  • జీలకర్ర Cumin Seeds 2 teaspoons
  • ఇంగువ Asafoetida (Hing) 1 teaspoon
  • కరివేపాకు Curry Leaves (Cleaned and dried) 1/2 cup
  • ఉప్పు Salt to taste 1 teaspoon
  • వెల్లుల్లి రెబ్బలు Garlic Cloves (Optional for flavor) 4-5
తయారి విధానం
  1. స్టవ్ వెలిగించి ఒక మందపాటి బాణలిని పెట్టుకుని వేడి చేయండి.
    Heat a heavy-bottomed pan or kadai on low to medium flame.
  2. ముందుగా కంది పప్పును వేసి చిన్న మంట మీద బంగారు రంగు వచ్చేవరకు దోరగా వేయించండి.
    Add toor dal to the pan and dry roast it until it turns golden brown and aromatic.
  3. అదే విధంగా శనగ పప్పు మరియు పెసర పప్పును కూడా వేసి మంచి సువాసన వచ్చే వరకు వేయించి ఒక ప్లేట్ లోకి తీసుకోండి.
    Similarly, roast the chana dal and moong dal until they are toasted well, then transfer them to a wide plate.
  4. అదే బాణలిలో ఎండు మిరపకాయలు మరియు కరివేపాకు వేసి కరకరలాడే వరకు వేయించండి.
    In the same pan, add dry red chillies and curry leaves, roasting them until the leaves become crisp.
  5. చివరగా జీలకర్ర మరియు ఇంగువ వేసి ఒక నిమిషం పాటు వేయించి స్టవ్ ఆపేయండి.
    Add cumin seeds and asafoetida at the very end, roasting for just a minute before turning off the heat.
  6. వేయించిన పదార్ధాలన్నీ పూర్తిగా చల్లారనివ్వాలి.
    Allow all the roasted ingredients to cool down completely to room temperature.
  7. మిక్సీ జార్ లో వేయించిన పప్పులు, మిరపకాయలు, ఉప్పు మరియు వెల్లుల్లి రెబ్బలు వేసి మెత్తగా కాకుండా కొంచెం బరకగా పొడి చేసుకోండి.
    Transfer the ingredients into a dry mixer jar. Add salt and garlic cloves.
  8. తయారైన కంది పొడిని గాలి తగలని డబ్బాలో భద్రపరచుకుంటే మూడు నెలల వరకు తాజాగా ఉంటుంది.
    Grind the mixture into a slightly coarse powder rather than a very fine flour for the best texture.
[real3dflipbook id='1']