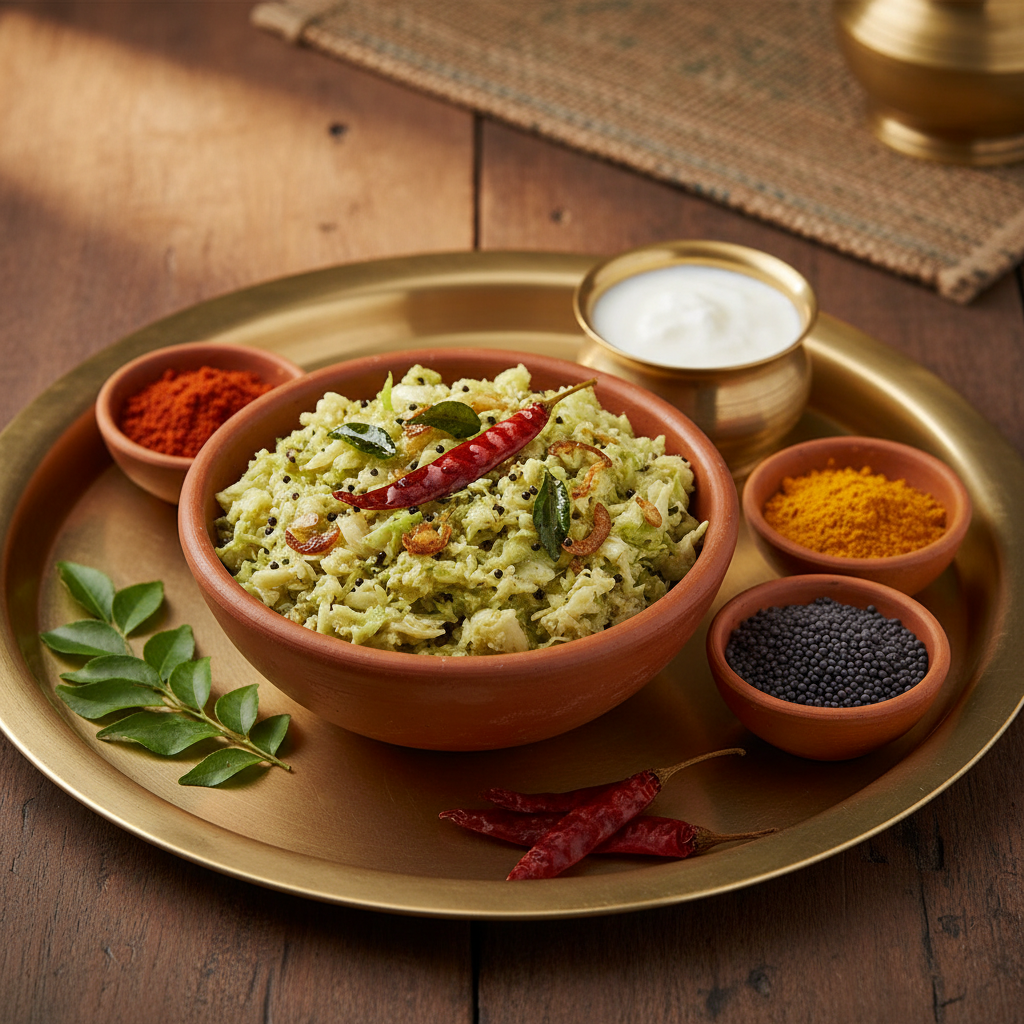
Cabbage Senagapappu Kura
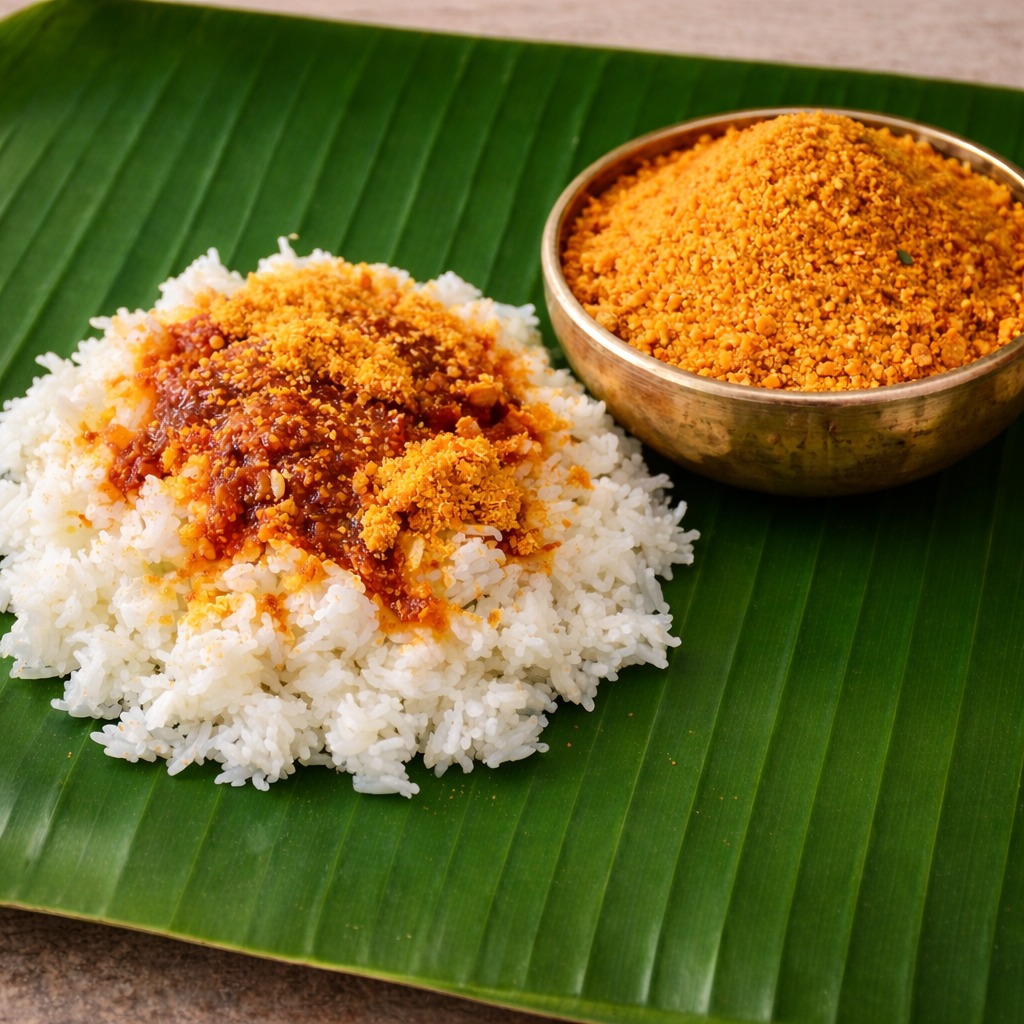
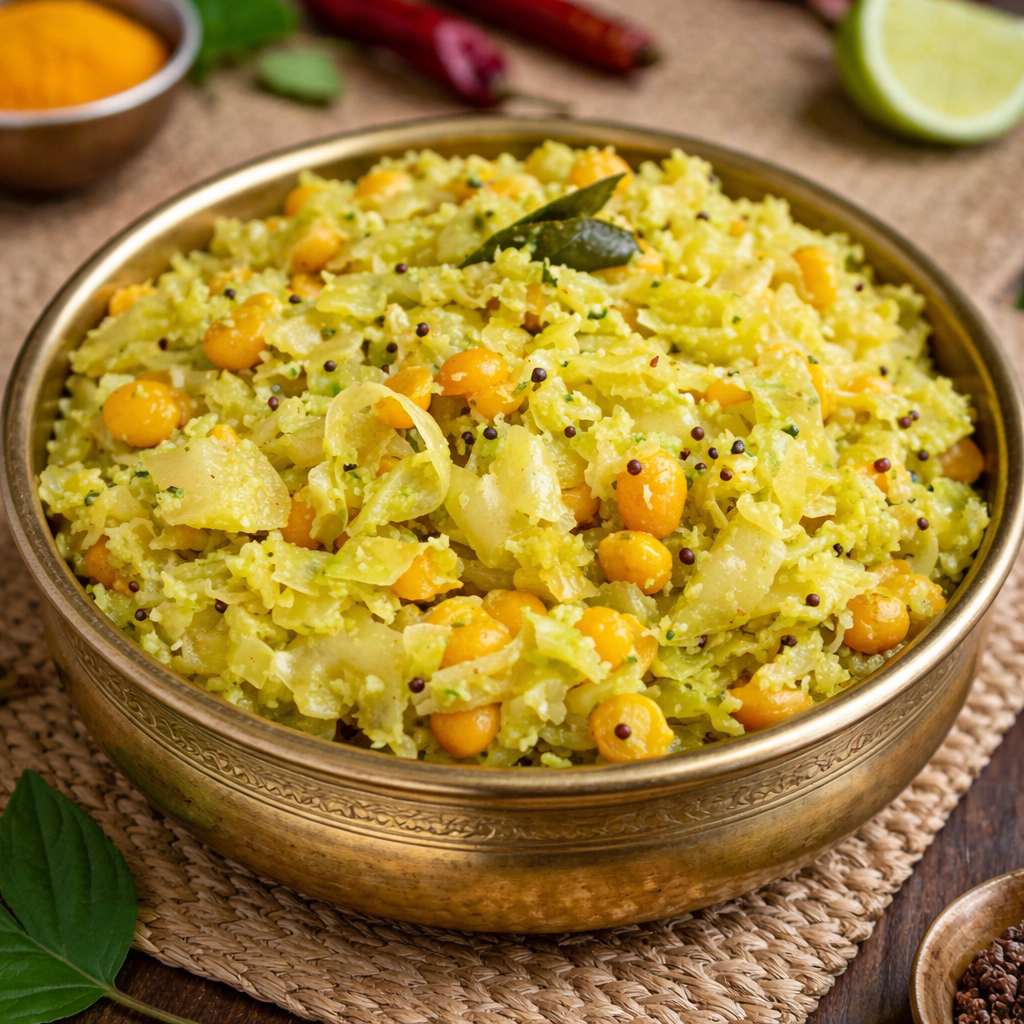
intro Many people love traditional South Indian dishes because they provide great nutrition and fantastic flavors. Therefore, you should learn how to make the Cabbage Senagapappu Kura Recipe at home. This dish combines the mild sweetness of shredded cabbage with the nutty bite of chana dal. Furthermore, it serves as a perfect side dish for rice or rotis. Consequently, it has become a staple in many Telugu households. Since it requires minimal oil, health enthusiasts often choose this dish for their daily meals. Additionally, the aromatic tempering elevates the simple ingredients to a gourmet level. However, you must follow the correct steps to ensure the lentils remain firm yet cooked.story The Cabbage Senagapappu Kura Recipe originates from the vibrant culinary landscape of Andhra Pradesh. Specifically, it reflects the region’s love for dry curries that balance textures. Historically, families prepared this stir-fry during busy weekdays because it is quick and efficient. Additionally, mothers often packed this in lunch boxes since it does not spill and stays fresh for hours. While cabbage is often viewed as a humble vegetable, this preparation makes it a star. Furthermore, the addition of Bengal gram (senagapappu) adds a protein boost to the vegetarian diet. Consequently, the dish provides a complete nutritional profile for growing children. Therefore, it remains a beloved recipe passed down through generations. However, modern variations might include coconut, but the traditional version stays true to its earthy roots.cast 1. 2 cups finely shredded cabbage. 2. 1/2 cup chana dal (soaked for 30 minutes). 3. 2 tablespoons of vegetable oil. 4. 1 teaspoon of mustard seeds. 5. 1 teaspoon of cumin seeds. 6. 2 dried red chilies. 7. 1 sprig of fresh curry leaves. 8. 1/4 teaspoon of turmeric powder. 9. Salt to taste. 10. 2 green chilies, slit lengthwise. 11. A pinch of asafoetida (hing). 12. Fresh coriander for garnish.songs First, soak the chana dal in warm water for at least 30 minutes. Consequently, the lentils will cook faster while maintaining their shape. Second, heat the oil in a heavy-bottomed pan. Third, add the mustard seeds, cumin seeds, and dried red chilies. When the seeds splatter, add the curry leaves and asafoetida. Furthermore, add the soaked chana dal and sauté for three minutes on medium heat. Fourth, mix in the shredded cabbage and green chilies. Additionally, sprinkle the turmeric powder and salt over the mixture. Cover the pan with a lid and cook on low heat for ten minutes. Because cabbage releases its own moisture, you do not need to add extra water. However, you should stir the mixture occasionally to prevent sticking. Finally, remove the lid and fry for another two minutes. Consequently, any excess moisture will evaporate, leaving a perfect stir-fry. Garnish with coriander and serve hot.about This section explains why the Cabbage Senagapappu Kura Recipe is so special. Specifically, the dish highlights the ‘Vepudu’ style of cooking, which focuses on sautéing vegetables until they are tender yet crisp. Additionally, the use of turmeric provides a beautiful golden hue and anti-inflammatory benefits. Since the recipe uses whole spices in the tempering, the oil absorbs deep flavors. Furthermore, the cabbage retains its fiber content because we do not overcook it. Therefore, this dish helps in digestion and provides essential vitamins. Similarly, the lentils offer a satisfying crunch that contrasts with the soft cabbage. Consequently, even children who usually dislike cabbage will enjoy this version. Because it is naturally vegan and gluten-free, it caters to various dietary needs. However, you must ensure the dal is not mushy to maintain the authentic texture.themes 1. Always soak the chana dal because it ensures even cooking. 2. Shred the cabbage finely so it cooks at the same rate as the lentils. 3. Use a cast-iron skillet if possible; therefore, you will achieve a better sear on the vegetables. 4. Do not skip the asafoetida because it aids digestion of the pulses. 5. Add a squeeze of lemon juice at the end if you prefer a tangy twist. 6. Similarly, adding grated coconut can enhance the sweetness of the dish. 7. Keep the flame low while the lid is on; consequently, the cabbage will steam in its own juices. 8. Use fresh curry leaves for the best aroma.whyWatch You should try this Cabbage Senagapappu Kura Recipe because it is incredibly easy to master. Furthermore, it transforms basic ingredients into a nutritious masterpiece within twenty minutes. Since it pairs beautifully with steaming hot rice and ghee, it offers a comforting meal experience. Additionally, it is an excellent way to include more greens in your diet without sacrificing taste. Therefore, if you want a quick, healthy, and authentic Indian stir-fry, this recipe is your best choice. Try it today and enjoy the crunch!