Edit Template

Recipe Tag: Vegetarian

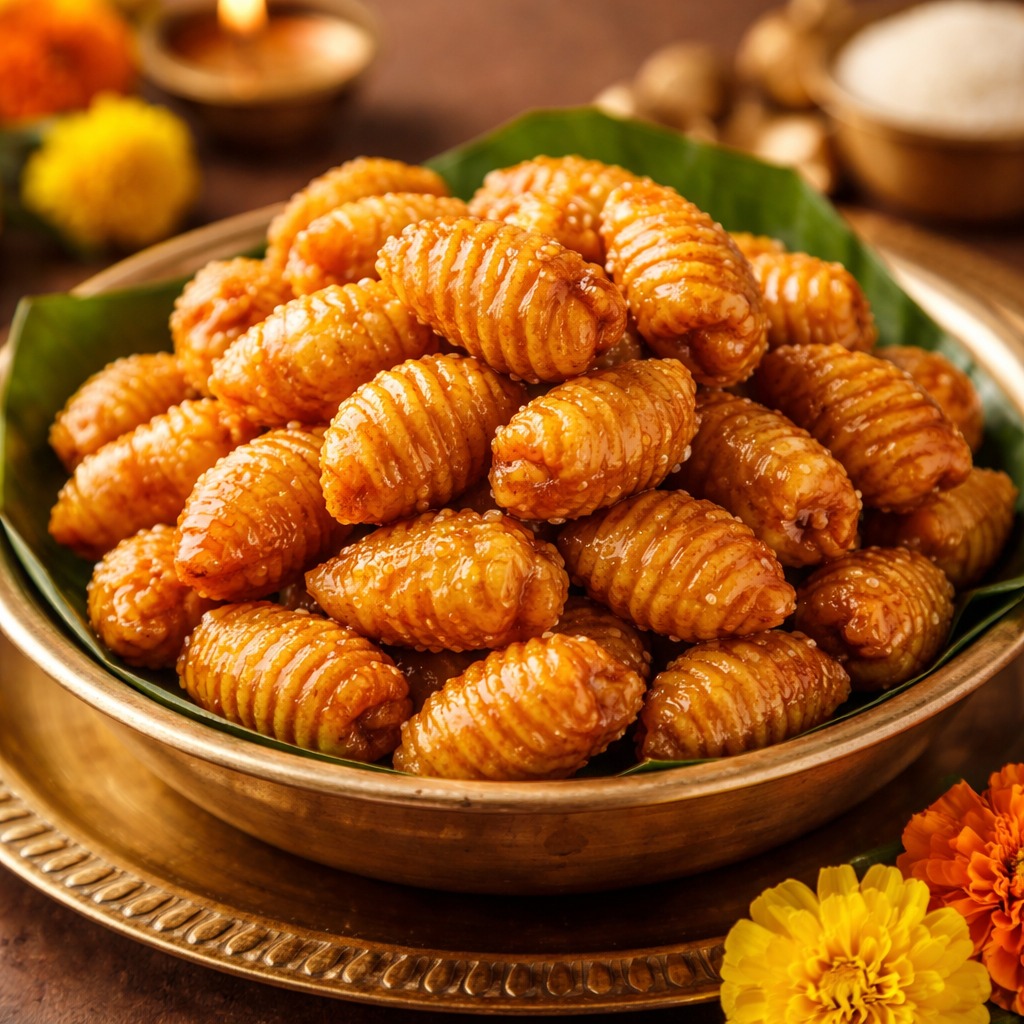
Sweet Jaggery Shells

intro Experience the joy of creating a classic treat with this Sweet Jaggery Shells Recipe. This snack offers a perfect crunch that everyone loves. Moreover, it satisfies your sweet cravings instantly. Therefore, let us dive into the kitchen to make this magic happen. Additionally, the simple ingredients make it a very accessible dessert for beginners. story This snack, also known as ‘Gavvalu’, originated in the heart of South Indian homes. Traditionally, families gathered during festivals to shape these little shells by hand. Furthermore, the golden color of the fried dough signals a perfect cook. However, the real magic happens when you toss them in the warm syrup. Consequently, each bite releases a burst of deep, earthy sweetness. Additionally, you can store these treats for several weeks in an airtight jar, making them the perfect make-ahead snack for busy holidays. Ingredients 1. 2 cups All-purpose flour or Wheat flour. 2. 1/2 cup Jaggery powder. 3. 2 tablespoons Ghee. 4. A pinch of Salt. 5. Oil for deep frying. 6. 1/2 teaspoon Cardamom powder. 7. Water as needed. Process Step 1: Mix the flour, salt, and ghee in a large bowl. Step 2: Add water gradually to form a stiff dough. Step 3: Pinch small balls of dough and roll them over a shell-shaping board or a fork. Step 4: Heat oil in a pan and fry the shells until they turn golden brown. Step 5: In a separate pot, melt the jaggery with a little water to make a thick syrup. Step 6: Add cardamom powder to the syrup for extra flavor. Step 7: Toss the fried shells into the syrup and coat them thoroughly. about ### The Tradition Behind the Sweet Jaggery Shells Recipe This dish represents more than just food; it represents tradition and family love. Specifically, mothers often prepare these for their children during the holiday season. Thus, the recipe remains a cherished favorite across generations. Furthermore, the use of jaggery makes it a slightly better alternative to snacks made with refined white sugar. Additionally, the unique shell shape is not just for looks. The ridges allow the sweet syrup to sit inside perfectly. Consequently, you get a consistent flavor in every single bite. Moreover, the texture stays crispy even after the syrup dries, which is a hallmark of a well-made batch.themes Tips for Perfecting the Sweet Jaggery Shells Recipe To achieve the best results, you must use a fork or a dedicated shell board carefully. Consequently, the ridges will look professional and hold the syrup well. Moreover, always maintain a medium flame while frying the dough shells. If the oil is too hot, the inside remains raw while the outside burns. Therefore, patience is your best friend in the kitchen. Additionally, ensure the jaggery syrup reaches a ‘one-string’ consistency. Otherwise, the shells will turn soggy instead of staying crisp. If you follow these steps, you will create a snack that rivals any professional bakery. Furthermore, adding a touch of dry ginger powder to the syrup can provide a lovely warm undertone to the flavor profile. whyWatch You should try this Sweet Jaggery Shells Recipe because it uses natural sweeteners that provide a rich taste. Furthermore, it is a fun activity for the whole family to participate in. Thus, you create memories and delicious snacks simultaneously. Additionally, the ingredients are likely already sitting in your pantry. Therefore, you do not need to go on a special shopping trip to start cooking. Finally, the satisfying crunch of these shells is truly addictive!
Read More »

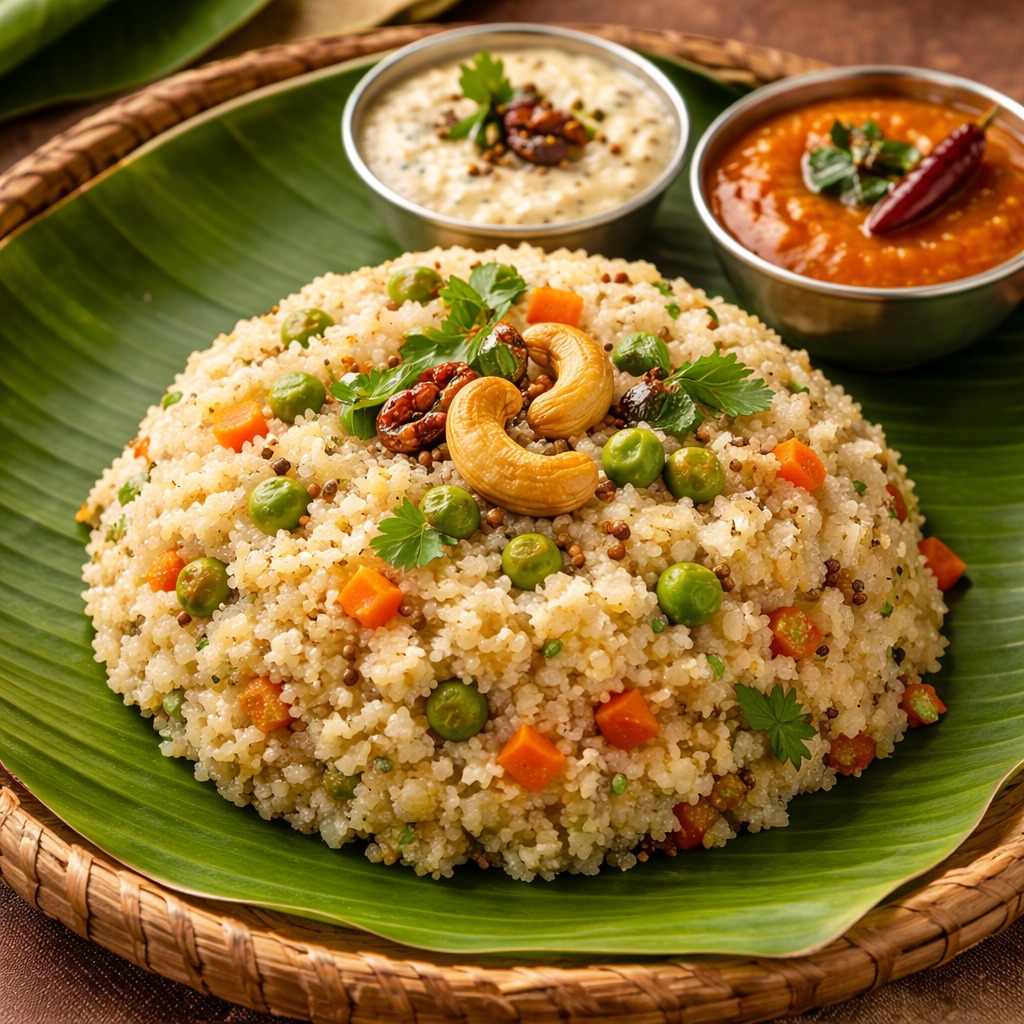
Upma

intro Upma is a classic South Indian breakfast dish that people love for its simplicity. This Upma Recipe offers a perfect balance of nutrition and taste for busy mornings. It uses roasted semolina and various fresh vegetables to create a hearty meal. Because it is light yet filling, many families enjoy it every single day.story South Indians love starting their day with this warm, comforting dish. Therefore, you will find it in almost every household from Chennai to Bangalore. People traditionally call it Rava Upma. However, many modern variations exist today. You can customize it with peas, carrots, or green beans. Additionally, the texture depends entirely on your water ratio. Consequently, a fluffy and non-sticky Upma makes everyone happy during breakfast time.cast To make this dish, you need 1 cup of semolina (rava). Additionally, gather 2.5 cups of water and 1 finely chopped onion. You also need 1 green chili, 1 teaspoon of mustard seeds, and 1 teaspoon of urad dal. For flavor, use fresh curry leaves, oil or ghee, and salt. Finally, keep some fresh coriander and lemon juice ready for the garnish.songs 1. First, roast the rava in a pan until it smells nutty and looks slightly golden. 2. Second, heat oil or ghee in a heavy-bottomed pan. 3. Add mustard seeds and urad dal until they crackle. 4. Add onions, green chilies, and curry leaves. Sauté them until the onions become soft. 5. Pour water into the pan and add salt. Bring the mixture to a rolling boil. 6. Gradually stir in the roasted rava. This prevents lumps from forming. 7. Cover the pan and cook on low heat for two minutes. 8. Finally, fluff it with a fork and serve hot.about Why this Upma Recipe Works: This Upma Recipe is famous because it is incredibly fast to prepare. For instance, you can cook the entire meal in under 20 minutes. Moreover, it provides sustained energy for your busy morning schedule. Because it uses simple pantry ingredients, you likely have everything you need already. Thus, it remains a top budget-friendly option for large families. Furthermore, the dish is easy to digest, making it suitable for children and seniors alike.themes First, always roast your semolina properly before cooking. If you skip this step, the Upma becomes sticky and thick. Second, use hot water instead of cold water for a better texture. Furthermore, adding a squeeze of fresh lemon juice adds a bright, zesty flavor. Additionally, you can add roasted cashews for a crunchy surprise. Finally, always garnish with fresh coriander to achieve a professional, restaurant-style look.whyWatch You should try this dish because it is extremely versatile. Whether you need a quick breakfast or a light dinner, it fits perfectly. Therefore, add this dish to your weekly meal plan immediately. You will certainly love the aromatic spices and the soft, melt-in-your-mouth texture. Additionally, it serves as a wonderful canvas for your favorite seasonal vegetables.

Read More »

Poori

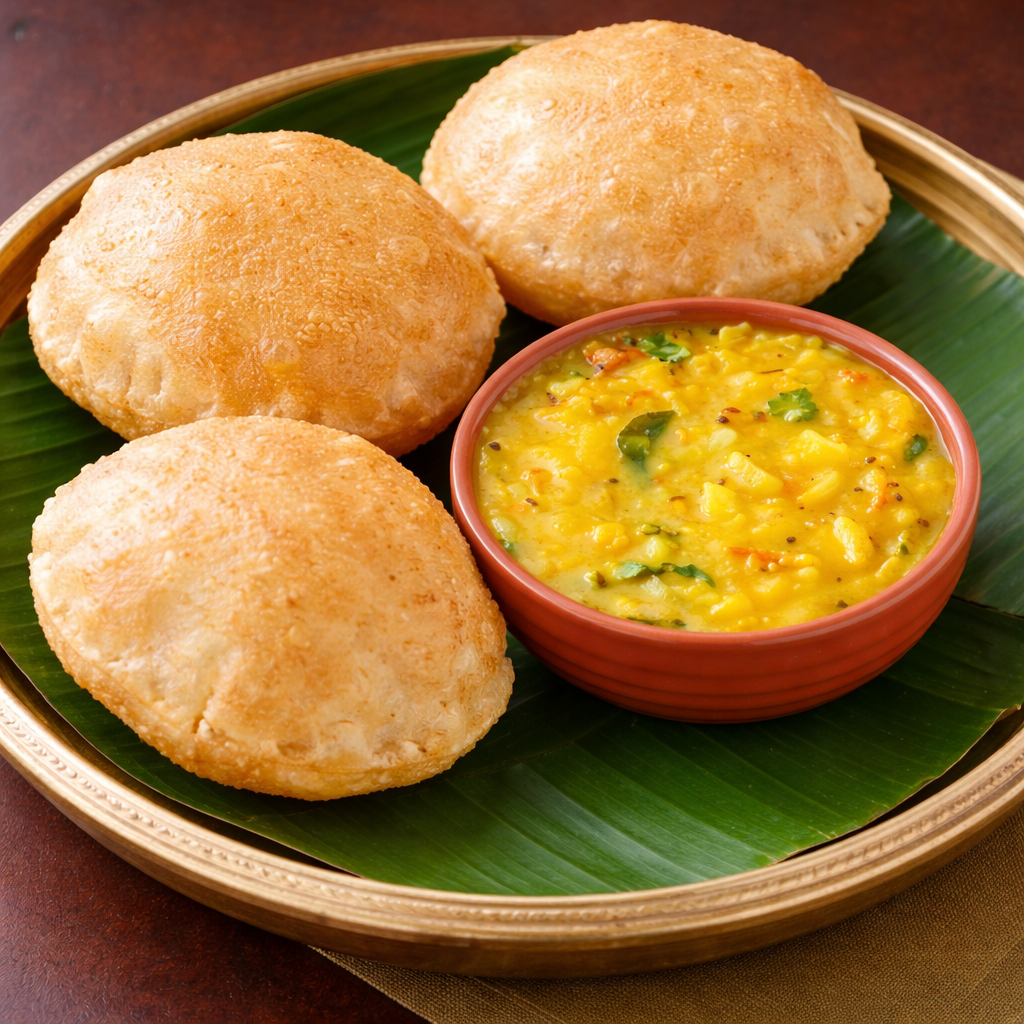
intro Poori is a beloved fried bread that originated in the Indian subcontinent. Furthermore, this Poori Recipe helps you create light and airy rounds that melt in your mouth. Families often enjoy these golden treats during festive mornings or weekend breakfasts. Additionally, you can serve them with a variety of side dishes like spicy potato curry or sweet shrikhand. Therefore, learning this simple technique will surely impress your guests and satisfy your cravings. story For generations, Indian households have cherished the tradition of making fresh bread. Many children remember waking up to the sound of sizzling oil in the kitchen. Consequently, a hot plate of fried dough became the symbol of a happy Sunday. However, achieving that perfect, balloon-like puff requires a bit of skill. Additionally, every region has its own minor variations in flour or thickness. For instance, some cooks add a bit of semolina for extra crunch. Therefore, this bread remains a timeless staple that brings people together across different cultures. Ingredients 1. 2 cups Whole wheat flour (Atta) 2. 1 tablespoon Semolina (Suji) for a crispy texture 3. 1/2 teaspoon Salt 4. 1 teaspoon Vegetable oil for the dough 5. 3/4 cup Lukewarm water (adjust as needed) 6. Vegetable oil for deep frying. steps 1. First, combine the whole wheat flour, salt, and semolina in a large mixing bowl. 2. Add one teaspoon of oil and mix it into the flour with your fingertips. Furthermore, ensure the oil is evenly distributed. 3. Pour water gradually and begin kneading the mixture. Consequently, you will form a stiff and smooth dough. 4. However, do not add too much water at once, as the dough must remain firm. 5. Cover the dough with a damp cloth and let it rest for 15 minutes. 6. Next, divide the dough into small, lemon-sized balls. 7. Grease your rolling pin with a drop of oil to prevent sticking. Additionally, avoid using dry flour for dusting if possible. 8. Roll each ball into an even circle of medium thickness. 9. Heat the frying oil in a deep pan over medium-high heat. Therefore, check the heat by dropping a tiny piece of dough into it. 10. Carefully slide the rolled dough into the hot oil. Furthermore, gently press the top with a slotted spoon to help it puff. 11. Flip the poori once it expands and fry until it turns golden brown on both sides. about The Magic of a Perfect Poori Recipe depends entirely on the temperature of the oil and the consistency of the dough. This Poori Recipe focuses on achieving a balance between a soft interior and a slightly crisp exterior. Because it uses whole wheat flour, it provides a hearty flavor that pairs well with savory and sweet toppings. Additionally, the inclusion of semolina ensures that the bread stays puffy for a longer time after frying. Furthermore, the absence of leavening agents like yeast makes it a quick option for busy mornings.themes You should always ensure the oil is sufficiently hot before frying. If the oil is too cold, the bread will absorb excessive grease and fail to puff. Consequently, the texture will become heavy rather than light. Additionally, knead a stiff dough rather than a soft one. Furthermore, roll the dough with even pressure to avoid thin spots. However, do not rest the rolled circles for too long; instead, fry them immediately to get the best rise. Therefore, following these small details will result in professional-quality results every time.whyWatch You should try this Poori Recipe because it is incredibly rewarding and fast. Moreover, it uses simple pantry staples that you likely already have. Therefore, it is the ultimate comfort food for your family. Additionally, the process of watching the dough transform into a golden balloon is truly satisfying. Consequently, you will master a skill that brings authentic flavor to your dining table.

Read More »

Uthappam

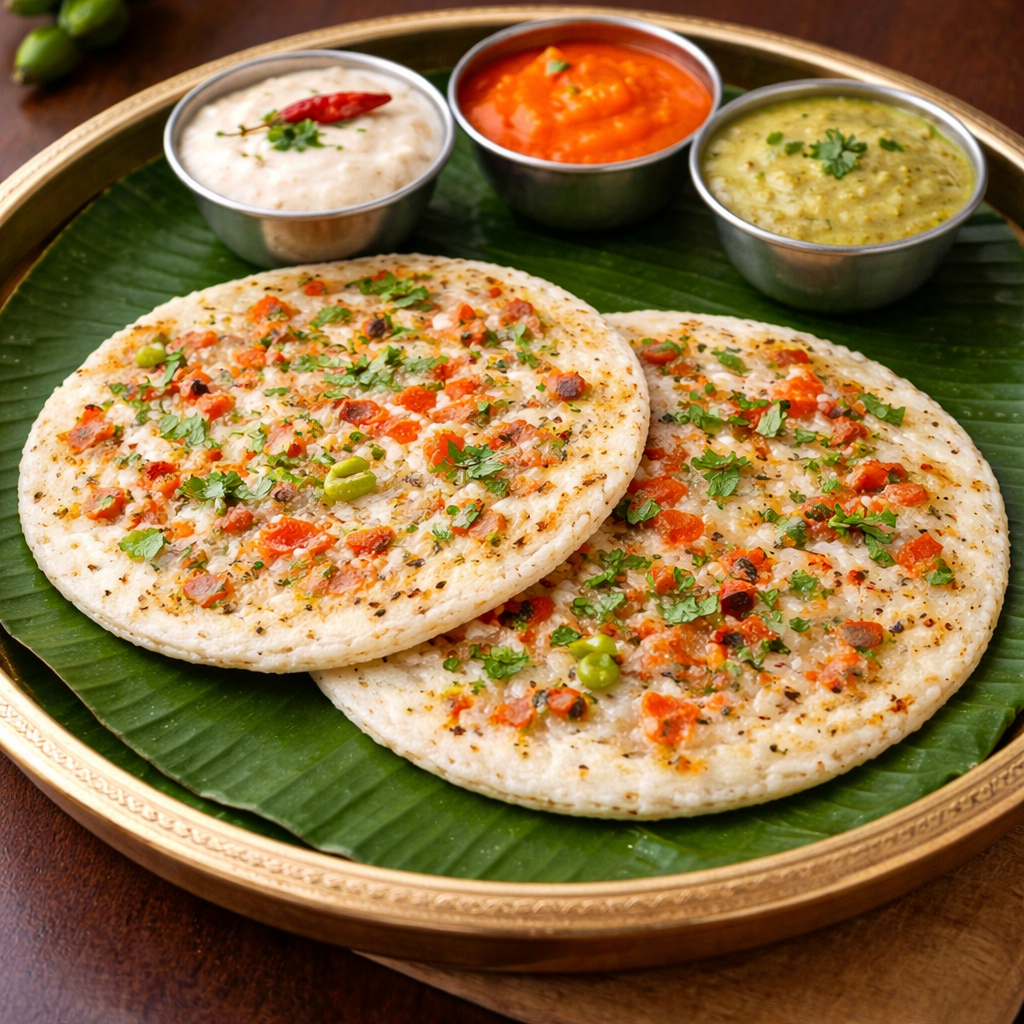
intro Are you looking for a healthy and filling breakfast? This Uthappam Recipe offers a delicious start to your morning. Furthermore, it combines fermented batter with colorful, fresh vegetables. Consequently, you get a meal that is both nutritious and incredibly tasty for your whole family. Therefore, let us dive into this classic culinary delight.story/description Uthappam originates from the southern regions of India. Many people often describe it as the Indian version of a savory pizza. However, instead of dough, it uses a fermented lentil and rice base. Additionally, the thick pancake supports a variety of toppings like crunchy onions, juicy tomatoes, and spicy green chilies. Therefore, every single bite provides a burst of authentic flavor. Moreover, the fermentation process makes the batter very light on the stomach. Because you pan-fry it with minimal oil, it remains a top choice for health-conscious food lovers. Furthermore, the combination of a soft center and crispy edges creates a wonderful texture.cast/ingredients To prepare this dish, you will need 2 cups of fermented Idli or Dosa batter. Additionally, gather 1 large finely chopped onion and 1 medium chopped tomato. Furthermore, prepare 2 minced green chilies and 1/2 cup of fresh coriander leaves. You will also need salt to taste and oil or ghee for cooking on the griddle.songs/steps ### Mastering the Perfect Uthappam Recipe First, you must prepare your batter by whisking it gently in a bowl. Next, heat a non-stick pan or a cast-iron griddle over medium heat. Therefore, pour a large ladle of batter onto the center of the pan. However, you should not spread it too thin like a traditional dosa. Furthermore, immediately sprinkle the chopped onions, tomatoes, and chilies on top. Press the vegetable toppings lightly with a spatula so they stick to the batter. Then, drizzle a small amount of oil around the edges of the pancake. Consequently, flip the pancake over when the bottom turns a beautiful golden brown. Finally, cook the other side for one minute until the vegetables soften and caramelize slightly.about ### Benefits of this Traditional Meal Uthappam is a staple in millions of Indian households. Furthermore, it is an incredibly versatile dish for any time of the day. You can serve it for breakfast, a light lunch, or even a quick dinner. Because the batter undergoes fermentation, it contains natural probiotics. Therefore, it supports better digestion and gut health. Additionally, it provides a fantastic gluten-free option for those with specific dietary restrictions. Consequently, many people prefer it over heavy, wheat-based breads or sugary cereals. Your Uthappam Recipe will always stay exciting if you experiment with different vegetable combinations.themes/tips Always use a slightly sour batter to achieve the best flavor profile. Furthermore, ensure your griddle is hot before you pour the batter. However, you must lower the heat once the batter hits the pan to avoid burning. Additionally, you can add grated carrots or even a sprinkle of cheese for a modern twist. Therefore, you can customize this meal to satisfy everyone at the table. Consequently, consistent practice will help you get those perfectly crispy edges every single time.whyWatch/whyTry You should try this recipe because it is very quick to assemble once the batter is ready. Furthermore, it utilizes simple ingredients that you likely already have in your pantry. Therefore, you can create a restaurant-quality meal in your own kitchen. Additionally, children love the colorful appearance and the soft texture of the pancakes. Consequently, it serves as a great way to include more vegetables in a kid-friendly meal without any fuss.

Read More »

Medu Vada

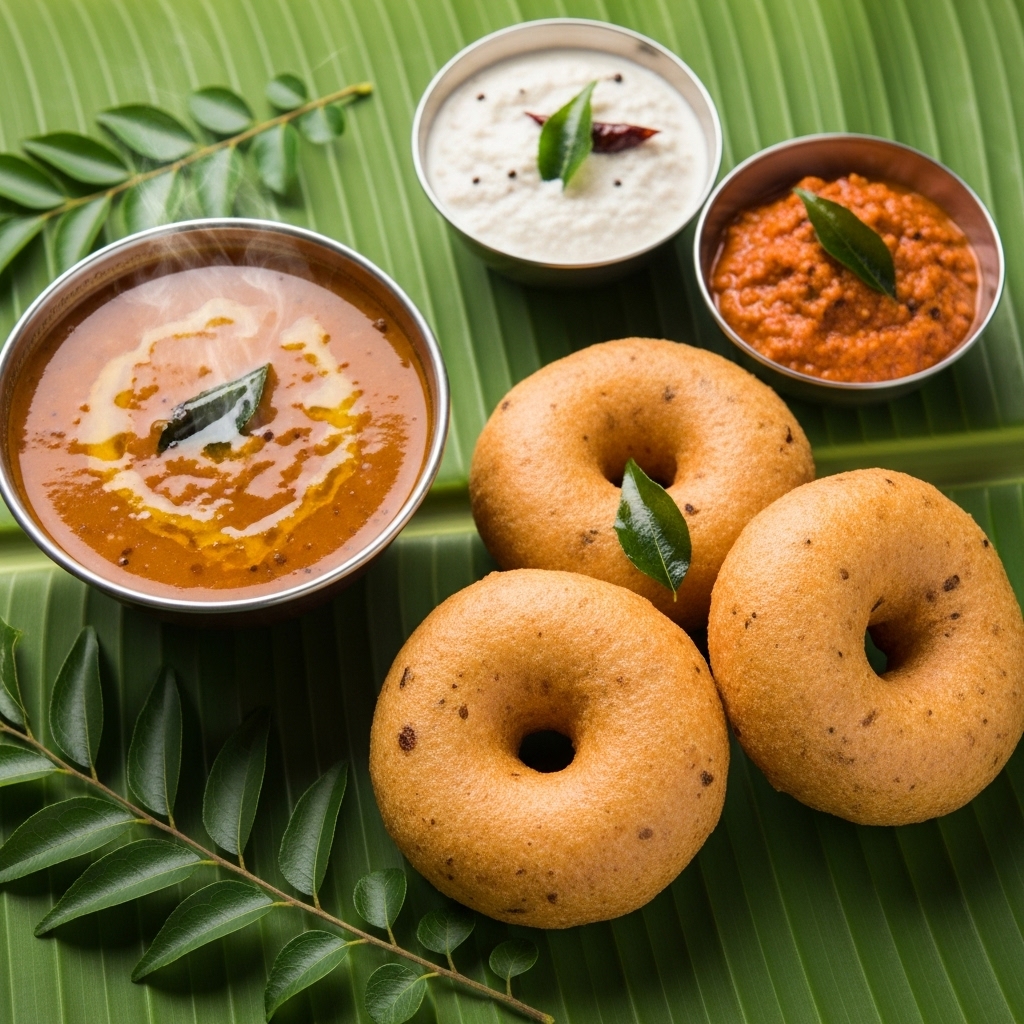
intro If you love crispy South Indian snacks, you must try this Medu Vada Recipe today. Consequently, you will never need to buy them from a restaurant again. Furthermore, these savory donuts are incredibly easy to prepare at home with simple ingredients. Therefore, gather your kitchen tools and get ready for a crunchy and healthy treat.story Medu Vada is a staple breakfast item in millions of Indian households. Additionally, people enjoy it during grand festivals or as a simple tea-time snack. This dish features a soft, spongy interior and a golden, crunchy exterior. Since the batter uses black gram lentils, it provides a high amount of protein to your diet. Therefore, it is both delicious and nutritious for people of all ages. Many families share these vadas during Sunday brunch to celebrate together.cast 1 cup Urad Dal (Black Gram), 2 Green Chilies (finely chopped), 1 inch Ginger (grated), 1 pinch Hing (Asafoetida), 1 sprig Fresh Curry Leaves, Salt to taste, Oil for deep frying, 1 tablespoon Rice Flour (optional for extra crunch).songs First, soak the urad dal in water for at least four hours. Second, drain the water completely and grind the dal into a thick, smooth paste. However, use only a tiny splash of water if necessary. Third, beat the batter vigorously for five minutes to incorporate air. Fourth, add the salt, chilies, ginger, and curry leaves to the mix. Fifth, wet your palms and take a small portion of the batter. Sixth, make a hole in the center with your thumb to create a donut shape. Finally, drop the vadas into hot oil and fry them until they turn golden brown on both sides.about This dish originates from the southern regions of India but has gained immense popularity worldwide. Moreover, it pairs perfectly with hot sambar and spicy coconut chutney. Therefore, it serves as a complete and satisfying meal for breakfast or lunch. Many people also refer to it as ‘Uzhunnu Vada’ in various regional languages. Furthermore, the light texture makes it a favorite for those who enjoy savory snacks.themes ### Tips for a Perfect Medu Vada Recipe To ensure total success, you must use very little water while grinding the dal. However, if the batter becomes too thin, you can add some rice flour to thicken it instantly. Furthermore, always whisk the batter until it feels light and airy like a cloud. Thus, your vadas will float in water when you test a small drop for lightness. Consequently, they will absorb much less oil during the frying process. Additionally, keeping your hands wet prevents the batter from sticking to your skin while shaping.whyTry You should try this recipe because it uses simple pantry staples that you likely already have. Furthermore, homemade vadas are much healthier and fresher than store-bought versions. Additionally, the crunch factor is unbeatable when you eat them hot. Finally, sharing these with your family creates wonderful memories around the dining table. Therefore, do not wait any longer and start cooking this classic dish today!

Read More »

Dosa

introPeople across the globe love the classic Indian crepe. This dosa recipe brings the authentic taste of South India right into your kitchen. Anyone can master this dish with just a few simple ingredients and techniques. Prepare yourself for a delicious, crispy meal that everyone in your family will enjoy. It also provides a healthy start to your busy day. story/description Origins The history of the dosa stretches back centuries to the southern states of India. People originally created this thin pancake using fermented batter made of rice and lentils. Evolution Today, many variations include different fillings and grains. The natural fermentation process makes it very light on the stomach. Global Popularity You can find dosa in street stalls and high-end restaurants alike. It has become a global favorite for food lovers everywhere. The combination of a crunchy exterior and soft interior makes it absolutely irresistible. cast/ingredientsTo begin, gather these items: 3 cups parboiled rice, 1 cup urad dal (black gram), 1/2 teaspoon fenugreek seeds, salt to taste, water for soaking and grinding, and oil or ghee for frying. songs/steps Preparation First, wash the rice and lentils separately until the water runs clear. Then soak them in water with fenugreek seeds for at least six hours. After soaking, grind the mixture into a very smooth, thick batter. Fermentation Let the batter ferment in a warm place for about eight to ten hours until it rises. Once the batter doubles in size, add salt and mix gently. Cooking Heat a non-stick pan or a flat tawa over medium heat. Pour a ladle of batter in the center and spread it outward in a circular motion to make a thin disc. Apply a little oil around the edges and cook until it turns golden brown and crispy. Finally, fold the crepe and serve it hot with fresh coconut chutney or spicy sambar. about Cultural Significance Dosa is much more than just a meal; it is a cultural staple of India. Most people eat it for breakfast, but it also works as a great dinner option. Health Benefits It is naturally gluten-free and vegan, which suits many different diets. Health enthusiasts often choose it because it provides a good balance of carbohydrates and proteins. Variations You can also find various versions like Masala Dosa or Mysore Dosa in many cities. themes/tips Heat Control To get a very crispy texture, keep your pan at the right temperature. If the pan gets too hot, the batter will not spread easily. If it stays too cold, the dosa will stick to the surface. Equipment and Texture Use a well-seasoned cast-iron skillet for the most authentic results. Add a pinch of sugar to the batter to achieve a beautiful golden color. Keep your heat consistent throughout the cooking process for the best outcome. whyWatch/whyTry Taste and Flexibility Try this recipe because it offers a unique combination of crunch and tanginess. It also lets you experiment with various fillings like spiced potatoes, cheese, or vegetables. Practical Benefits Making this dish at home saves money and ensures the use of high-quality ingredients. The satisfaction of flipping a perfect, thin crepe feels truly rewarding. It also gives you a fun way to introduce your family to international flavors.

Read More »

Idly

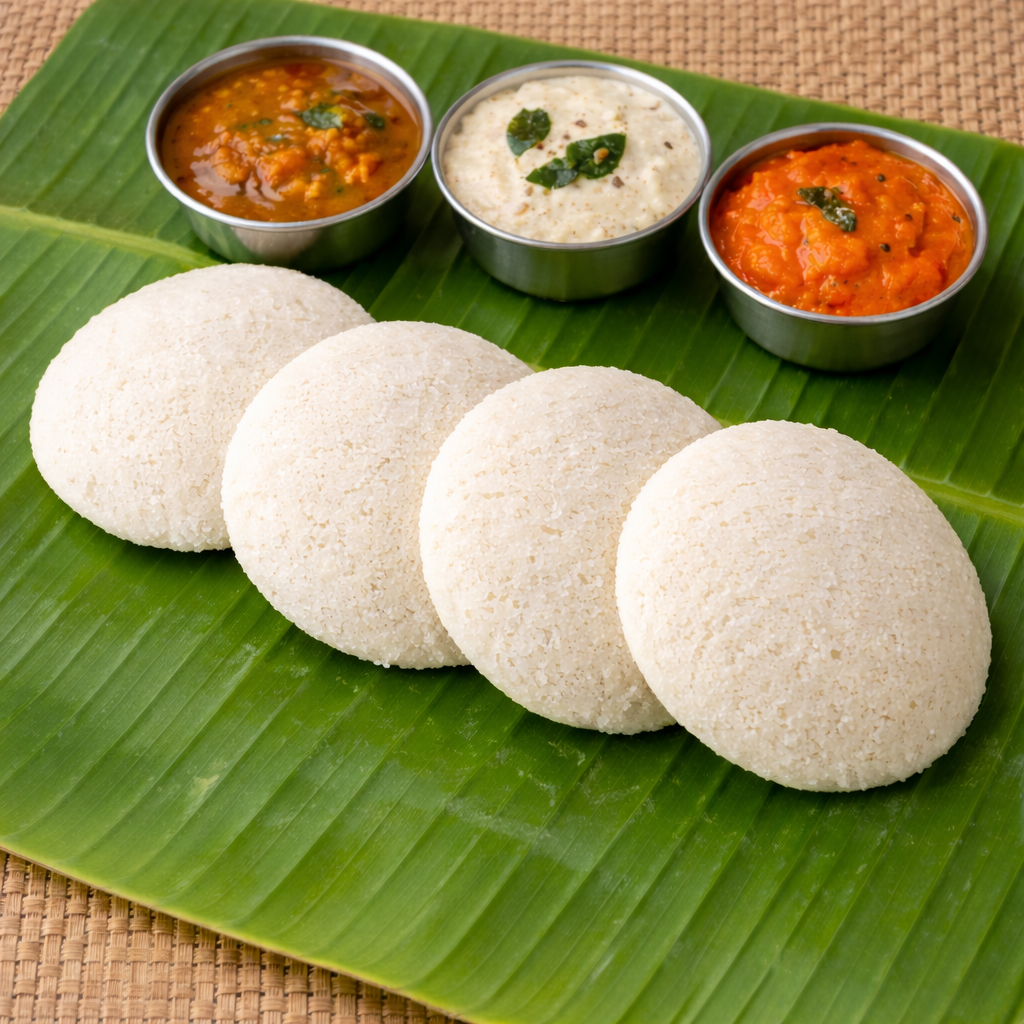
intro Start your day with a healthy and delicious Idly Recipe. This dish offers a light yet satisfying experience for your morning meal. Many households across the globe prepare it daily. Consequently, it has become a favorite for health-conscious foodies. If you want to achieve that perfect cloud-like texture, you must follow specific steps. Therefore, let us explore the secrets behind this classic dish together.story/description The idly represents centuries of culinary tradition. It traveled across continents from its origins in South India. People value it because it uses steam instead of oil. Furthermore, the natural fermentation process improves digestion significantly. Moreover, mothers often serve it to children as a first solid food. This choice proves how nutritious and gentle the meal remains for all ages. However, the true beauty lies in its simple nature. You only need a few basic ingredients to create this masterpiece. Additionally, the mild flavor pairs perfectly with spicy chutneys or savory sambar. Many people consider it the ultimate comfort food for any time of day.cast/ingredients To start your journey, gather 3 cups of high-quality idly rice. You also need 1 cup of whole white urad dal. Additionally, include 1 teaspoon of fenugreek seeds to help with the fermentation. Naturally, you will need clean water for soaking and grinding. Finally, add salt to the batter once it reaches the right consistency.songs/steps ### Step-by-Step Idly Recipe Guide First, wash the rice and dal separately in cold water. Soak them for at least six hours to ensure they soften. Furthermore, grind the urad dal into a very smooth and fluffy paste. Then, grind the rice into a slightly coarse texture. Consequently, mix both batters together in a large bowl and add salt. Place the mixture in a warm spot for eight to twelve hours to ferment. Once the batter rises, grease your idly plates with a little oil. Specifically, pour the batter into the molds carefully. Steam the idlies in a steamer for about twelve minutes. Eventually, you will see them puff up beautifully. Finally, remove them gently after a few minutes of cooling.about ### Mastering the Soft Idly Recipe This Idly Recipe creates a gluten-free and vegan-friendly meal for your family. It provides essential proteins and carbohydrates for lasting energy. Because the batter ferments naturally, it supports healthy gut bacteria. Therefore, it is a great choice for weight loss or general wellness. Moreover, it remains soft even if you pack it for lunch later.themes/tips Success depends mostly on the local climate. For instance, cold weather slows down the fermentation process. Therefore, keep the batter in an oven with the light on during winter. Additionally, do not over-grind the rice into a fine powder. A tiny bit of grit helps create the perfect texture. Furthermore, avoid over-steaming, or the idlies might become hard and dry. However, if you follow these specific proportions, you will succeed every time.whyWatch/whyTry You should try this recipe because it is incredibly versatile and cheap. It works for breakfast, lunch, or a light dinner. Additionally, it contains no preservatives or artificial chemicals. Furthermore, homemade versions beat store-bought options in both taste and health. Consequently, your family will enjoy a fresh and authentic experience. Start your healthy cooking journey with this timeless recipe today!

Read More »

Okra Fry with Peanuts

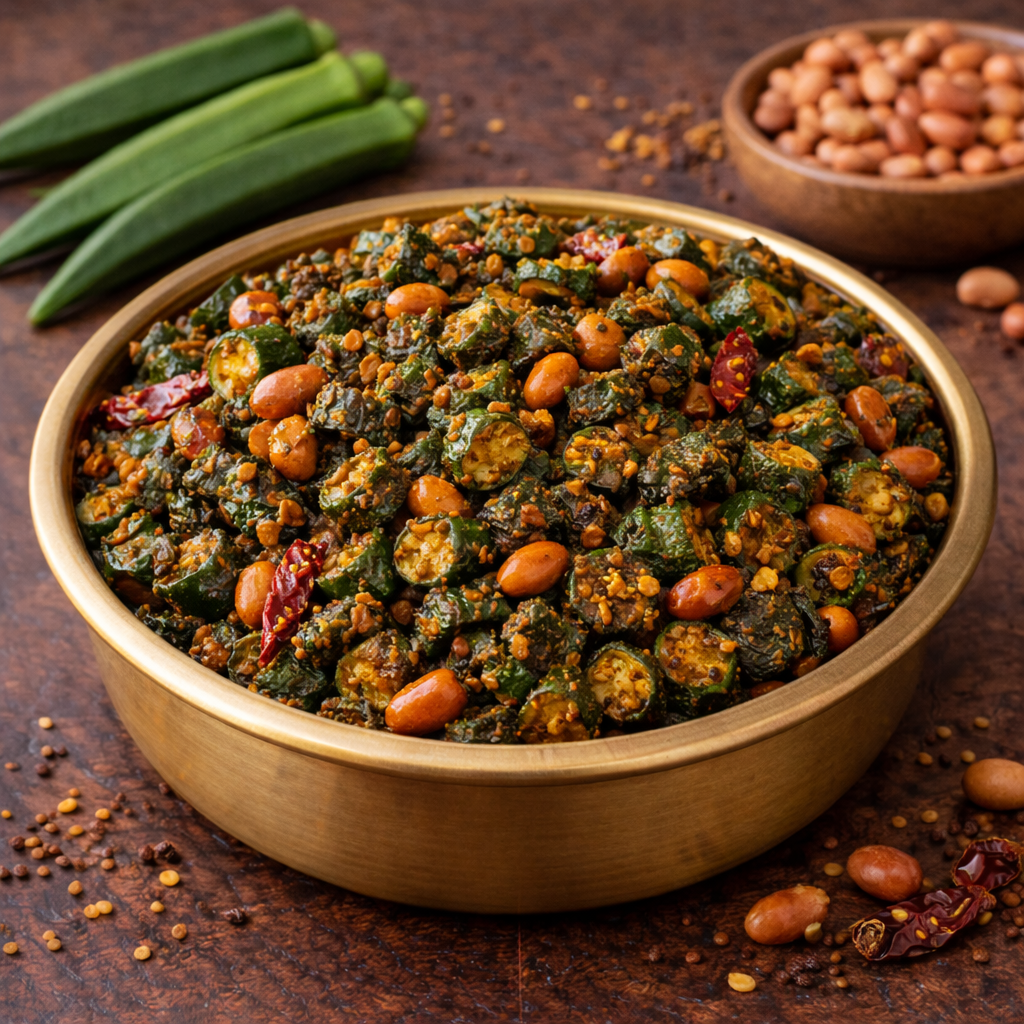
Intro This Okra Fry with Peanuts Recipe provides a wonderful way to enjoy fresh vegetables with a crunchy twist. Furthermore, the dish pairs perfectly with various Indian breads or steamed rice. Because it uses simple pantry spices, anyone can make it in less than twenty minutes. Consequently, you will love the earthy flavors and vibrant colors this dish brings to your table.story/description Imagine the comforting aroma of sautéing okra filling your home kitchen. Initially, this dish began as a humble stir-fry in South Indian households. However, the addition of roasted peanuts transformed it into a texture-rich masterpiece. This version balances the softness of the okra with the firm bite of the nuts. Moreover, the spices enhance the natural sweetness of the ladyfingers. Because of its simplicity, families often serve it during busy weeknight dinners to ensure everyone eats their greens.cast/ingredients To prepare this dish, you will need 1 pound of fresh okra, thinly sliced into rounds. Additionally, gather 1/2 cup of roasted peanuts and 2 tablespoons of vegetable oil. You also need 1 teaspoon of cumin seeds and 1/2 teaspoon of turmeric powder. Furthermore, prepare 1 teaspoon of red chili powder and salt to taste. Finally, keep a wedge of lemon ready for a bright finish.songs/steps First, wash the okra and dry it completely with a towel. Consequently, drying the vegetables prevents them from becoming slimy during the cooking process. Next, heat the oil in a large open pan over medium heat. Furthermore, add the cumin seeds and wait until they start to sizzle. Add the sliced okra to the pan and sauté them gently. However, do not cover the pan with a lid because steam makes okra soft. Stir the mixture occasionally for ten minutes until the edges turn golden brown. Therefore, you achieve a crispy texture. Finally, toss in the roasted peanuts and the remaining spices. Additionally, stir for two more minutes before squeezing fresh lemon juice over the top.about This Okra Fry with Peanuts Recipe is a variation of the traditional Bhindi Fry found across India. Specifically, it highlights the ‘Poriyal’ style of cooking where vegetables are stir-fried with minimal water. The peanuts add essential protein and a nutty depth that complements the spices. Because it is naturally vegan and gluten-free, it caters to many dietary needs. Truly, it is a versatile side dish that elevates any meal.themes/tips Secrets to a Perfect Okra Fry with Peanuts Recipe. To ensure success, always select tender and young okra pods. Furthermore, you should slice the okra into uniform pieces for even cooking. If the okra feels sticky, you can add a pinch of dried mango powder. Consequently, the acidity cuts through the mucilage. Additionally, use a wide frying pan to avoid crowding the vegetables. Moreover, adding the salt only at the end keeps the okra firm and crispy rather than mushy.whyWatch/whyTry You should try this dish because it offers a perfect balance of nutrition and flavor. Firstly, okra provides high levels of dietary fiber and vitamins. Secondly, the roasted peanuts supply healthy fats and a satisfying crunch. Therefore, it is a wholesome choice for both children and adults. Additionally, the quick preparation time makes it a lifesaver for amateur cooks. Consequently, this recipe makes eating your daily vegetables an enjoyable and tasty experience.

Read More »

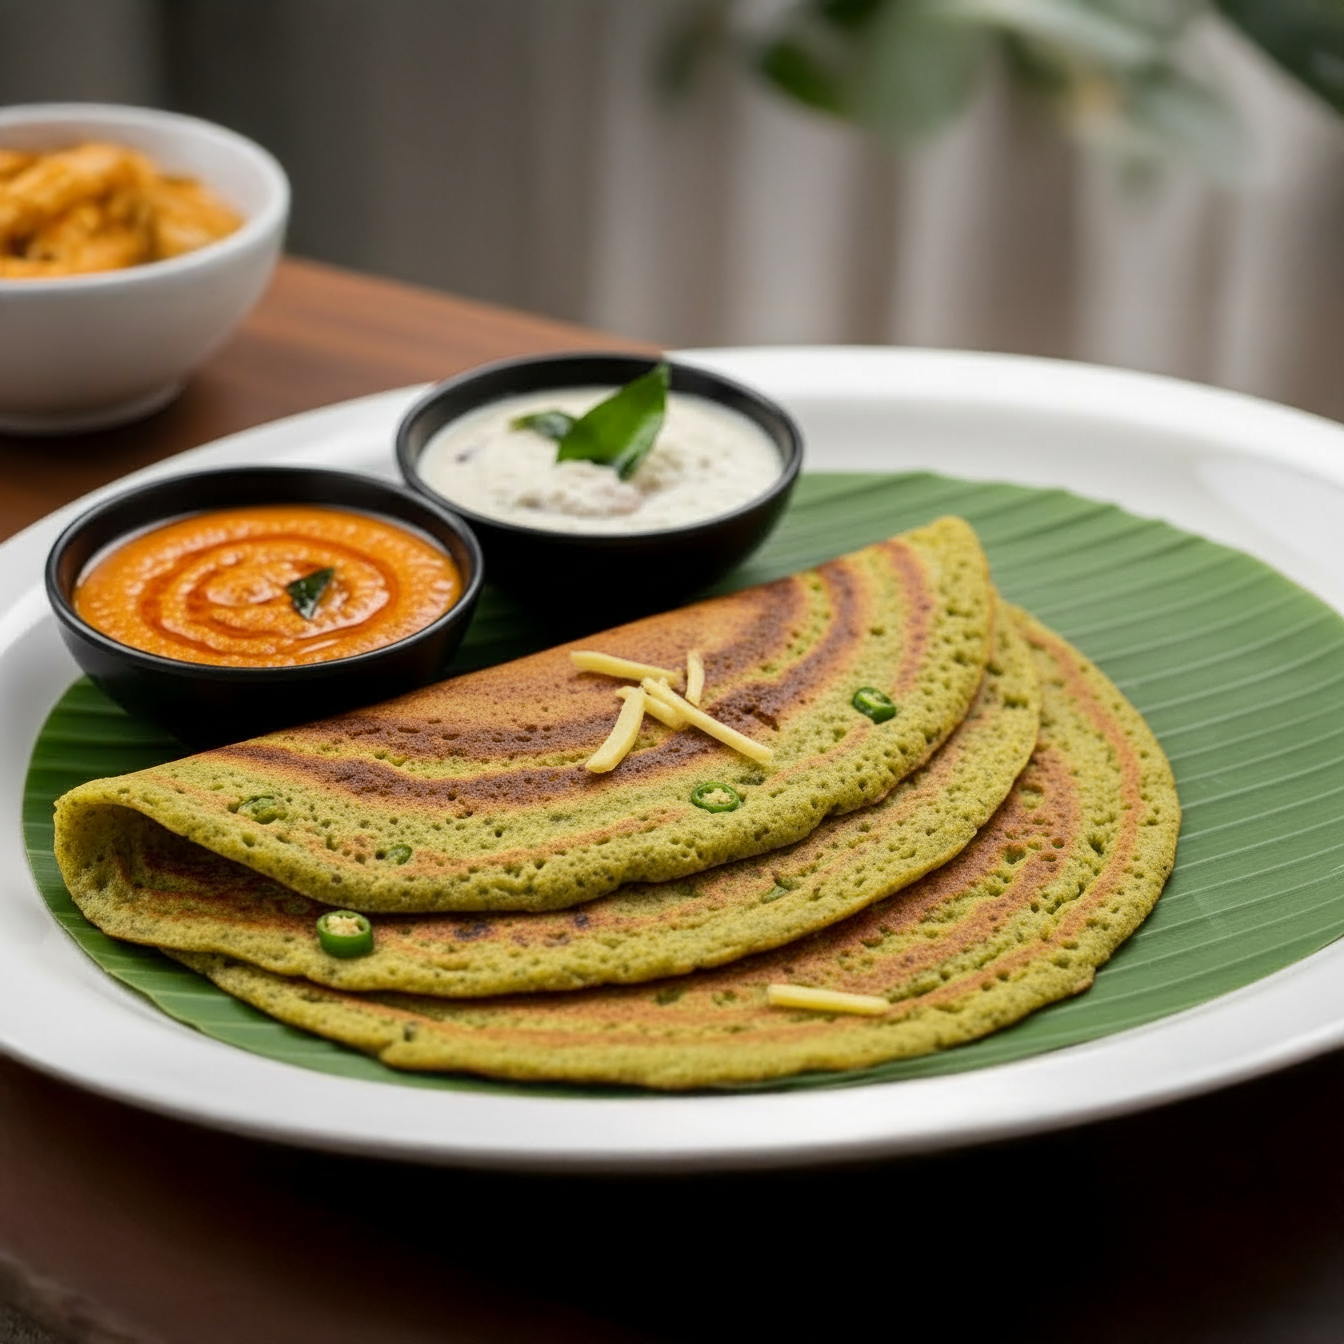
Green Gram Dosa

intro Are you looking for a healthy and delicious breakfast? You must try this Green Gram Dosa Recipe. It provides an excellent amount of protein for your body. Therefore, it keeps you full for a long time. Furthermore, it is very easy to prepare at home.story People in Andhra Pradesh call this traditional dish Pesarattu. This Green Gram Dosa Recipe has been popular for generations in many households. People traditionally eat it with spicy ginger chutney. Consequently, the flavors balance perfectly on your palate. However, you can enjoy it with any side dish of your choice. It serves as a staple because it is light on the stomach. Furthermore, it represents the simplicity of traditional Indian cooking.cast 1 cup whole green gram (moong dal), 2 tablespoons rice, 2 green chilies, 1-inch fresh ginger, 1 teaspoon cumin seeds, Salt to taste, Water as needed, Oil or ghee for cooking.songs 1. Soak the whole green gram and rice for at least six hours. 2. Drain the water completely and transfer the ingredients to a blender. 3. Add green chilies, ginger, and cumin seeds to the mix. 4. Grind the mixture into a very smooth batter. 5. Heat a flat tawa and spread a ladle of batter thinly. 6. Cook until the edges are crispy and serve immediately.about ### Nutritional Benefits of the Green Gram Dosa Recipe This dish provides a massive boost of plant-based protein. Additionally, it contains high amounts of dietary fiber. Therefore, it helps with muscle repair and improves your digestive health. Moreover, it is low in calories compared to regular rice-based dosas. The Green Gram Dosa Recipe is not just tasty but also scientifically beneficial for your diet. It has a low glycemic index. Consequently, it is suitable for people managing blood sugar levels. Furthermore, the antioxidants in moong dal protect your cells from damage.themes ### Expert Tips for a Perfect Green Gram Dosa Recipe You should use a non-stick pan to ensure you use less oil. Similarly, keep the heat on medium to ensure even cooking across the surface. Furthermore, you can add finely chopped onions on top for extra crunch. However, ensure the batter is not too watery before you start. Adding a pinch of asafoetida can significantly improve your digestion. Moreover, you can stuff the dosa with spiced mashed potatoes for a meal. Consequently, you turn a simple breakfast into a heavy lunch. However, always serve it hot for the best experience.whyWatch You should try this recipe because it is incredibly quick and nutritious. Additionally, it requires no fermentation time at all. Consequently, it is the perfect solution for busy weekday mornings. You will love the taste and the health benefits. Try it today!

Read More »

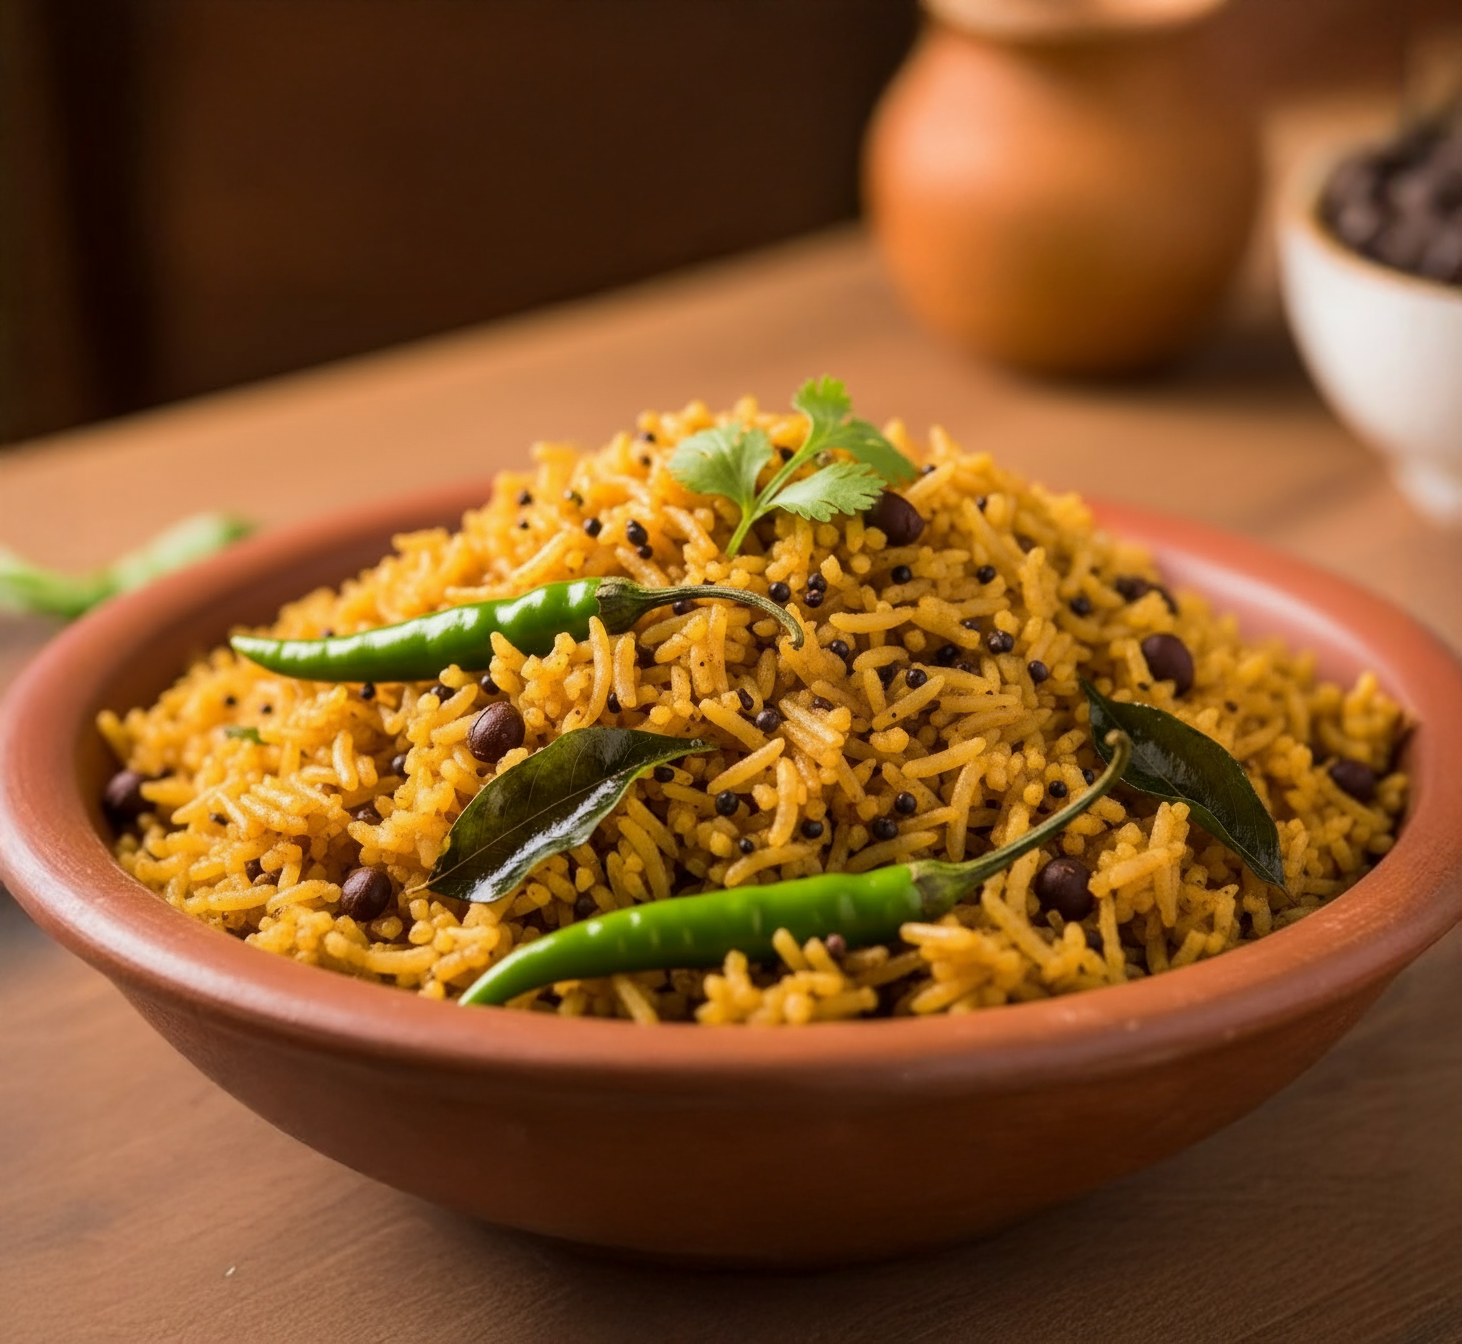
Tamarind Rice

intro Are you looking for a tangy and satisfying meal? Therefore, you must try this authentic Tamarind Rice Recipe. Furthermore, this dish brings traditional South Indian flavors directly to your dining table. However, many beginners feel intimidated by the spice balance. Additionally, we provide simple steps to ensure you succeed every single time.story People in South India call this dish Pulihora or Puliyogare. Historically, travelers preferred this meal because it stays fresh for a long time without refrigeration. Consequently, families often carry it during long train journeys. Moreover, temples frequently serve it as a sacred offering. The sourness of the tamarind represents one of the essential tastes in Indian philosophy. Therefore, eating it provides a balanced sensory experience. Additionally, the crunchy peanuts contrast perfectly with the soft rice, making every bite exciting for your palate. This combination of textures makes the meal unforgettable.cast You will need cooked rice, tamarind paste, and roasted peanuts. Additionally, gather mustard seeds, chana dal, and urad dal for the tempering. Furthermore, include dried red chilies, curry leaves, and turmeric powder. Finally, use sesame oil for the most authentic flavor. However, you can substitute it with vegetable oil if necessary. Consequently, these simple ingredients create a complex flavor profile.songs ### Secrets of the Tamarind Rice Recipe Firstly, cook the rice and spread it on a tray to cool. Furthermore, add a teaspoon of oil to prevent sticking. Secondly, heat oil in a large pan. Consequently, add mustard seeds and let them pop. Additionally, fry the dals until they turn golden brown. After that, toss in the peanuts and chilies. Furthermore, pour the tamarind extract into the pan and add turmeric. Simmer the mixture until it thickens into a paste. Finally, fold the tamarind paste into the cooled rice gently. Therefore, the rice absorbs the tangy flavors without breaking. Let it rest for an hour before serving for the best taste. Meanwhile, the flavors will deepen significantly.about ### How to Perfect the Tamarind Rice Recipe This dish represents the heart of South Indian comfort food. Moreover, it is naturally vegan and gluten-free. Therefore, it suits many dietary needs perfectly. Additionally, you can prepare the tamarind paste in bulk. Consequently, you can make a quick meal on busy weekdays. It remains a favorite for festivals and special family gatherings. Families often pass down their specific spice blends through generations.themes Always use aged tamarind for a deeper color. Furthermore, adjust the chili count to control the heat. Additionally, roasting the spices separately enhances the aroma significantly. Therefore, do not rush the tempering process. Finally, adding a pinch of jaggery balances the intense sourness beautifully. Similarly, using fresh curry leaves makes a huge difference in the final scent.whyWatch You should try this dish because it is incredibly flavorful and easy to store. Furthermore, it offers a unique blend of spice and tang. Consequently, your family will love this vibrant meal. Therefore, start cooking this amazing Tamarind Rice Recipe today and enjoy a taste of tradition!

Read More »

Sweet Jaggery Shells

కావలసిన పదార్ధాలు
  • మైదా పిండి All-purpose flour (Maida) 2 cups
  • బొంబాయి రవ్వ Semolina (Bombay Rava) 1/2 cup
  • నెయ్యి Ghee (Clarified Butter) 2 tablespoons
  • ఉప్పు Salt 1 pinch
  • బెల్లం Jaggery (Grated) 1 cup
  • యాలకుల పొడి Cardamom Powder 1/2 teaspoon
  • నీరు Water 1/4 cup
  • నూనె Cooking Oil (for deep frying) 2 cups
తయారి విధానం
  1. ఒక మిక్సింగ్ గిన్నెలో మైదా పిండి, బొంబాయి రవ్వ, చిటికెడు ఉప్పు మరియు వేడి నెయ్యి వేసి బాగా కలపాలి.
    In a large mixing bowl, combine all-purpose flour, semolina, a pinch of salt, and hot ghee.
  2. అవసరమైన నీటిని కొద్దికొద్దిగా పోస్తూ పిండిని గట్టిగా (పూరీ పిండిలా) కలుపుకోవాలి. ఈ పిండిని 15 నుండి 20 నిమిషాల పాటు పక్కన పెట్టాలి.
    Gradually add water and knead it into a firm and stiff dough. Cover and let it rest for about 15 to 20 minutes.
  3. పిండిని చిన్న చిన్న ఉండలుగా (గోళీ కాయల పరిమాణంలో) చేసుకోవాలి.
    Divide the rested dough into small, marble-sized balls.
  4. గవ్వల పీటపై కొద్దిగా నూనె రాసి, ఒక ఉండను ఉంచి బొటనవేలితో ఒత్తుతూ ముందుకు దొర్లిస్తే గవ్వ ఆకారం వస్తుంది.
    Take a shell-making board (Gavvala Peeta) and grease it slightly with oil. Place a dough ball on the grooves and press it with your thumb while rolling it forward to get the shell shape.
  5. బాండీలో నూనె వేడి చేసి, మంటను మీడియం ఫ్లేమ్ లో ఉంచి గవ్వలను బంగారు రంగు వచ్చేవరకు వేయించి పక్కన పెట్టుకోవాలి.
    Heat oil in a deep pan for frying. Once hot, maintain a medium flame and fry the shells until they turn golden brown and crispy. Remove and drain on paper towels.
  6. వేరొక పాత్రలో బెల్లం తురుము మరియు నీరు పోసి కరిగించాలి.
    In a separate heavy-bottomed pan, combine grated jaggery and water. Heat until the jaggery dissolves completely.
  7. బెల్లం నీటిని వడకట్టి మళ్ళీ ఉడికించాలి. అది తీగ పాకం (లేదా ఉండ పాకం) వచ్చే వరకు మరిగించాలి.
    Filter the jaggery liquid to remove impurities and boil it again until it reaches a soft-string consistency.
  8. పాకం సిద్ధమయ్యాక యాలకుల పొడి వేసి మంట ఆపివేయాలి.
    Add cardamom powder to the syrup and turn off the heat.
  9. వేయించిన గవ్వలను వెంటనే పాకంలో వేసి, పాకం మొత్తం గవ్వలకు పట్టేలా బాగా కలపాలి.
    Immediately add the fried shells into the warm jaggery syrup and toss gently until every shell is evenly coated.
  10. గవ్వలు పూర్తిగా ఆరిన తర్వాత ఒక గాలి చొరబడని డబ్బాలో భద్రపరుచుకోవాలి.
    Allow the shells to cool down completely until the syrup hardens before storing them in an airtight container.
[real3dflipbook id='1']