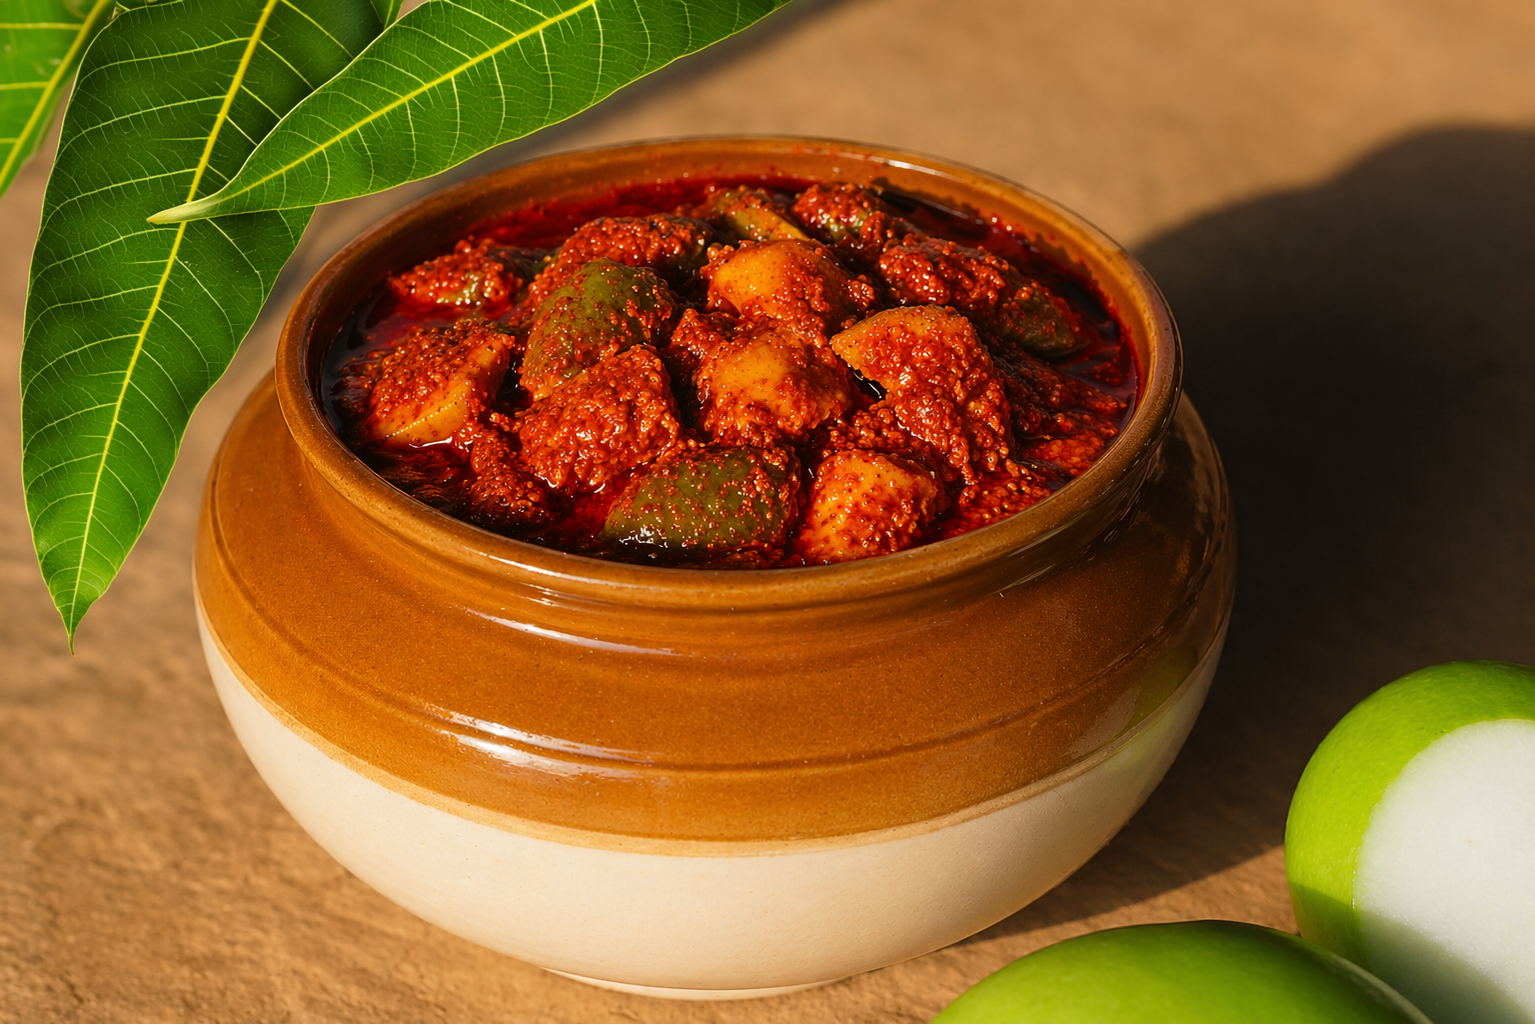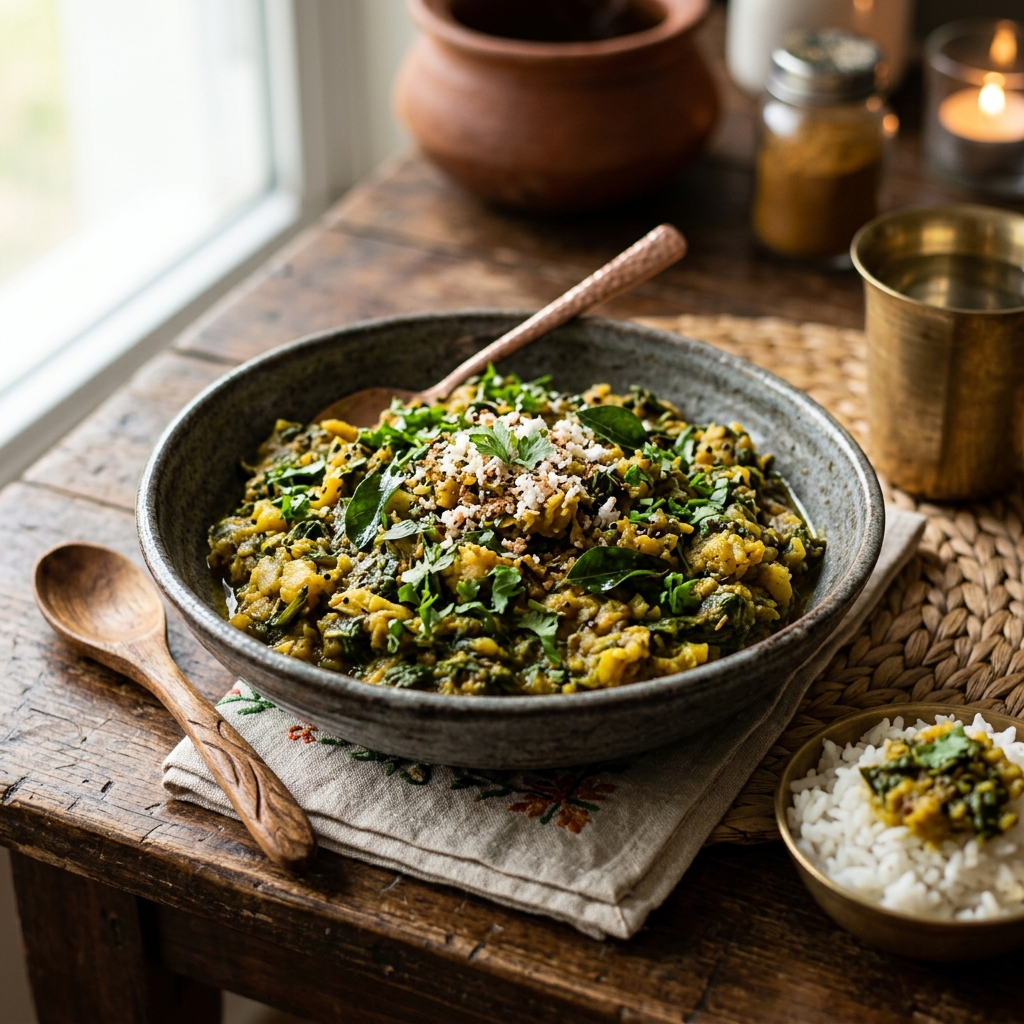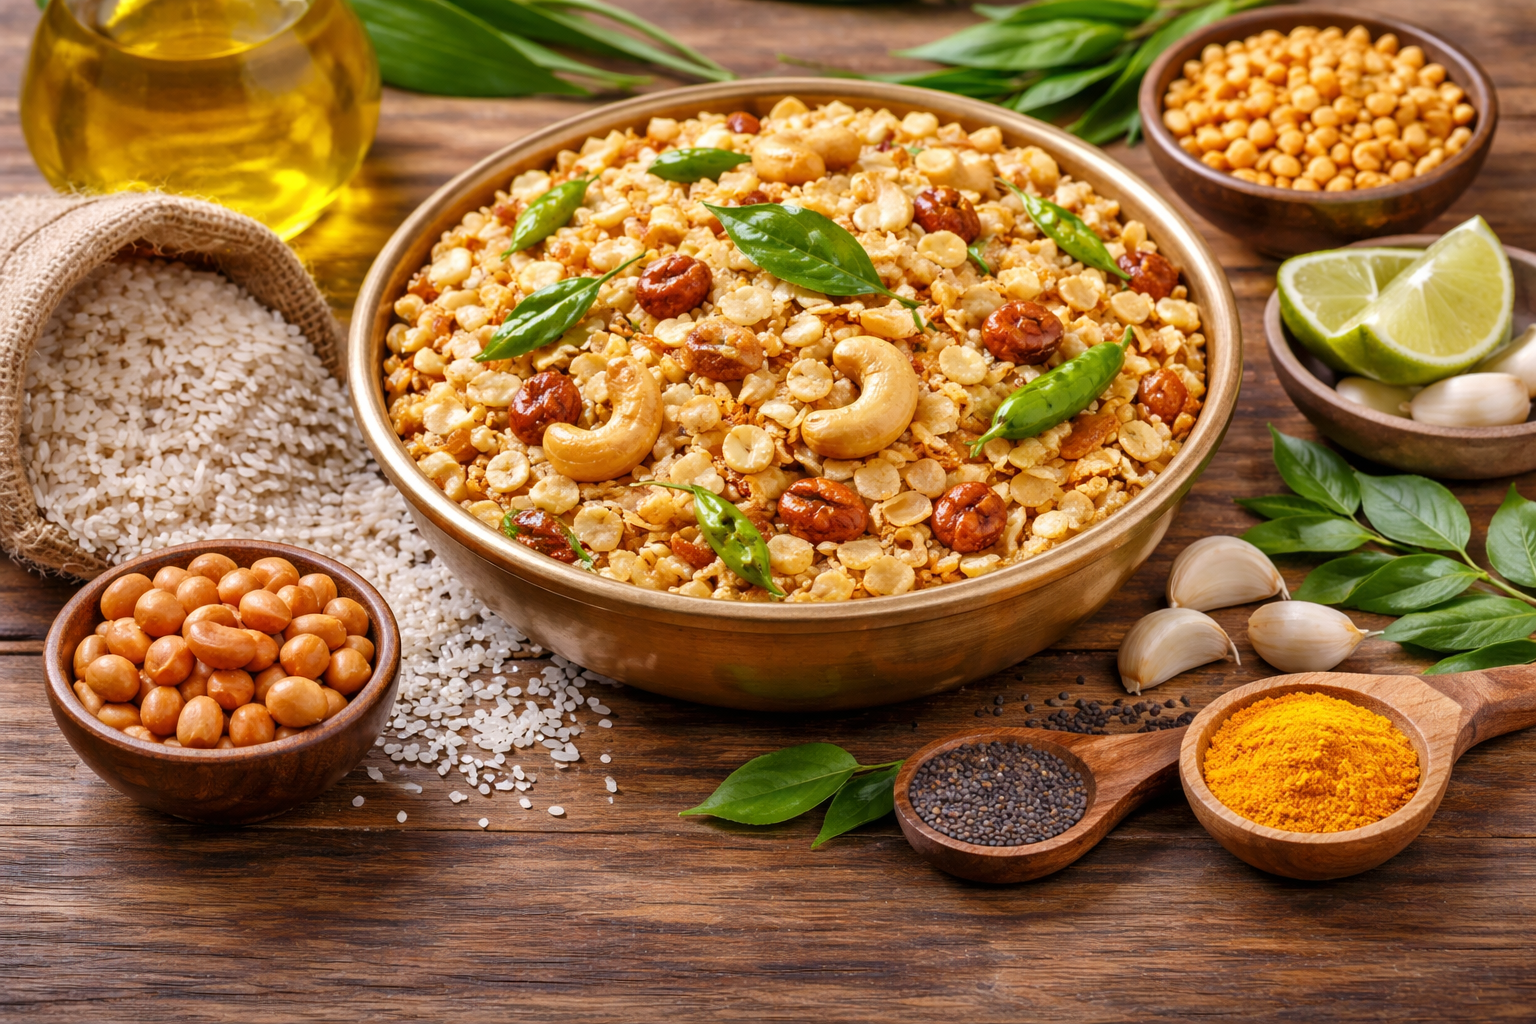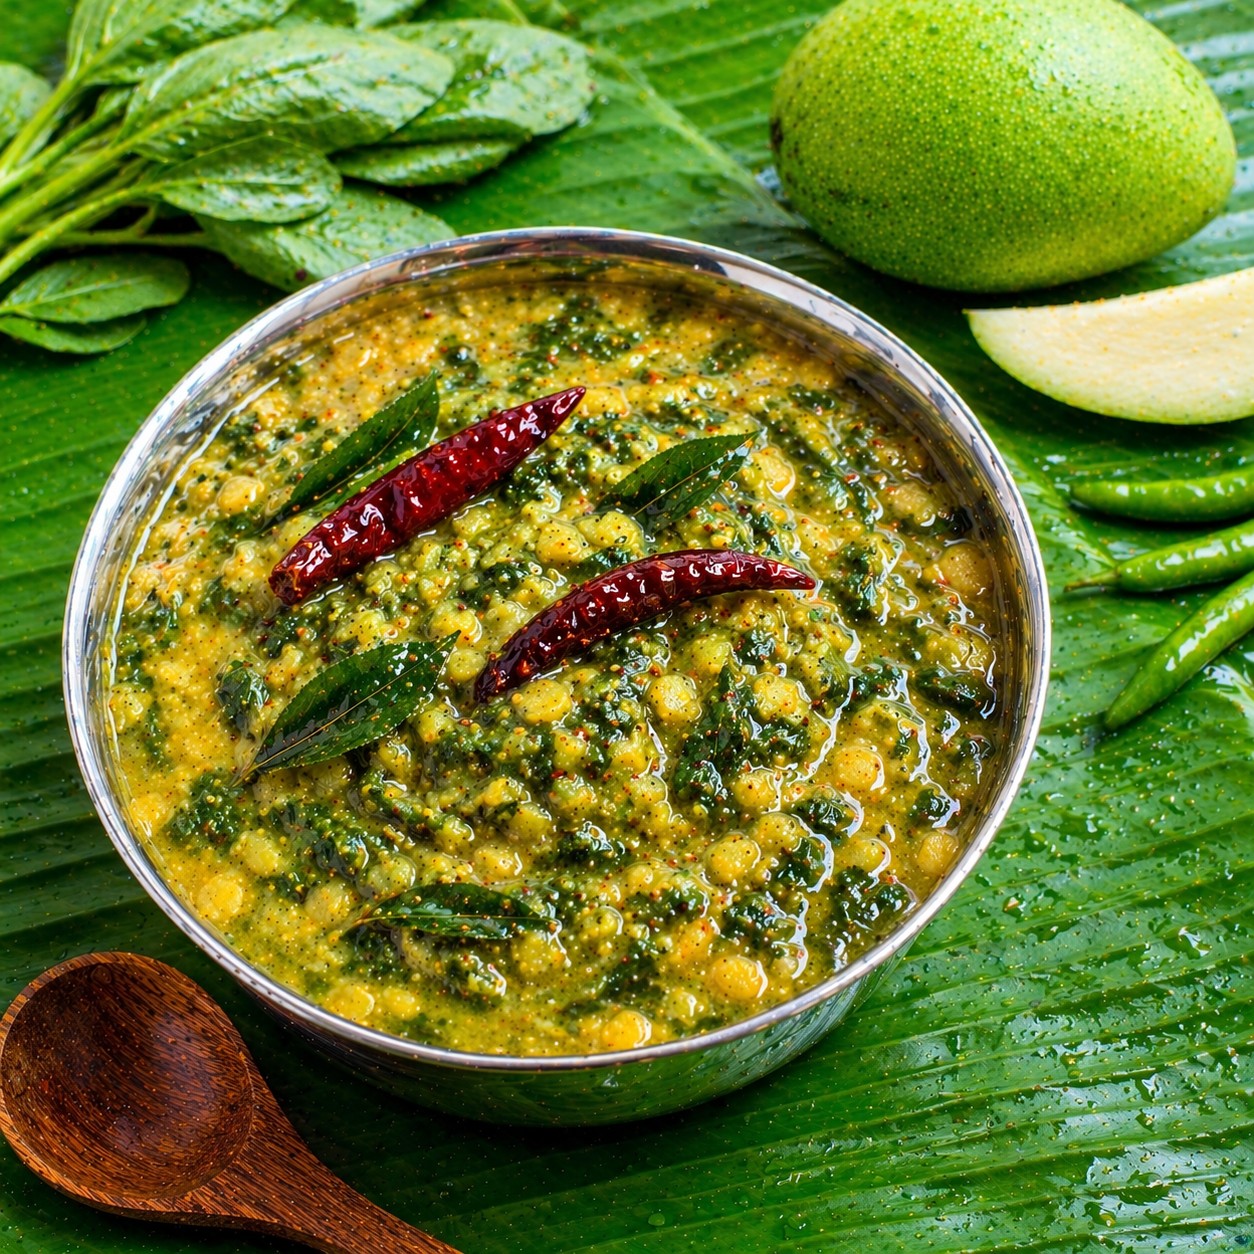
Mamidikaya Totakura Pappu
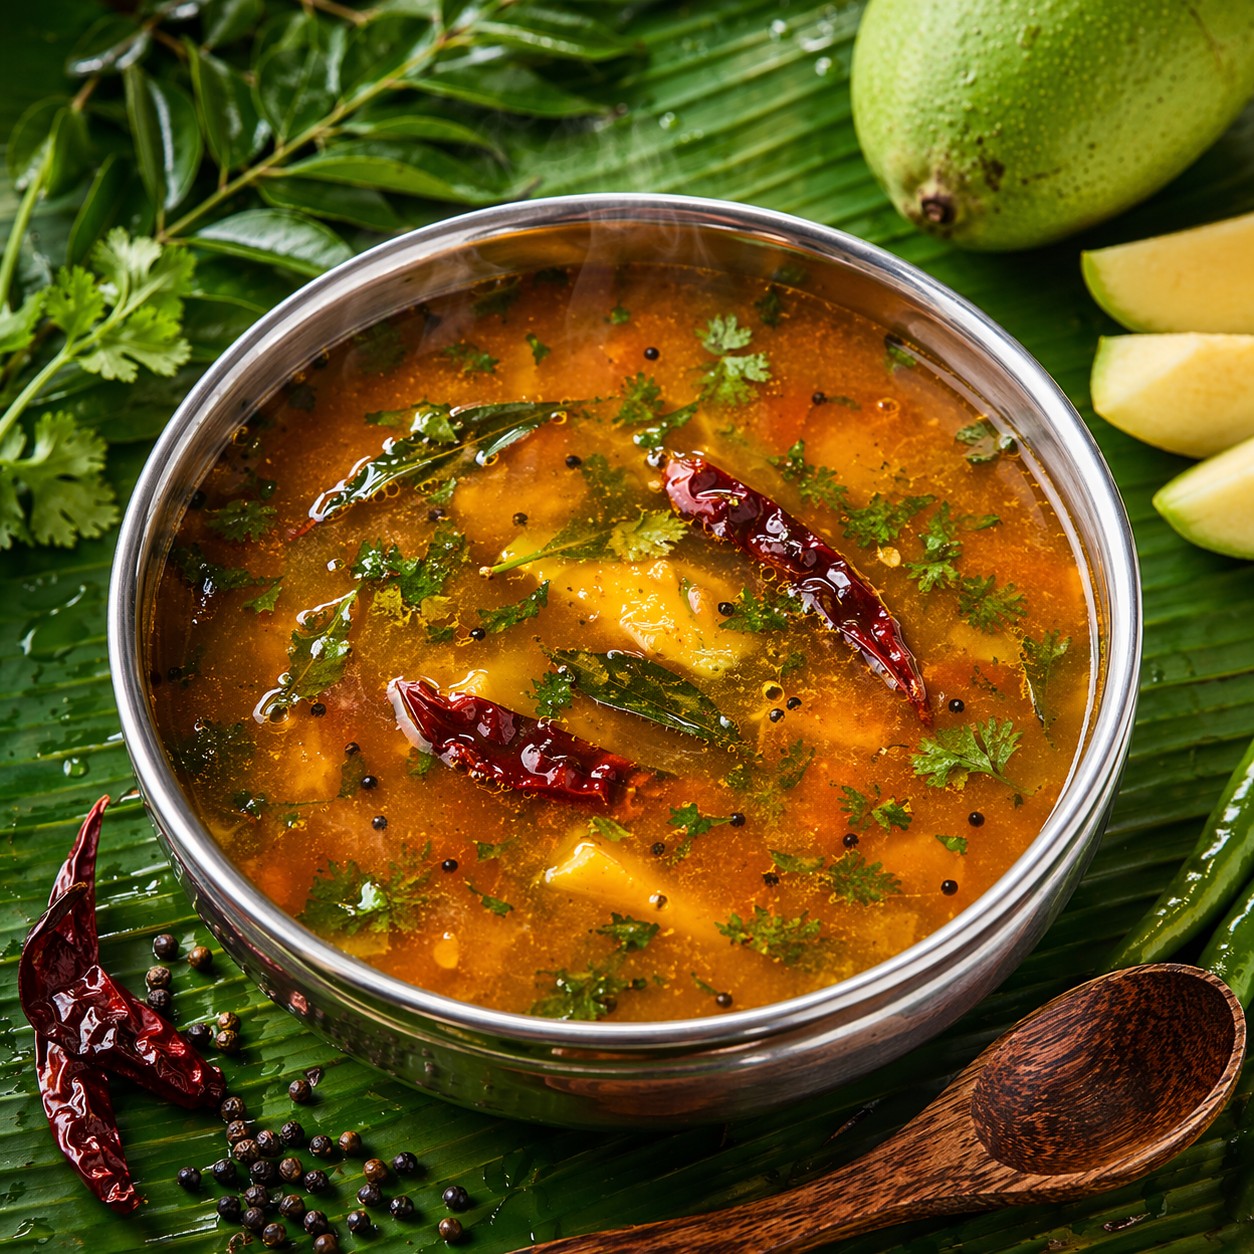
intro The Mamidikaya Totakura Pappu Recipe offers a perfect blend of sourness and high nutrition. This traditional Andhra dish combines fresh raw mango with vibrant amaranth leaves. Consequently, it creates a comforting meal that pairs beautifully with hot steamed rice. Therefore, many families prepare this during the peak of the mango season to enjoy its refreshing taste.story/description South Indian households often celebrate the arrival of mango season with diverse dal variations. However, the combination of raw mango and amaranth leaves stands out as a unique nutritional powerhouse. Specifically, the amaranth leaves provide a soft, buttery texture. Simultaneously, the raw mango adds a sharp, mouth-watering tang to the dish. Because of this balance, the recipe remains a staple during the hot summer months. Furthermore, every family has a secret way to temper this dal to enhance its earthy aroma. You will find that this dish captures the true spirit of Telugu comfort food. Moreover, it uses simple ingredients that you can find in any local market. Instead of using heavy spices, this recipe relies on the natural flavors of the greens and fruit. Consequently, it tastes fresh and light on the stomach.cast/ingredients 1 cup Toor dal (Pigeon peas), 2 cups fresh chopped Amaranth leaves (Totakura), 1 cup raw mango (peeled and diced), 3 green chilies (slit), 1/2 tsp turmeric powder, Salt to taste, 3 cups water. For tempering: 2 tbsp oil or ghee, 1 tsp mustard seeds, 1 tsp cumin seeds, 2 dried red chilies, 4 garlic cloves (crushed), 1 sprig curry leaves, A pinch of hing (asafoetida).songs/steps First, you must wash the toor dal and amaranth leaves thoroughly under running water. Second, place the cleaned dal, leaves, mango pieces, and green chilies into a pressure cooker. Third, add three cups of water and the turmeric powder to the mixture. Then, cook the ingredients for about three to four whistles until they become soft. Once the pressure releases, you should mash the dal gently with a wooden masher. However, do not over-process it as the texture should remain slightly chunky. Next, heat oil or ghee in a small pan for the tempering. Add the mustard seeds and let them splutter. Furthermore, throw in the cumin seeds, red chilies, garlic, and curry leaves. Finally, pour this aromatic tempering over the cooked dal and mix well. Simmer the Mamidikaya Totakura Pappu Recipe for another two minutes to blend the flavors. Serve it hot with a dollop of ghee.about This Mamidikaya Totakura Pappu Recipe represents the heart of authentic Telugu cuisine. It highlights seasonal produce effectively and ensures a balanced meal. Therefore, it nourishes the body while satisfying the palate with complex flavors. Additionally, the fiber from the greens makes it an excellent choice for digestive health.themes/tips You should always use firm and sour mangoes for the best results. If the mango is too sweet, the dish will lose its characteristic tang. Additionally, do not over-mash the leaves because you want to feel their texture. Instead of using a blender, always use a traditional masher for the right consistency. Furthermore, fresh garlic in the tempering adds a necessary punchy flavor. Moreover, you can add a little jaggery if the mango is excessively sour. Consequently, this creates a perfectly balanced sweet and sour profile. Finally, always serve this dal with a side of crispy papad or an omelet for a complete experience.whyWatch/whyTry You should try the Mamidikaya Totakura Pappu Recipe because it provides high protein and essential vitamins. Moreover, it is very easy to prepare for beginners who want to explore Indian cooking. Finally, it brings the authentic taste of South India directly to your dinner table with very little effort.