Edit Template

Recipe Tag: Vegetarian

Idly

intro Start your day with a healthy and delicious Idly Recipe. This dish offers a light yet satisfying experience for your morning meal. Many households across the globe prepare it daily. Consequently, it has become a favorite for health-conscious foodies. If you want to achieve that perfect cloud-like texture, you must follow specific steps. Therefore, let us explore the secrets behind this classic dish together.story/description The idly represents centuries of culinary tradition. It traveled across continents from its origins in South India. People value it because it uses steam instead of oil. Furthermore, the natural fermentation process improves digestion significantly. Moreover, mothers often serve it to children as a first solid food. This choice proves how nutritious and gentle the meal remains for all ages. However, the true beauty lies in its simple nature. You only need a few basic ingredients to create this masterpiece. Additionally, the mild flavor pairs perfectly with spicy chutneys or savory sambar. Many people consider it the ultimate comfort food for any time of day.cast/ingredients To start your journey, gather 3 cups of high-quality idly rice. You also need 1 cup of whole white urad dal. Additionally, include 1 teaspoon of fenugreek seeds to help with the fermentation. Naturally, you will need clean water for soaking and grinding. Finally, add salt to the batter once it reaches the right consistency.songs/steps ### Step-by-Step Idly Recipe Guide First, wash the rice and dal separately in cold water. Soak them for at least six hours to ensure they soften. Furthermore, grind the urad dal into a very smooth and fluffy paste. Then, grind the rice into a slightly coarse texture. Consequently, mix both batters together in a large bowl and add salt. Place the mixture in a warm spot for eight to twelve hours to ferment. Once the batter rises, grease your idly plates with a little oil. Specifically, pour the batter into the molds carefully. Steam the idlies in a steamer for about twelve minutes. Eventually, you will see them puff up beautifully. Finally, remove them gently after a few minutes of cooling.about ### Mastering the Soft Idly Recipe This Idly Recipe creates a gluten-free and vegan-friendly meal for your family. It provides essential proteins and carbohydrates for lasting energy. Because the batter ferments naturally, it supports healthy gut bacteria. Therefore, it is a great choice for weight loss or general wellness. Moreover, it remains soft even if you pack it for lunch later.themes/tips Success depends mostly on the local climate. For instance, cold weather slows down the fermentation process. Therefore, keep the batter in an oven with the light on during winter. Additionally, do not over-grind the rice into a fine powder. A tiny bit of grit helps create the perfect texture. Furthermore, avoid over-steaming, or the idlies might become hard and dry. However, if you follow these specific proportions, you will succeed every time.whyWatch/whyTry You should try this recipe because it is incredibly versatile and cheap. It works for breakfast, lunch, or a light dinner. Additionally, it contains no preservatives or artificial chemicals. Furthermore, homemade versions beat store-bought options in both taste and health. Consequently, your family will enjoy a fresh and authentic experience. Start your healthy cooking journey with this timeless recipe today!

Read More »

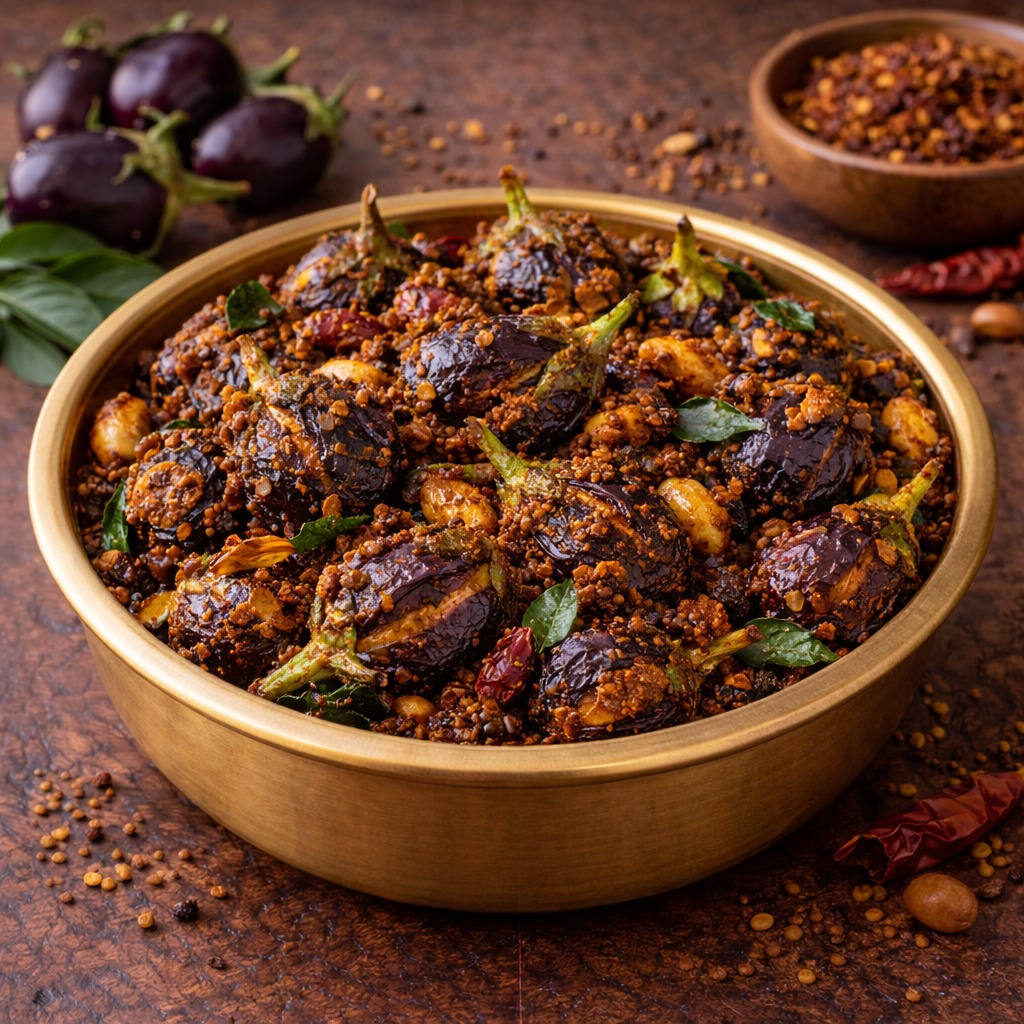
Okra Fry with Peanuts

Intro This Okra Fry with Peanuts Recipe provides a wonderful way to enjoy fresh vegetables with a crunchy twist. Furthermore, the dish pairs perfectly with various Indian breads or steamed rice. Because it uses simple pantry spices, anyone can make it in less than twenty minutes. Consequently, you will love the earthy flavors and vibrant colors this dish brings to your table.story/description Imagine the comforting aroma of sautéing okra filling your home kitchen. Initially, this dish began as a humble stir-fry in South Indian households. However, the addition of roasted peanuts transformed it into a texture-rich masterpiece. This version balances the softness of the okra with the firm bite of the nuts. Moreover, the spices enhance the natural sweetness of the ladyfingers. Because of its simplicity, families often serve it during busy weeknight dinners to ensure everyone eats their greens.cast/ingredients To prepare this dish, you will need 1 pound of fresh okra, thinly sliced into rounds. Additionally, gather 1/2 cup of roasted peanuts and 2 tablespoons of vegetable oil. You also need 1 teaspoon of cumin seeds and 1/2 teaspoon of turmeric powder. Furthermore, prepare 1 teaspoon of red chili powder and salt to taste. Finally, keep a wedge of lemon ready for a bright finish.songs/steps First, wash the okra and dry it completely with a towel. Consequently, drying the vegetables prevents them from becoming slimy during the cooking process. Next, heat the oil in a large open pan over medium heat. Furthermore, add the cumin seeds and wait until they start to sizzle. Add the sliced okra to the pan and sauté them gently. However, do not cover the pan with a lid because steam makes okra soft. Stir the mixture occasionally for ten minutes until the edges turn golden brown. Therefore, you achieve a crispy texture. Finally, toss in the roasted peanuts and the remaining spices. Additionally, stir for two more minutes before squeezing fresh lemon juice over the top.about This Okra Fry with Peanuts Recipe is a variation of the traditional Bhindi Fry found across India. Specifically, it highlights the ‘Poriyal’ style of cooking where vegetables are stir-fried with minimal water. The peanuts add essential protein and a nutty depth that complements the spices. Because it is naturally vegan and gluten-free, it caters to many dietary needs. Truly, it is a versatile side dish that elevates any meal.themes/tips Secrets to a Perfect Okra Fry with Peanuts Recipe. To ensure success, always select tender and young okra pods. Furthermore, you should slice the okra into uniform pieces for even cooking. If the okra feels sticky, you can add a pinch of dried mango powder. Consequently, the acidity cuts through the mucilage. Additionally, use a wide frying pan to avoid crowding the vegetables. Moreover, adding the salt only at the end keeps the okra firm and crispy rather than mushy.whyWatch/whyTry You should try this dish because it offers a perfect balance of nutrition and flavor. Firstly, okra provides high levels of dietary fiber and vitamins. Secondly, the roasted peanuts supply healthy fats and a satisfying crunch. Therefore, it is a wholesome choice for both children and adults. Additionally, the quick preparation time makes it a lifesaver for amateur cooks. Consequently, this recipe makes eating your daily vegetables an enjoyable and tasty experience.

Read More »

Green Gram Dosa

intro Are you looking for a healthy and delicious breakfast? You must try this Green Gram Dosa Recipe. It provides an excellent amount of protein for your body. Therefore, it keeps you full for a long time. Furthermore, it is very easy to prepare at home.story People in Andhra Pradesh call this traditional dish Pesarattu. This Green Gram Dosa Recipe has been popular for generations in many households. People traditionally eat it with spicy ginger chutney. Consequently, the flavors balance perfectly on your palate. However, you can enjoy it with any side dish of your choice. It serves as a staple because it is light on the stomach. Furthermore, it represents the simplicity of traditional Indian cooking.cast 1 cup whole green gram (moong dal), 2 tablespoons rice, 2 green chilies, 1-inch fresh ginger, 1 teaspoon cumin seeds, Salt to taste, Water as needed, Oil or ghee for cooking.songs 1. Soak the whole green gram and rice for at least six hours. 2. Drain the water completely and transfer the ingredients to a blender. 3. Add green chilies, ginger, and cumin seeds to the mix. 4. Grind the mixture into a very smooth batter. 5. Heat a flat tawa and spread a ladle of batter thinly. 6. Cook until the edges are crispy and serve immediately.about ### Nutritional Benefits of the Green Gram Dosa Recipe This dish provides a massive boost of plant-based protein. Additionally, it contains high amounts of dietary fiber. Therefore, it helps with muscle repair and improves your digestive health. Moreover, it is low in calories compared to regular rice-based dosas. The Green Gram Dosa Recipe is not just tasty but also scientifically beneficial for your diet. It has a low glycemic index. Consequently, it is suitable for people managing blood sugar levels. Furthermore, the antioxidants in moong dal protect your cells from damage.themes ### Expert Tips for a Perfect Green Gram Dosa Recipe You should use a non-stick pan to ensure you use less oil. Similarly, keep the heat on medium to ensure even cooking across the surface. Furthermore, you can add finely chopped onions on top for extra crunch. However, ensure the batter is not too watery before you start. Adding a pinch of asafoetida can significantly improve your digestion. Moreover, you can stuff the dosa with spiced mashed potatoes for a meal. Consequently, you turn a simple breakfast into a heavy lunch. However, always serve it hot for the best experience.whyWatch You should try this recipe because it is incredibly quick and nutritious. Additionally, it requires no fermentation time at all. Consequently, it is the perfect solution for busy weekday mornings. You will love the taste and the health benefits. Try it today!

Read More »

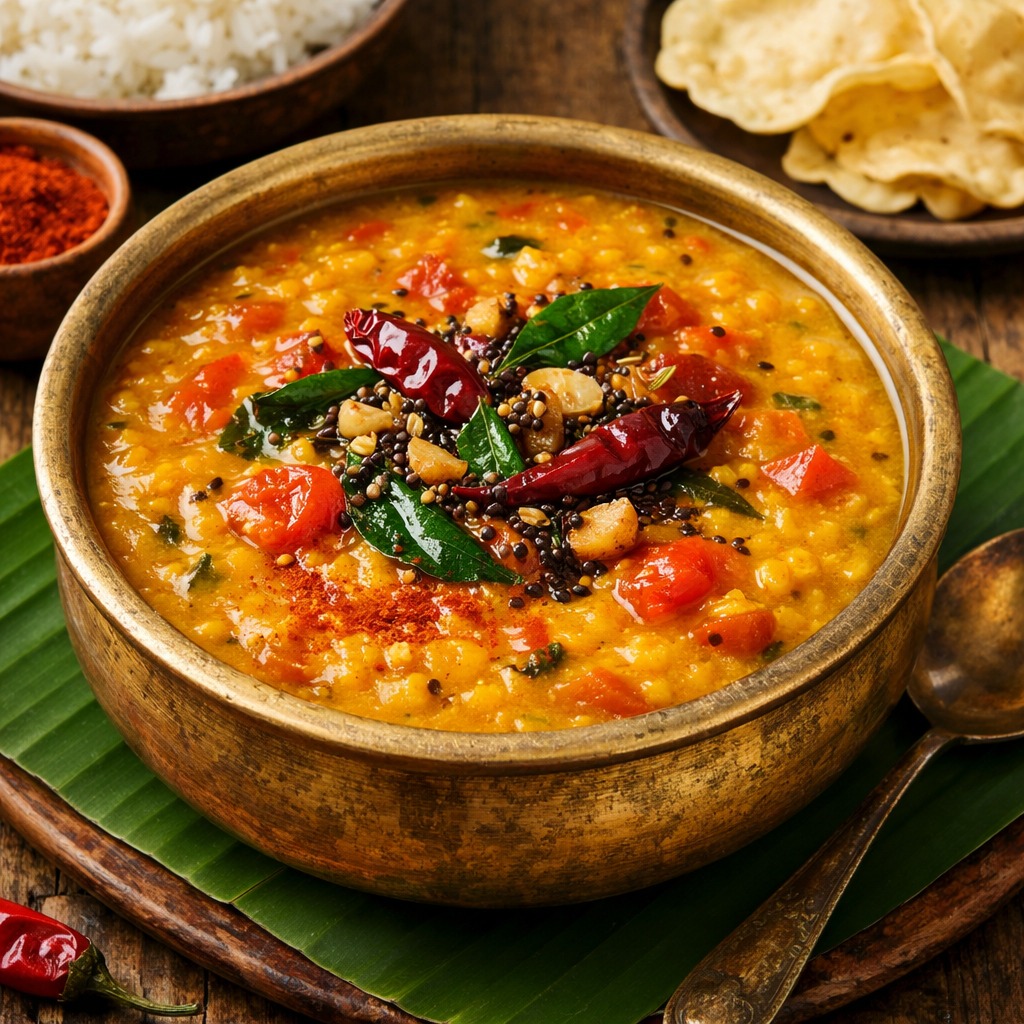
Tamarind Rice

intro Are you looking for a tangy and satisfying meal? Therefore, you must try this authentic Tamarind Rice Recipe. Furthermore, this dish brings traditional South Indian flavors directly to your dining table. However, many beginners feel intimidated by the spice balance. Additionally, we provide simple steps to ensure you succeed every single time.story People in South India call this dish Pulihora or Puliyogare. Historically, travelers preferred this meal because it stays fresh for a long time without refrigeration. Consequently, families often carry it during long train journeys. Moreover, temples frequently serve it as a sacred offering. The sourness of the tamarind represents one of the essential tastes in Indian philosophy. Therefore, eating it provides a balanced sensory experience. Additionally, the crunchy peanuts contrast perfectly with the soft rice, making every bite exciting for your palate. This combination of textures makes the meal unforgettable.cast You will need cooked rice, tamarind paste, and roasted peanuts. Additionally, gather mustard seeds, chana dal, and urad dal for the tempering. Furthermore, include dried red chilies, curry leaves, and turmeric powder. Finally, use sesame oil for the most authentic flavor. However, you can substitute it with vegetable oil if necessary. Consequently, these simple ingredients create a complex flavor profile.songs ### Secrets of the Tamarind Rice Recipe Firstly, cook the rice and spread it on a tray to cool. Furthermore, add a teaspoon of oil to prevent sticking. Secondly, heat oil in a large pan. Consequently, add mustard seeds and let them pop. Additionally, fry the dals until they turn golden brown. After that, toss in the peanuts and chilies. Furthermore, pour the tamarind extract into the pan and add turmeric. Simmer the mixture until it thickens into a paste. Finally, fold the tamarind paste into the cooled rice gently. Therefore, the rice absorbs the tangy flavors without breaking. Let it rest for an hour before serving for the best taste. Meanwhile, the flavors will deepen significantly.about ### How to Perfect the Tamarind Rice Recipe This dish represents the heart of South Indian comfort food. Moreover, it is naturally vegan and gluten-free. Therefore, it suits many dietary needs perfectly. Additionally, you can prepare the tamarind paste in bulk. Consequently, you can make a quick meal on busy weekdays. It remains a favorite for festivals and special family gatherings. Families often pass down their specific spice blends through generations.themes Always use aged tamarind for a deeper color. Furthermore, adjust the chili count to control the heat. Additionally, roasting the spices separately enhances the aroma significantly. Therefore, do not rush the tempering process. Finally, adding a pinch of jaggery balances the intense sourness beautifully. Similarly, using fresh curry leaves makes a huge difference in the final scent.whyWatch You should try this dish because it is incredibly flavorful and easy to store. Furthermore, it offers a unique blend of spice and tang. Consequently, your family will love this vibrant meal. Therefore, start cooking this amazing Tamarind Rice Recipe today and enjoy a taste of tradition!

Read More »
కావలసిన పదార్ధాలు
  • మినప పప్పు Urad Dal (Skinless whole black gram) 1 cup
  • ఇడ్లీ రవ్వ Idly Rava 2 cups
  • ఉప్పు Salt 1 teaspoon
  • నీరు Water (For soaking and grinding) 3 cups
తయారి విధానం
  1. మొదట మినప పప్పును శుభ్రంగా కడిగి తగినన్ని నీళ్లు పోసి 4 నుండి 5 గంటల పాటు నానబెట్టండి.
    Wash the urad dal thoroughly and soak it in enough water for 4 to 5 hours.
  2. మరొక గిన్నెలో ఇడ్లీ రవ్వను తీసుకుని అందులో నీళ్లు పోసి పక్కన ఉంచండి.
    In a separate bowl, take the idly rava, add water to it, and let it sit while you prep the dal.
  3. నానిన మినప పప్పును గ్రైండర్ లేదా మిక్సీలో వేసి తక్కువ నీటితో మెత్తగా వెన్నలా రుబ్బుకోవాలి.
    After soaking, drain the water from the urad dal and grind it in a mixer or grinder with minimal water until it becomes a smooth, fluffy paste.
  4. ఇప్పుడు నానబెట్టిన ఇడ్లీ రవ్వలోని నీటిని పూర్తిగా పిండేసి, ఆ రవ్వను రుబ్బిన మినప పిండిలో కలపాలి.
    Squeeze out all the excess water from the soaked idly rava by pressing it between your palms and add it to the ground dal batter.
  5. ఈ మిశ్రమానికి ఉప్పు కలిపి కనీసం 8 గంటల పాటు లేదా రాత్రంతా పులియనివ్వాలి.
    Add salt to the mixture and mix thoroughly until well combined.
  6. మరుసటి రోజు ఉదయం పిండిని మెల్లగా కలిపి, అవసరమైతే కొద్దిగా నీరు చేర్చండి.
    Cover the bowl and allow the batter to ferment in a warm place for at least 8 hours or overnight.
  7. ఇడ్లీ ప్లేట్లకు కొద్దిగా నూనె రాసి, సిద్ధం చేసుకున్న పిండిని గుంతలలో పోయాలి.
    The next morning, gently stir the fermented batter. Add a tablespoon of water if the consistency is too thick.
  8. ఇడ్లీ పాత్రలో నీళ్లు పోసి వేడి అయ్యాక, ఇడ్లీ ప్లేట్లను అందులో ఉంచి మూత పెట్టండి.
    Grease the idly plates with a tiny bit of oil or ghee and pour the batter into the molds.
  9. మంటను మధ్యస్థంగా ఉంచి 10 నుండి 12 నిమిషాల పాటు ఆవిరిపై ఉడికించాలి.
    Boil water in an idly steamer and place the plates inside once the steam starts to rise.
  10. ఉడికిన తర్వాత ఐదు నిమిషాల ఆగి చెంచాతో మెల్లగా ఇడ్లీలను తీసి వేడిగా వడ్డించండి.
    Steam on medium heat for 10 to 12 minutes. Let it rest for a few minutes before de-molding with a wet spoon.
[real3dflipbook id='1']