Edit Template

Recipe Tag: Spicy

Vangi Bath

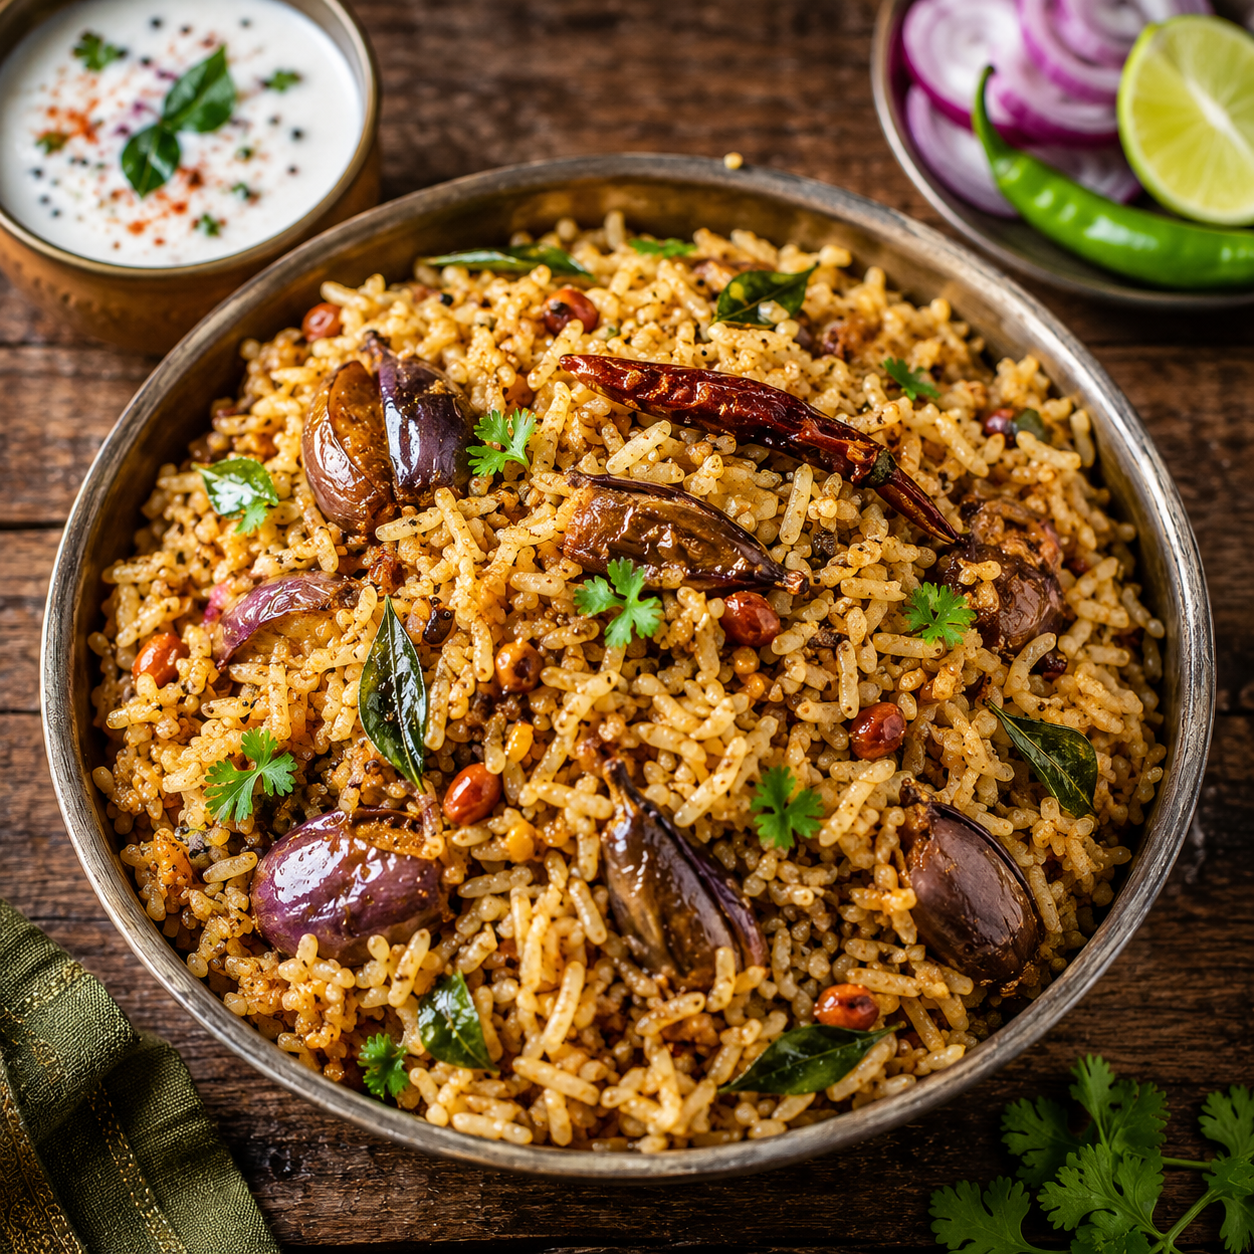
intro If you are looking for a meal that hits every taste bud, the vANGI BATH Recipe is your best choice. Furthermore, this dish offers a unique combination of tangy and spicy flavors that excite the palate. Consequently, it has become a staple in many households across South India. Therefore, you should learn how to make it perfectly in your own kitchen today. story The tradition of making this eggplant rice dates back many generations in Karnataka. Historically, home cooks used fresh garden brinjals and secret spice blends to create culinary magic. Moreover, the aroma of roasting lentils, dry chilies, and coconut fills the kitchen with warmth and nostalgia. However, modern versions remain just as tasty if you follow the right steps. Additionally, the dish represents the heart of South Indian heritage. Therefore, it brings a sense of deep comfort to anyone who eats it. Furthermore, the rich texture of cooked brinjals blends seamlessly with fluffy rice grains. Consequently, every bite feels like a celebration of traditional cooking techniques. Many people consider this dish the ultimate comfort food for long journeys or festive lunches. Similarly, you can customize the heat levels to suit your family’s preferences. cast 1. 2 cups of cooked Basmati or Sona Masuri rice. 2. 250 grams of small green or purple brinjals. 3. 3 tablespoons of Vangi Bath powder. 4. 1 teaspoon of mustard seeds. 5. 1 sprig of curry leaves. 6. 2 tablespoons of oil or ghee. 7. 1 tablespoon of tamarind paste. 8. Salt to taste. 9. Handful of roasted peanuts. Steps ### Steps to Master the vANGI BATH Recipe Firstly, you must wash and slice the brinjals into long thin pieces. Secondly, heat the oil in a large pan and add the mustard seeds. Furthermore, add the curry leaves and peanuts once the seeds begin to pop. Consequently, the oil will absorb all the nutty flavors. Thirdly, add the sliced brinjals to the pan and sauté them until they turn soft. Additionally, mix in the tamarind paste and the aromatic spice powder. Therefore, the vegetables will soak up the spices and become very flavorful. Fourthly, add the cooked rice and salt to the pan. However, you must mix gently to avoid breaking the rice grains. Lastly, garnish with fresh coriander and serve hot with a side of cooling raita.about This dish is more than just a rice recipe; it is a nutritional powerhouse. Furthermore, brinjals provide essential fiber and antioxidants for a healthy body. Additionally, the use of lentils in the spice powder adds a good amount of protein to your meal. Therefore, you are serving a balanced diet in one single bowl. Moreover, the spices used, like turmeric and cumin, aid in digestion. Consequently, you feel light and energized after your meal. themes ### Pro Tips for the vANGI BATH Recipe You should always use fresh, tender brinjals to ensure the best texture. Furthermore, do not overcook the rice, as it should remain fluffy and separate. Additionally, you can add a pinch of jaggery to balance the tanginess of the tamarind. Consequently, the dish will have a more complex flavor profile. Therefore, always taste your mixture before adding the rice. Moreover, roasting your own spices at home will significantly enhance the final aroma. However, if you are in a hurry, a high-quality store-bought powder also works well. whyWatch/whyTry You should try the vANGI BATH Recipe because it is incredibly versatile and easy to prepare. Furthermore, you can serve it for breakfast, lunch, or even as a packed lunch for work. Consequently, it saves you time when planning your busy weekly schedule. Additionally, the ingredients are very affordable and available in most grocery stores. Therefore, you can enjoy a restaurant-quality meal without spending too much money. However, the best reason to try it is simply the incredible explosion of traditional flavors in every single spoonful. Moreover, your family will surely appreciate the effort you put into this delicious and healthy dish.

Read More »

Vegetable Biryani

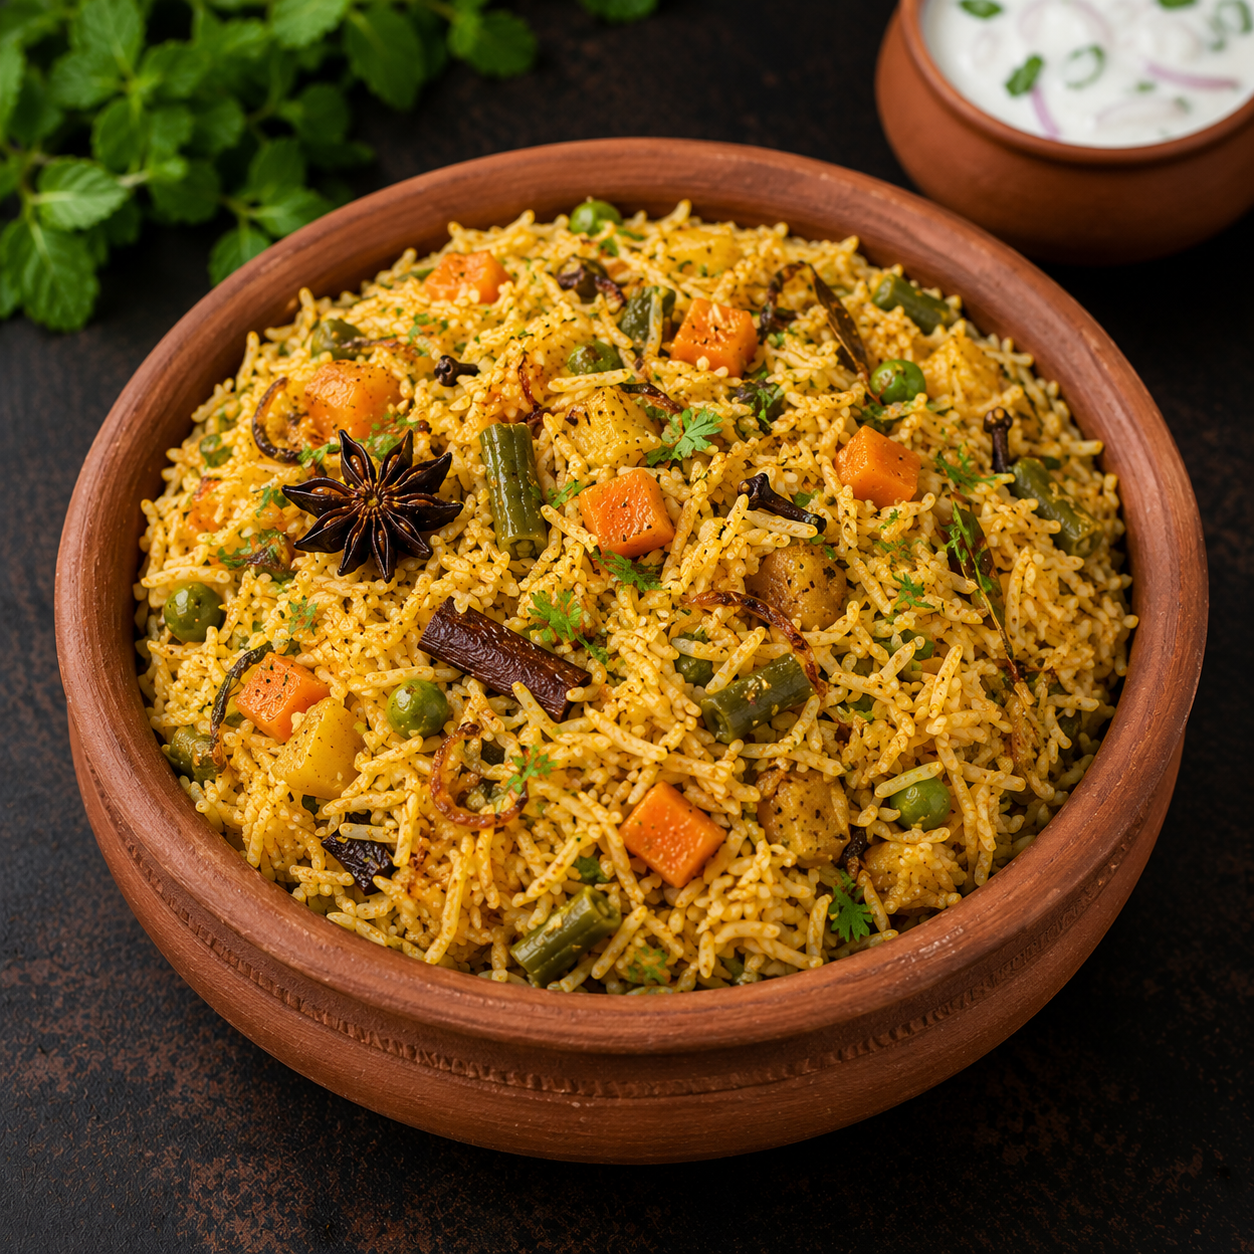
intro Are you looking for a flavorful and filling meal? This Vegetable Biryani Recipe delivers a burst of aromatic flavor in every single bite. Furthermore, it combines healthy garden vegetables with exotic spices. Consequently, you get a meal that is both nutritious and delicious. However, many people fear the complexity of cooking Indian food. Therefore, we simplified the process for you. Additionally, this guide helps you master the art of fluffy rice cooking. Specifically, you will learn how to balance spices perfectly. story/description Biryani is not just food; it is a culinary experience. Historically, royal kitchens created these rice dishes for grand feasts. However, modern versions are much easier to make at home. Therefore, home cooks can enjoy these royal flavors any day of the week. Additionally, the mix of colorful vegetables adds a stunning visual appeal to your table. Specifically, this Vegetable Biryani Recipe uses the layering technique to infuse every grain of rice with moisture. Consequently, the aroma will fill your entire home. Moreover, the slow-cooking process ensures that the spices penetrate deep into the vegetables.cast/ingredients Specifically, you need two cups of premium basmati rice. Additionally, gather one cup of mixed vegetables like carrots, peas, and green beans. You also require one large onion and two tablespoons of ginger-garlic paste. Furthermore, keep one cup of fresh yogurt and a handful of mint leaves ready. Consequently, do not forget whole spices like cloves, cardamom, and cinnamon sticks. Finally, use a pinch of saffron soaked in warm milk for the perfect golden color. steps First, soak the basmati rice in water for exactly thirty minutes. Furthermore, sauté the sliced onions in a large pot until they turn golden brown. Consequently, add the ginger-garlic paste and the whole spices to release their oils. Next, toss in the mixed vegetables and cook them until they become tender. Additionally, stir in the yogurt and mint leaves to create a rich gravy. Therefore, you are now ready for the layering step. Spread the parboiled rice over the vegetable base. Moreover, drizzle the saffron milk over the top for extra fragrance. Finally, seal the pot and cook on low heat for twenty minutes. about ## Why You Need This Vegetable Biryani Recipe. This Vegetable Biryani Recipe stands out because of its perfect balance. Specifically, it balances heat, acidity, and creamy textures. Furthermore, the rice stays fluffy and individual rather than mushy. Therefore, you avoid the common mistakes of novice cooks. Additionally, the dish provides a complete source of nutrition when you serve it with a side of raita. Consequently, it is a great choice for vegetarians and healthy eaters alike. Moreover, it works perfectly for meal prep during the week. themes/tips ## Pro Tips for the Best Vegetable Biryani Recipe. To ensure success, always use long-grain basmati rice. Furthermore, do not overcook the rice during the initial boiling stage. Therefore, keep the grains slightly firm before layering. Additionally, fresh mint and coriander leaves improve the aroma significantly. Consequently, you should avoid using dried herbs for this specific dish. Moreover, use a heavy-bottomed pot to prevent the bottom layer from burning. Specifically, a thick base distributes heat more evenly. However, if you do not have a heavy pot, place a flat pan under your pot during the final steaming phase. whyWatch/whyTry You should try this Vegetable Biryani Recipe because it transforms simple ingredients into a masterpiece. Furthermore, it is a crowd-pleaser that suits any festive occasion. Consequently, your guests will be impressed by your cooking skills. Therefore, grab your apron and start cooking this delicious dish right now!

Read More »
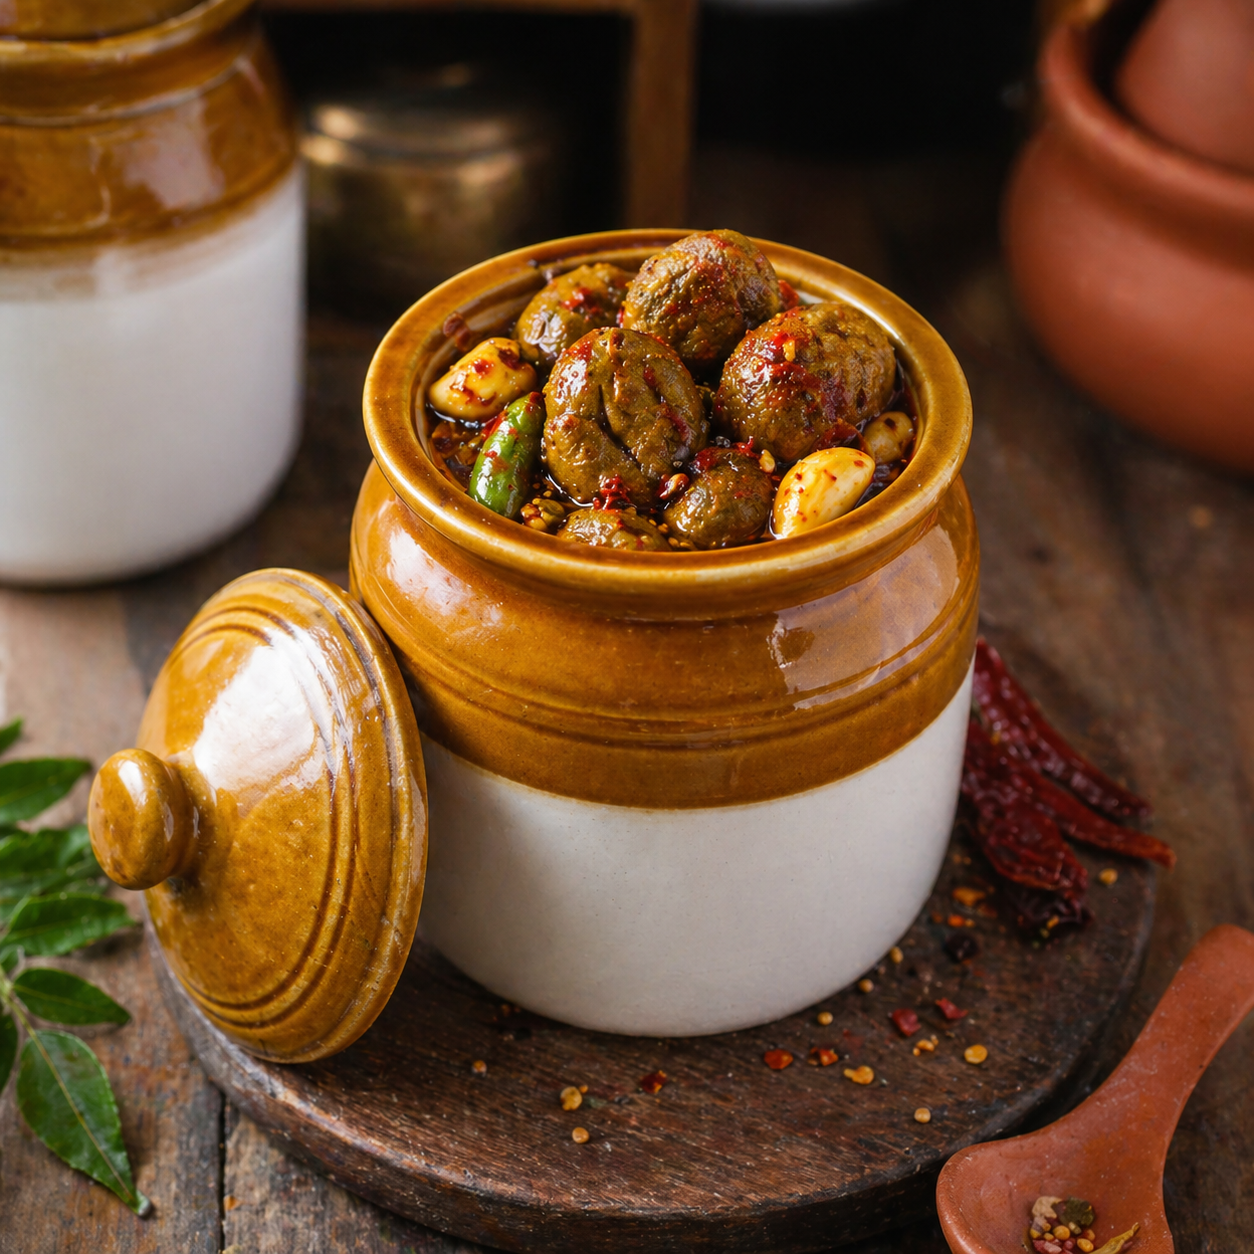
Maavadu Avakaya

Maavadu (Baby Mango Pickle)

intro If you love South Indian cuisine, you will likely adore the Maavadu (Baby Mango Pickle) Recipe. This pickle uses tiny, tender mangoes harvested early in the season. Consequently, it offers a unique texture and flavor. Furthermore, many families consider it a seasonal staple. Therefore, making this at home allows you to enjoy authentic flavors all year long. Many people find the process surprisingly simple and rewarding.story The tradition of the Maavadu (Baby Mango Pickle) Recipe stems from the heart of Tamil Nadu. Families eagerly wait for the first baby mangoes to arrive in the market. Traditionally, grandmothers would gather around to clean and salt these tiny fruits. However, the recipe has evolved slightly over the years. Some people add more spice, while others prefer a milder version. Moreover, the characteristic ‘vadu mangai’ aroma fills the kitchen during the pickling process. Additionally, the pickle represents the arrival of summer and the joy of seasonal preserving. Therefore, this recipe carries deep cultural significance and nostalgic value for many. Ingredients 1 kg Baby Mangoes (with stalks if possible), 150 grams Rock Salt, 2 tablespoons Castor Oil, 100 grams Red Chili Powder, 2 tablespoons Mustard Seeds (powdered), 1 tablespoon Turmeric Powder.songs Step 1: First, wash the baby mangoes thoroughly in cold water. Step 2: Next, dry them completely using a clean cloth. Furthermore, ensure there is no moisture left. Step 3: Cut the long stalks, but leave a small bit attached to each mango. Step 4: Consequently, put the mangoes in a large glass or ceramic jar. Step 5: Add the castor oil and coat all the mangoes evenly. Step 6: Afterward, add the rock salt and turmeric powder. Step 7: Shake the jar well every day for about four days. Step 8: Additionally, you will notice the mangoes shrinking and releasing juice. Step 9: On the fifth day, add the red chili powder and mustard powder. Step 10: Finally, mix everything well and let it sit for another week before eating. about This Maavadu (Baby Mango Pickle) Recipe is more than just a side dish. It is a probiotic-rich ferment that aids digestion. Specifically, the natural fermentation process creates healthy bacteria. Moreover, the spices used, like turmeric and mustard, provide anti-inflammatory benefits. Many people serve this with curd rice for a cooling and satisfying meal. Therefore, it serves as a functional food in the traditional Indian diet.themes Always use a clean, dry spoon to handle the pickle. Additionally, ensure the jar is airtight to prevent spoilage. If you want a brighter color, use Kashmiri red chili powder. Furthermore, remember to shake the jar daily during the initial period. However, do not skip the castor oil, as it helps preserve the mangoes’ skin. Consequently, these tips will help you achieve the perfect crunch and tang.whyWatch You should try this Maavadu (Baby Mango Pickle) Recipe because it brings the authentic taste of South India to your table. Furthermore, it is far healthier than store-bought versions. Moreover, the process is incredibly therapeutic. You will love the way the mangoes transform over time. Therefore, start your pickling journey today and impress your family with this classic condiment!

Read More »

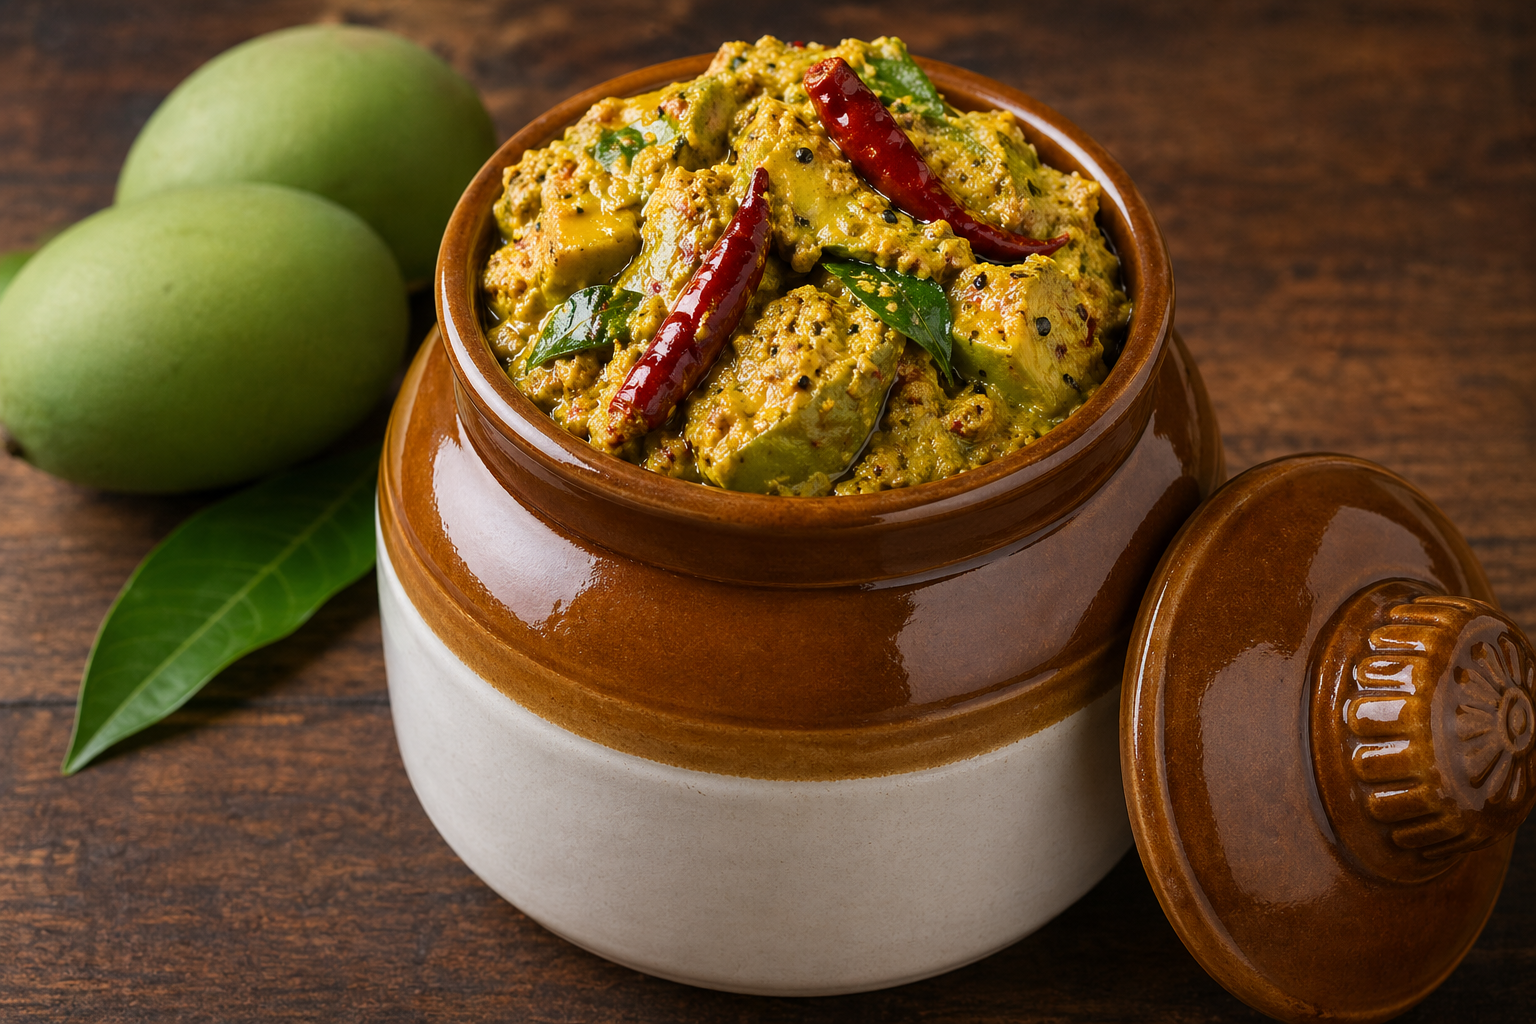
Nuvvu Avakaya

intro If you love spicy condiments, you must try the Nuvvu Avakaya Recipe. This traditional South Indian dish combines tangy green mangoes with roasted sesame powder. Many people enjoy it because it adds a rich, nutty flavor to every meal. Therefore, learning this Nuvvu Avakaya Recipe will elevate your culinary skills instantly. Furthermore, it is very easy to prepare at home if you follow the right steps. This guide will show you how to master this classic condiment with minimal effort.story In many Indian households, summer means pickle season has arrived. Families gather to chop green mangoes and mix vibrant spices. Among all varieties, Nuvvu Avakaya stands out because of its unique texture and depth. While regular Avakaya uses mustard seeds, this version uses sesame seeds instead. Consequently, the taste is milder but much more aromatic than other pickles. However, the tanginess of the mango still shines through beautifully. Additionally, the sesame oil acts as a perfect preservative for the fruit pieces. You will find that this pickle becomes more flavorful as it sits for a few days in a jar.cast To begin, gather these essential items: 2 cups of raw green mango (chopped into cubes), 1/2 cup of sesame seeds (toasted and powdered), 1/4 cup of red chili powder, 1/4 cup of salt, 1/4 cup of mustard seeds (powdered), 1/2 teaspoon of turmeric powder, 1 cup of sesame oil, and 1/2 teaspoon of fenugreek seeds.songs ## Steps for Preparing the Nuvvu Avakaya Recipe First, you must wash the raw mangoes thoroughly and dry them completely. Moisture is the enemy of any pickle. Therefore, use a clean cloth to wipe every piece. Second, chop the mangoes into medium-sized cubes. Meanwhile, dry roast the sesame seeds until they turn golden brown. After they cool down, grind them into a fine powder. Third, take a large mixing bowl and add the mango pieces. Add the chili powder, salt, turmeric, and the sesame powder. Additionally, include the mustard powder for a sharp kick. Fourth, heat some sesame oil in a small pan and add fenugreek seeds. Once it cools, pour the oil over the mango mixture. Finally, mix everything well using a dry spoon. Store the Nuvvu Avakaya Recipe in a glass jar for three days before serving to allow flavors to meld.about Nuvvu Avakaya is a staple in Andhra cuisine that everyone should taste. It represents the perfect balance of sour, spicy, and nutty notes. Because sesame is a key ingredient, it provides a cooling effect compared to pure mustard pickles. Consequently, it is very popular during the hot summer months. Furthermore, it pairs excellently with hot rice and a dollop of ghee. Most families consider it an essential part of their lunch menu.themes ## Tips for the Best Nuvvu Avakaya Recipe Always use fresh, sour mangoes for the best results. Moreover, ensure all utensils are bone-dry to prevent spoilage. Additionally, use high-quality sesame oil for an authentic aroma. If the pickle feels too dry after mixing, you can add more cooled oil later. However, do not over-roast the sesame seeds as they might turn bitter and ruin the taste. Therefore, keep a close eye on the pan while roasting.whyWatch You should try the Nuvvu Avakaya Recipe because it offers a sophisticated flavor profile. It is less pungent than traditional mustard pickles. Therefore, kids and adults alike will enjoy the mild nuttiness. Additionally, it lasts for months, making it a great pantry staple for busy days. Try it today to experience the true essence of traditional Indian pickling and surprise your family with something new.

Read More »

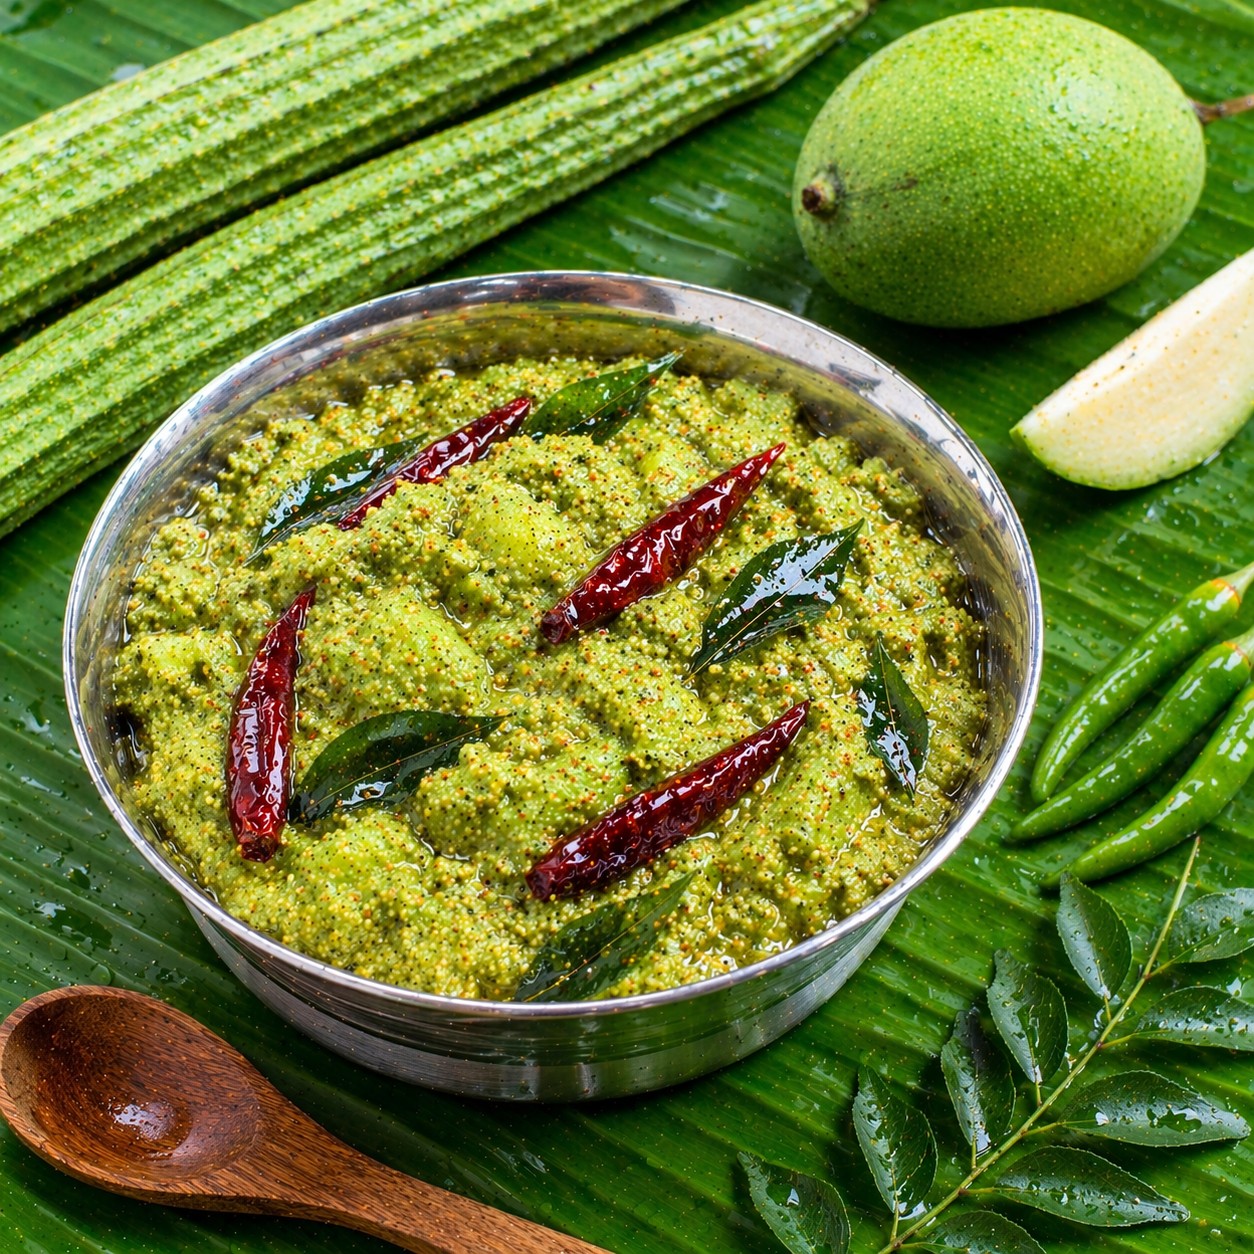
Mamidikaya Beerakaya Pachadi

intro Mamidikaya Beerakaya Pachadi Recipe stands as a culinary masterpiece in many South Indian households. Furthermore, this dish perfectly captures the essence of a warm summer afternoon. Therefore, families eagerly wait for the arrival of raw mangoes to prepare this spicy treat. Additionally, the combination of cooling ridge gourd and tart mango creates a flavor profile that is truly unmatched. Consequently, your lunch experience becomes significantly more vibrant when you include this fresh, homemade chutney.story ### The Heritage of Mamidikaya Beerakaya Pachadi Recipe The history of the Mamidikaya Beerakaya Pachadi Recipe is deeply rooted in the agricultural traditions of Andhra Pradesh. Specifically, this region is famous for utilizing seasonal produce in creative ways. Moreover, the contrast between the mild, watery ridge gourd and the sharp, acidic mango represents the balance found in nature. Consequently, farmers would often prepare this relish using fresh ingredients from their own backyards. Furthermore, the inclusion of roasted chilies and aromatic tempering makes it a staple during the harvest months. However, the recipe has evolved over time as modern kitchens adapt these traditional methods. Therefore, while the tools might change, the authentic soul of the dish remains the same.cast To begin your Mamidikaya Beerakaya Pachadi Recipe, gather one large, firm ridge gourd. Furthermore, you will need a medium-sized sour raw mango for that essential tang. Additionally, pick six to eight green chilies depending on your heat preference. Moreover, prepare two tablespoons of oil and a teaspoon of cumin seeds. Specifically, you will also need garlic cloves, mustard seeds, and urad dal for the final tempering. Consequently, do not forget fresh curry leaves and a pinch of turmeric to enhance the aroma. Therefore, ensuring all ingredients are fresh will yield the best results for your chutney.songs ### Steps to Perfect Your Mamidikaya Beerakaya Pachadi Recipe 1. First, wash the ridge gourd and peel the skin lightly before chopping it into cubes. Furthermore, peel the raw mango and cut it into small pieces. 2. Secondly, heat one tablespoon of oil in a pan. Additionally, sauté the green chilies and ridge gourd cubes until they become soft and tender. 3. Consequently, let the sautéed mixture cool down completely to maintain the right texture. 4. Next, place the cooled vegetables in a blender along with the raw mango, garlic, and cumin. However, ensure you pulse the mixture into a coarse paste instead of a fine liquid. 5. Therefore, prepare the tempering by heating the remaining oil with mustard seeds and curry leaves. Specifically, let the seeds crackle to release their full flavor. 6. Finally, pour the hot tempering over the ground chutney and mix it thoroughly.about Mamidikaya Beerakaya Pachadi Recipe is not just a condiment; it is a nutritional powerhouse. Specifically, ridge gourd provides essential dietary fiber and has a high water content. Furthermore, raw mango is rich in Vitamin C, which boosts your immune system. Therefore, this chutney serves as a healthy addition to any meal. Additionally, the spices used in the tempering aid in digestion. Consequently, you can enjoy this flavorful dish while also nourishing your body with natural vitamins and minerals.themes When making this recipe, always choose a ridge gourd that is tender and young. Furthermore, check the tartness of the mango before adding it to the blender. Consequently, you might need to add a small piece of jaggery if the mango is too sour. Moreover, using a stone mortar and pestle instead of a blender can significantly improve the texture. However, if you use a machine, use the pulse setting carefully. Additionally, adding a hint of hing in the tempering provides an extra layer of traditional fragrance.whyWatch You should try the Mamidikaya Beerakaya Pachadi Recipe because it offers a quick way to elevate a simple meal. Furthermore, it requires minimal cooking time and very basic pantry ingredients. Consequently, it is perfect for busy professionals who still crave a home-cooked taste. Moreover, the unique blend of sour and spicy notes will surely impress your guests. Therefore, bring a taste of Andhra tradition into your home today and enjoy this refreshing, tangy delight.

Read More »

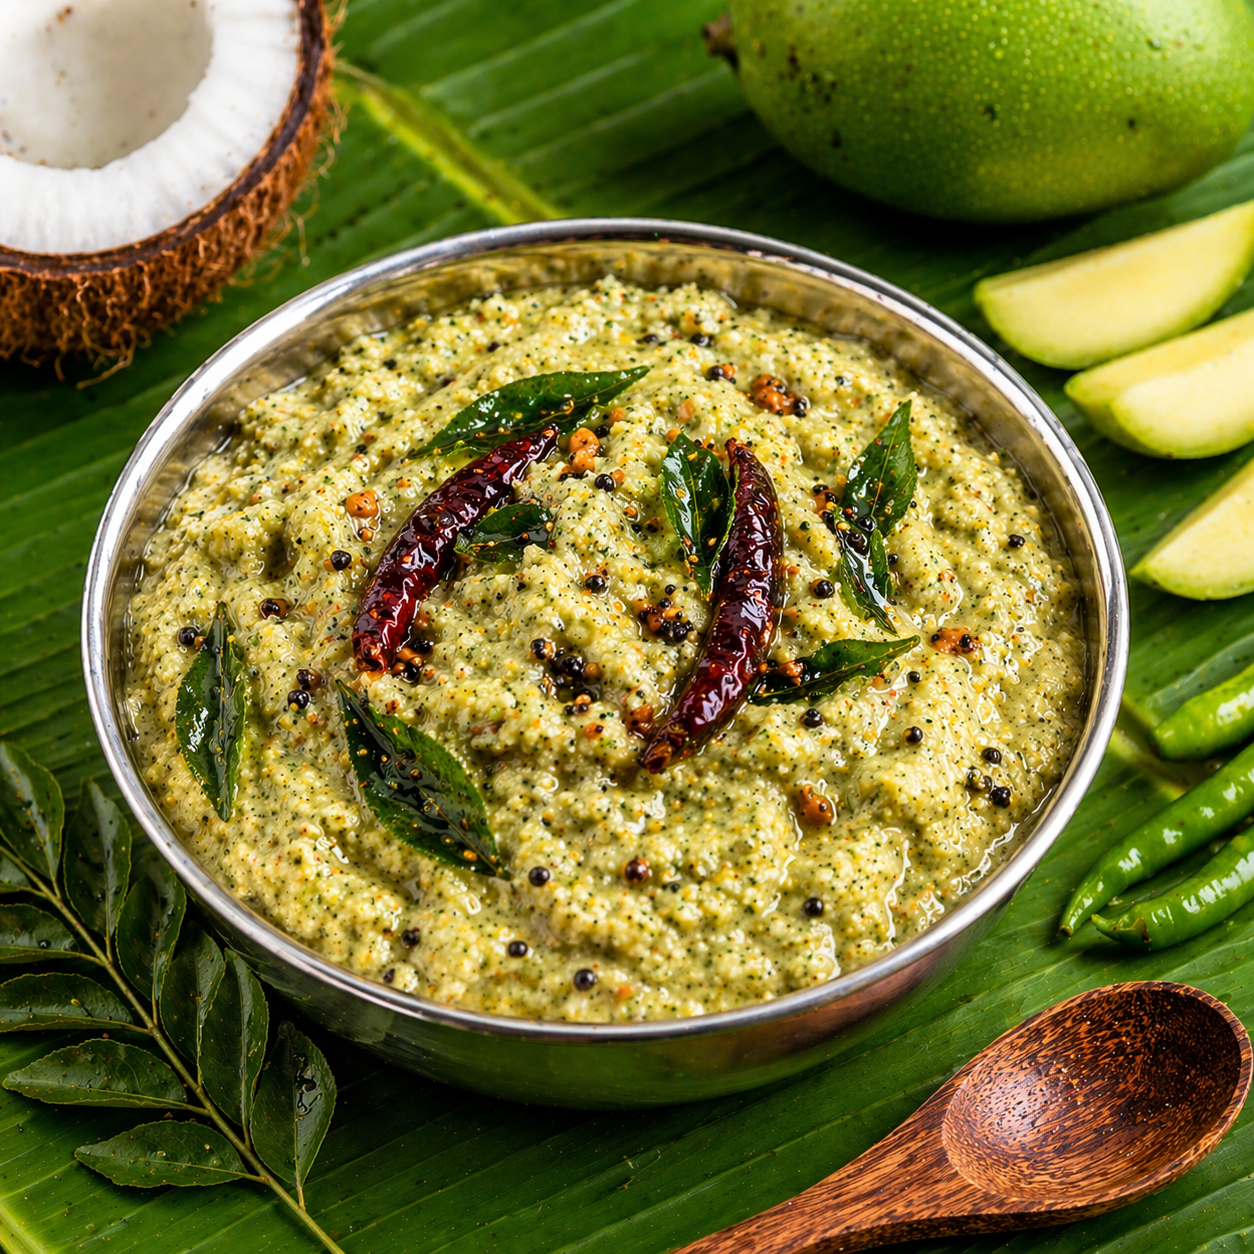
Kobbari Mamidikaya Pachadi

intro The Kobbari Mamidikaya Pachadi Recipe is a true gem of Andhra cuisine. This chutney combines the creaminess of coconut with the sharp tang of raw mango. Consequently, it creates a flavor profile that is both complex and satisfying. Furthermore, you can prepare this dish in less than fifteen minutes. Therefore, it is a perfect addition to a busy weekday lunch. This recipe brings a burst of authentic South Indian flavor to your dining table.story In many Indian households, summer signals the arrival of green raw mangoes. Families often use these mangoes to make various pickles and chutneys. Specifically, the mix of coconut and mango is a favorite in the Telugu states. This dish is not just food; it is a memory of childhood summers spent in granny’s kitchen. Additionally, the recipe uses simple ingredients found in every pantry. However, the taste it delivers is extraordinary. Moreover, it reflects the seasonal diversity of Indian regional cooking. This pachadi brings people together during family meals.cast To start, gather one cup of chopped raw mango and one cup of fresh coconut. You also need four to five green chilies according to your spice level. For the tempering, use two teaspoons of oil and one teaspoon of mustard seeds. Additionally, include half a teaspoon of urad dal and two dried red chilies. Finally, add a few fresh curry leaves and a pinch of salt to complete the list of ingredients.songs First, peel the raw mango and cut it into small cubes. Then, place the mango pieces, green chilies, and salt into a blender jar. Pulse the mixture until it becomes a coarse paste. Furthermore, add the fresh coconut pieces or grated coconut to the jar. Blend again for a few seconds only. Do not add too much water because the chutney should be thick and textured. Subsequently, prepare the tempering in a small ladle. Heat the oil and add mustard seeds. Once they pop, add urad dal and red chilies. Finally, pour this aromatic oil over the paste and serve immediately.about ## Mastering the Kobbari Mamidikaya Pachadi Recipe This recipe comes from the heart of Southern India. Specifically, it highlights the local love for seasonal produce. Coconut provides a rich texture, while the mango offers a sharp contrast. Consequently, this chutney is a staple in many Telugu households during the mango season. Additionally, you can adjust the spiciness to suit your personal preference. Therefore, it remains a versatile favorite for all age groups. It is low in calories but very high in flavor.themes First, always use fresh ingredients for the best results. Furthermore, the mango should be raw and firm to provide the necessary tartness. If you use a ripe mango, the flavor profile will change completely. Additionally, do not grind the paste too smoothly in the blender. A coarse texture ensures that you enjoy the crunch of the coconut and mango. Consequently, this small detail makes the dish feel much more authentic. Moreover, the tempering should always be fresh for the best aroma.whyWatch ## Why You Will Love This Kobbari Mamidikaya Pachadi Recipe You should try this Kobbari Mamidikaya Pachadi Recipe because it is incredibly healthy and nutritious. Raw mango provides a great source of vitamin C, while coconut offers healthy fats for your body. Additionally, the process is quick and requires no fermentation. Furthermore, it pairs perfectly with hot rice and ghee or even with breakfast items like idli. Therefore, it is a versatile dish that everyone in your family will enjoy. Finally, it is an easy way to explore traditional Indian flavors at home.

Read More »

Tangy Raw Mango Rasam

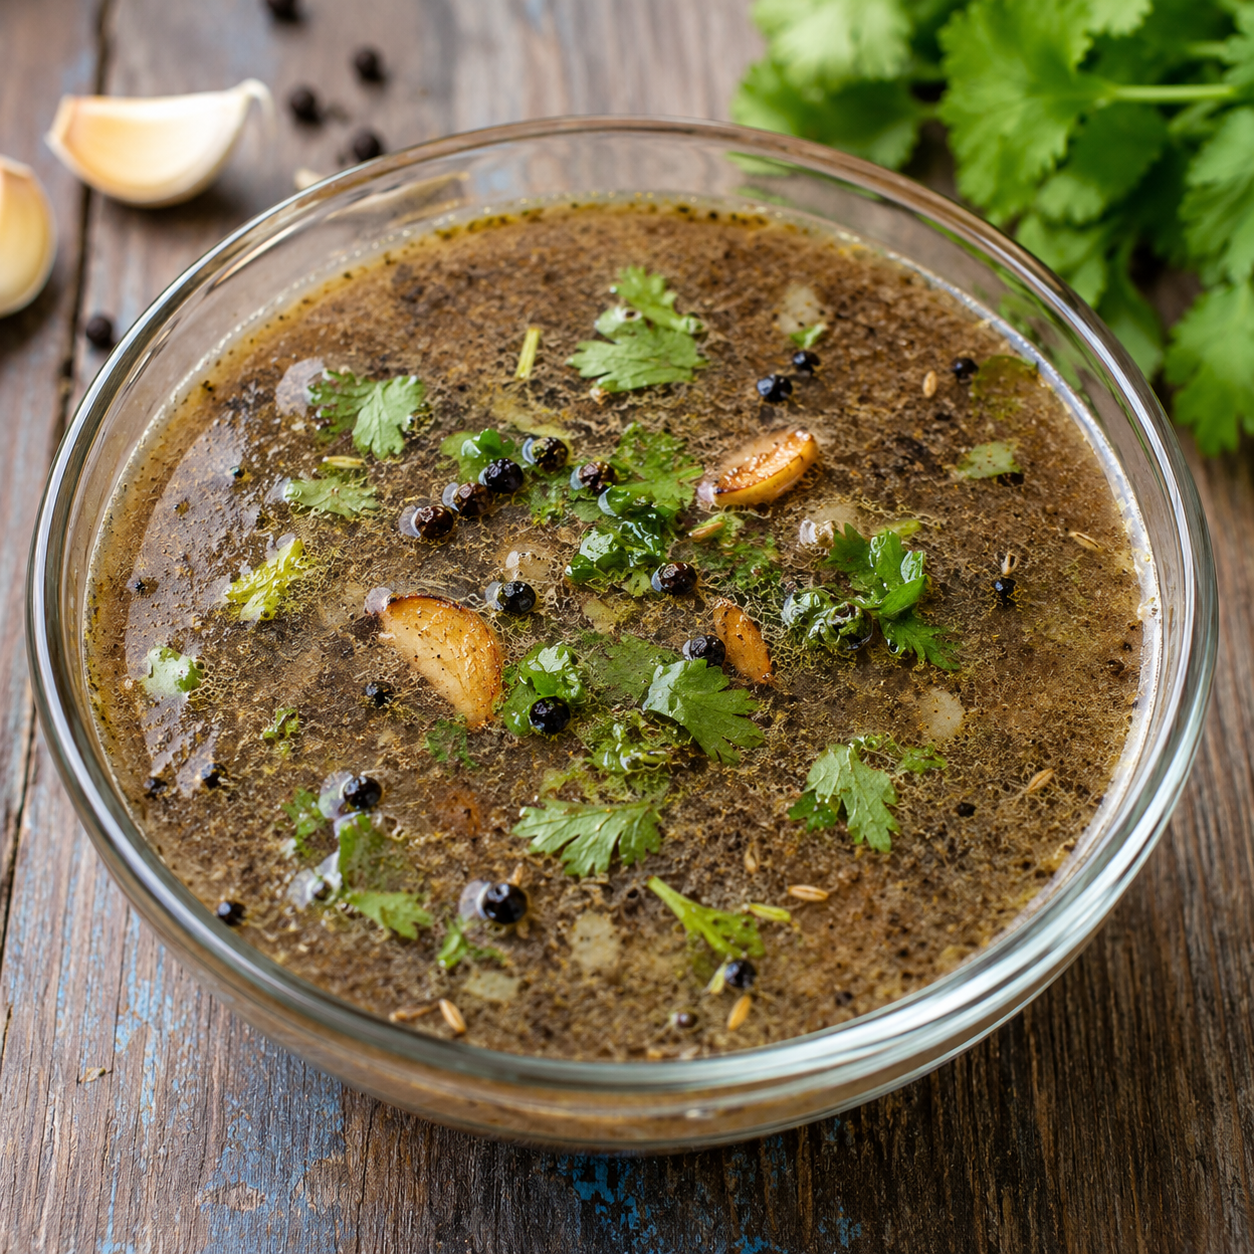
intro If you want a refreshing soup, look no further than the Tangy Raw Mango Rasam Recipe. This dish brings a burst of flavor to your dining table. Furthermore, it serves as the perfect remedy for a hot summer afternoon. Many people love this dish because it combines sour and spicy notes perfectly. However, you must select the right mangoes to get the best results. Receipe During the mango season, households across South India prepare various mango dishes. Specifically, the Tangy Raw Mango Rasam Recipe stands out as a staple favorite. People believe that green mangoes help cool the body during high heat. Therefore, moms often serve this soup with hot rice and ghee. Additionally, the recipe uses simple pantry staples like cumin and black pepper. Moreover, the aroma of tempering spices fills the air with pure nostalgia. Similarly, this dish carries memories of summer vacations and grandma’s traditional kitchen. You will find that every household has a slightly different version of this classic. Ingredients 1 large Raw Mango (peeled and chopped), 1/2 tsp Turmeric powder, 1 tsp Black pepper (crushed), 1 tsp Cumin seeds, 2 Dried red chilies, 1/4 tsp Asafoetida (Hing), 1 sprig Curry leaves, 1 tbsp Ghee or Oil, 1 tsp Mustard seeds, Fresh coriander leaves for garnish, Salt to taste, and 3 cups of Water. steps Cooking the Tangy Raw Mango Rasam Recipe First, peel one large raw mango and cut it into small chunks. Subsequently, boil the chunks in two cups of water until they become very soft. Once cooled, mash the mango thoroughly and extract the thick pulp. Furthermore, dilute this pulp with two more cups of water and discard any fibrous bits. Now, add turmeric, salt, and crushed black pepper to the liquid. Eventually, place the pot on a medium flame and let it simmer until it starts to froth. ### Perfecting the Tempering While the mixture simmers, prepare the tempering in a small separate pan. Heat the ghee and add mustard seeds, cumin, and dried red chilies. Additionally, throw in some fresh curry leaves for a better scent and a pinch of asafoetida. Pour this hot tempering into the boiling rasam immediately. Consequently, the flavors will meld together beautifully and create a deep aroma. Finally, garnish the dish with freshly chopped coriander leaves and serve it hot. about Rasam is a thin, spicy soup from Southern India that traditionally uses tamarind. However, this specific Tangy Raw Mango Rasam Recipe replaces tamarind with raw mango for a fruity and sharp tang. Therefore, it tastes much fresher and lighter than regular versions. Additionally, you can adjust the spice level by adding more green chilies or pepper. Specifically, this dish aids digestion after a heavy meal. Furthermore, it serves as an excellent light soup for those recovering from a common cold.themes/tips Always use firm, green mangoes for the best sourness. However, if the mango is too sour, you should add a small piece of jaggery to balance it. Additionally, do not boil the rasam for too long after adding the tempering spices. Consequently, you will preserve the fresh aroma of the curry leaves and the mustard seeds. Furthermore, roasting the peppercorns slightly before crushing them enhances the earthy flavor significantly. Similarly, using ghee instead of oil for tempering adds a rich, authentic depth to the final dish.whyWatch/whyTry You should try this recipe because it is incredibly easy to make with minimal ingredients. Moreover, it offers a refreshing change from your daily routine. Since it uses seasonal fruit, it provides a unique nutrition profile for your family. Therefore, you can impress your guests with this authentic South Indian flavor during your next gathering. Specifically, the Tangy Raw Mango Rasam Recipe will quickly become your go-to comfort food for every season.

Read More »

Mamidikaya Menthi Pachadi

intro Are you looking for a burst of traditional flavor? The Mamidikaya Menthi Pachadi Recipe brings the perfect tang to your dining table. This traditional South Indian raw mango pickle tastes amazing when you pair it with hot rice and ghee. Furthermore, it takes very little time to prepare in your kitchen. Consequently, anyone can make it at home easily without much effort. If you enjoy sour and spicy flavors, you will love this preparation.story Summer in India always brings the nostalgic scent of fresh mangoes. Many families wait all year specifically for this pickle. Unlike fermented pickles that take weeks, this version stays fresh and vibrant for several days. Therefore, people often call it an ‘instant’ pickle or ‘thokku.’ Additionally, the aroma of roasted fenugreek fills the kitchen instantly, creating a cozy atmosphere. Historically, grandmothers prepared this dish to celebrate the start of the mango season. Moreover, it represents the heart of coastal Andhra cuisine where spice and sourness meet perfectly.cast 2 large firm raw mangoes,4 tablespoons red chili powder,1 tablespoon fenugreek (methi) seeds,2 tablespoons mustard seeds,1/2 cup sesame oil or groundnut oil,Salt to taste,A pinch of asafoetida (hing)songs First, wash the mangoes thoroughly under cold water to remove any dirt.,Next, dry them completely with a clean kitchen towel because moisture ruins the pickle.,Chop the mangoes into very small, bite-sized pieces using a sharp knife.,Meanwhile, dry roast the fenugreek seeds in a pan until they turn golden brown.,After roasting the seeds, grind them into a fine powder once they cool down.,Then, mix the chopped mango pieces with salt and red chili powder in a large bowl.,In addition, add the freshly ground fenugreek powder and mustard powder to the mix.,Finally, heat the oil in a small pan, add hing, and pour the hot oil over the mango mixture.,Stir everything well until the oil coats every piece of mango perfectly.about The Magic of Mamidikaya Menthi Pachadi Recipe lies in its simplicity and balance. This dish focuses on the raw, tart nature of green mangoes combined with the earthy bitterness of fenugreek. Consequently, the flavors evolve as the pickle sits for a few hours. Furthermore, this Mamidikaya Menthi Pachadi Recipe uses simple ingredients that you likely already have in your pantry. It is a staple in many households because it provides a quick fix when vegetable side dishes are unavailable. Similarly, it serves as a wonderful condiment for breakfast items like idli or dosa.themes Always choose firm, sour mangoes for the best texture and taste.,If the mangoes are too soft, the pickle might become mushy very quickly.,However, if you prefer a softer texture, you can let it sit at room temperature for a day.,In addition, always use a completely dry spoon to serve the pickle to prevent spoilage.,Furthermore, store the pickle in a glass jar to maintain its freshness and flavor profile.,If the heat is too high, you can reduce the amount of chili powder slightly.,Therefore, always taste a small piece of mango before adding all the salt.whyWatch This dish offers a unique balance of bitter, sour, and spicy notes. Because it uses fresh ingredients, the flavors remain vibrant and exciting for your palate. Moreover, it pairs perfectly with simple curd rice, making it a comfort food hero. You should try this Mamidikaya Menthi Pachadi Recipe because it adds a spark of excitement to every meal. Furthermore, the satisfaction of making your own pickle at home is unmatched. Consequently, your family will surely ask for a second serving once they taste this tangy delight.

Read More »

Raw Mango Chutney

intro Summer brings the heat, but the Raw Mango Chutney Recipe brings the flavor. Furthermore, you can make this dip in just ten minutes. Therefore, it is the perfect addition to a busy weekday lunch. Additionally, the sour taste balances spicy dishes beautifully. You will love how it wakes up your palate. Consequently, this condiment remains a favorite in many households across the globe.story/description People have enjoyed green mangoes for centuries. Historically, families prepared this dish to preserve the seasonal harvest. Therefore, every bite tells a story of tradition. However, modern kitchens have simplified the process significantly. Instead of using heavy stones, we now use blenders. Meanwhile, the core flavors remain unchanged. The combination of salt, spice, and sour fruit creates a culinary masterpiece. Moreover, the aroma alone can make anyone hungry. You will find that this dip works well with almost any meal. Specifically, it complements rice, bread, and even grilled meats.cast/ingredients To begin, gather two large raw green mangoes. Additionally, you will need four green chilies for heat. Prepare one cup of fresh cilantro leaves. Furthermore, take four cloves of garlic for a pungent kick. You must include one teaspoon of cumin seeds. Consequently, do not forget the salt to taste. Some people also add a small piece of ginger. Finally, keep a little water ready to adjust the consistency.songs/steps ### Secrets to a Perfect Raw Mango Chutney Recipe First, wash the green mangoes thoroughly under cold water. Next, peel the skin and chop the flesh into small cubes. Furthermore, remove the seed from the center. Put the mango pieces into a high-speed blender. Additionally, add the green chilies and cilantro. Toss in the garlic cloves and cumin seeds. Therefore, the flavors will start to meld together. Sprinkle in the salt. Now, blend the mixture until it reaches a smooth or slightly coarse texture. If the mixture is too thick, add a tablespoon of water. However, do not make it too runny. Transfer the chutney to a glass bowl. Finally, serve it fresh or chill it for later use.about This chutney acts as a refreshing coolant. Therefore, people consume it mostly during the scorching summer months. Furthermore, it contains high levels of Vitamin C. It aids digestion and keeps the body hydrated. Consequently, health-conscious foodies love this recipe. Moreover, it is naturally vegan and gluten-free. This makes it suitable for almost any dietary requirement. You can enjoy it without any guilt because it uses no oil or artificial preservatives.themes/tips ### Essential Tips for the Best Results Always choose firm green mangoes for the best sourness. However, if the mango is slightly yellow, the chutney will taste sweet. Additionally, adjust the number of chilies to control the spice level. You can add a pinch of sugar to balance the acidity. Furthermore, use a mortar and pestle for a traditional, rustic texture. Store the leftovers in an airtight container. Specifically, keep it in the refrigerator to maintain freshness for up to three days. Consequently, you can prepare it in advance for parties.whyWatch/whyTry You should try this recipe because it is incredibly simple. Moreover, it transforms a boring meal into an exciting feast. Therefore, it saves you time while providing gourmet flavors. Additionally, you can customize it to your personal preference easily. If you enjoy bold tastes, this dish is for you. Consequently, you will likely make it every week. Indeed, it is the ultimate summer condiment for every kitchen.

Read More »

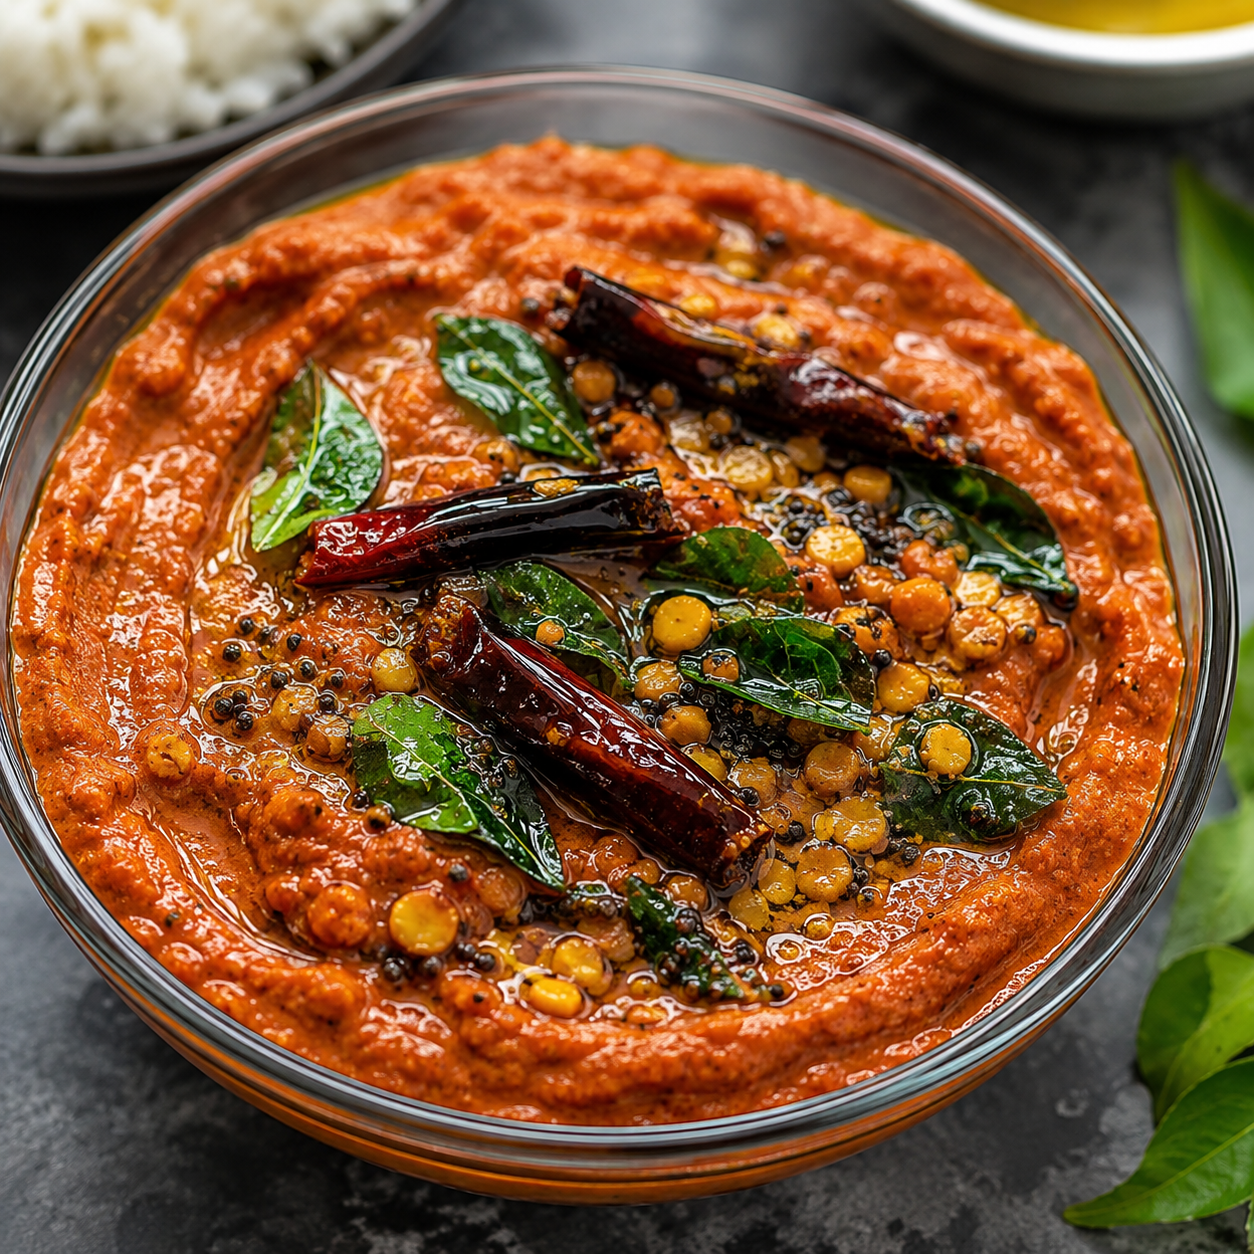
Mamidikaya Pappu

intro Welcome to the world of vibrant South Indian flavors! The Mamidikaya Pappu Recipe is a staple in many traditional households. This dish brings immense comfort and joy to every lunch table. Therefore, you should learn how to make it perfectly for your family. Furthermore, it combines the sharp sourness of raw mango with the earthy creaminess of pigeon peas. It is truly a match made in culinary heaven.story Mamidikaya Pappu stands as the heart of Andhra cuisine. During the hot summer months, mango trees heavy with fruit line the streets. Families pick fresh, firm green mangoes to create this masterpiece. Additionally, the pungent smell of the tempering fills the air with nostalgia. People usually serve it with steaming hot rice and a dollop of pure ghee. Consequently, it creates a symphony of flavors on your tongue. Because the recipe is so simple, it highlights the natural beauty of seasonal ingredients. Specifically, the tanginess of the mango balances the heat from the green chilies perfectly.cast To prepare this Mamidikaya Pappu Recipe, you need 1 cup of Toor dal (pigeon peas). You also require 1 large raw mango, peeled and chopped into cubes. Additionally, gather 3 green chilies, 1/2 teaspoon of turmeric powder, and salt to taste. For the tempering, prepare 2 tablespoons of oil or ghee. Furthermore, you will need 1 teaspoon of mustard seeds, 1 teaspoon of cumin seeds, 2 dried red chilies, a handful of fresh curry leaves, and a pinch of hing (asafoetida).songs First, you must wash the toor dal thoroughly under running water. Then, place the cleaned dal and the chopped mango cubes into a pressure cooker. Add three cups of water along with turmeric and slit green chilies. Cook the mixture until the dal becomes soft and mushy. Afterward, mash the dal and mango gently with a spoon. For the tempering, heat oil in a small pan. Add mustard seeds, cumin, and red chilies. Once they splutter, add the curry leaves and hing. Finally, pour this aromatic tempering over the cooked dal and mix well.about Why You Will Love This Mamidikaya Pappu Recipe. This dish provides a high amount of protein and essential Vitamin C. Specifically, raw mangoes help your body stay cool and hydrated during extreme heat. Moreover, the lentils give you sustained energy for the whole day. Because it is incredibly simple to digest, it remains a perfect meal for children and adults alike. Furthermore, the combination of fiber and vitamins makes it a nutritional powerhouse.themes Tips for Perfecting Your Mamidikaya Pappu Recipe. You should always choose firm, green mangoes for the best results. If the mango is exceptionally sour, you should add a little more dal to balance the taste. However, if the mango is slightly sweet, you might need a tiny piece of tamarind. Additionally, always use fresh curry leaves for the most authentic aroma. Therefore, the freshness of your ingredients determines the final quality of the dish. Moreover, do not over-mash the mango if you like small chunks in your dal.whyWatch You should try this recipe because it is both quick and incredibly healthy. It saves you significant time on busy weekdays. Furthermore, the tangy taste refreshes your palate unlike any other lentil dish. Most people agree that the flavors meld together even better the next day. Consequently, you will find yourself making this Mamidikaya Pappu Recipe every single week! It is a true soul food that satisfies every craving.

Read More »
కావలసిన పదార్ధాలు
  • బియ్యం Rice (cooked and cooled) 1 cup
  • వంకాయలు Brinjal (thinly sliced) 250 grams
  • నూనె Cooking Oil 2 tablespoons
  • ఆవాలు Mustard Seeds 1/2 teaspoon
  • మినపప్పు Urad Dal 1/2 teaspoon
  • శనగపప్పు Chana Dal 1/2 teaspoon
  • పసుపు Turmeric Powder 1/4 teaspoon
  • వంగీ బాత్ పొడి Vangi Bath Powder 2 tablespoons
  • చింతపండు గుజ్జు Tamarind Pulp 1 tablespoon
  • పల్లీలు Peanuts 1 tablespoon
  • కరివేపాకు Curry Leaves 1 sprig
  • ఉప్పు Salt (as per taste) 1/2 teaspoon
  • కొత్తిమీర Coriander Leaves (chopped) 1 tablespoon
తయారి విధానం
  1. ముందుగా అన్నం వండుకుని ఒక వెడల్పాటి ప్లేట్ లో వేసి చల్లార్చుకోవాలి. అన్నం పొడిపొడిగా ఉండేలా చూసుకోవాలి.
    Begin by cooking the rice and spreading it on a wide plate to cool. Ensure the grains are separate and not mushy.
  2. ఒక పాన్ లో నూనె వేడి చేసి ఆవాలు, మినపప్పు, శనగపప్పు మరియు పల్లీలు వేసి దోరగా వేయించాలి.
    Heat oil in a large pan or kadai. Add mustard seeds, urad dal, chana dal, and peanuts, frying until they turn golden brown.
  3. అందులోనే కరివేపాకు మరియు సన్నగా పొడవుగా కోసిన వంకాయ ముక్కలను వేయాలి.
    Add the curry leaves and the thinly sliced brinjal pieces to the pan.
  4. వంకాయ ముక్కలు మెత్తబడే వరకు మూత పెట్టి మగ్గనివ్వాలి.
    Cover and sauté on a medium flame until the brinjals become soft and tender.
  5. ముక్కలు మగ్గిన తర్వాత అందులో పసుపు, ఉప్పు మరియు వంగీ బాత్ పొడి వేసి బాగా కలపాలి.
    Add turmeric powder, salt, and the signature Vangi Bath powder. Mix well to coat the brinjals uniformly.
  6. ఇప్పుడు చింతపండు గుజ్జును కూడా వేసి నూనె పైకి తేలే వరకు సుమారు రెండు నిమిషాలు ఉడికించాలి.
    Pour in the tamarind pulp and cook for about two minutes until the moisture reduces and oil starts to separate from the masala.
  7. చివరగా ముందుగా వండి పెట్టుకున్న అన్నాన్ని వేసి మసాలా అంతా అన్నానికి పట్టేలా జాగ్రత్తగా కలపాలి.
    Gently fold in the cooled rice, ensuring every grain is coated with the spicy brinjal mixture without breaking the rice grains.
  8. కొత్తిమీర చల్లుకుని వేడివేడిగా వడ్డించాలి.
    Garnish with freshly chopped coriander leaves and serve hot.
[real3dflipbook id='1']